6 Steps to Prepare a Safe Backyard Garden Swing Site
Learning how to prepare a site for a garden swing transforms a patch of lawn into a place where children play safely and grass thrives beneath moving feet. The soil beneath a swing set endures constant foot traffic, compaction from landing zones, and exposure from worn turf. Proper site preparation creates drainage paths, establishes resilient ground cover, and anchors hardware into stable substrate that resists frost heave and settling.
Materials
Assemble tools and amendments before breaking ground. A soil test kit measuring pH between 6.0 and 7.0 ensures compatibility with wear-tolerant ground covers like clover or perennial ryegrass. For amendments, use composted pine bark (pH 5.5-6.5) at 2 cubic feet per 10 square feet to improve cation exchange capacity in clay soils. Organic fertilizer rated 4-4-4 supplies balanced macronutrients without excessive nitrogen that weakens cell walls under traffic stress.
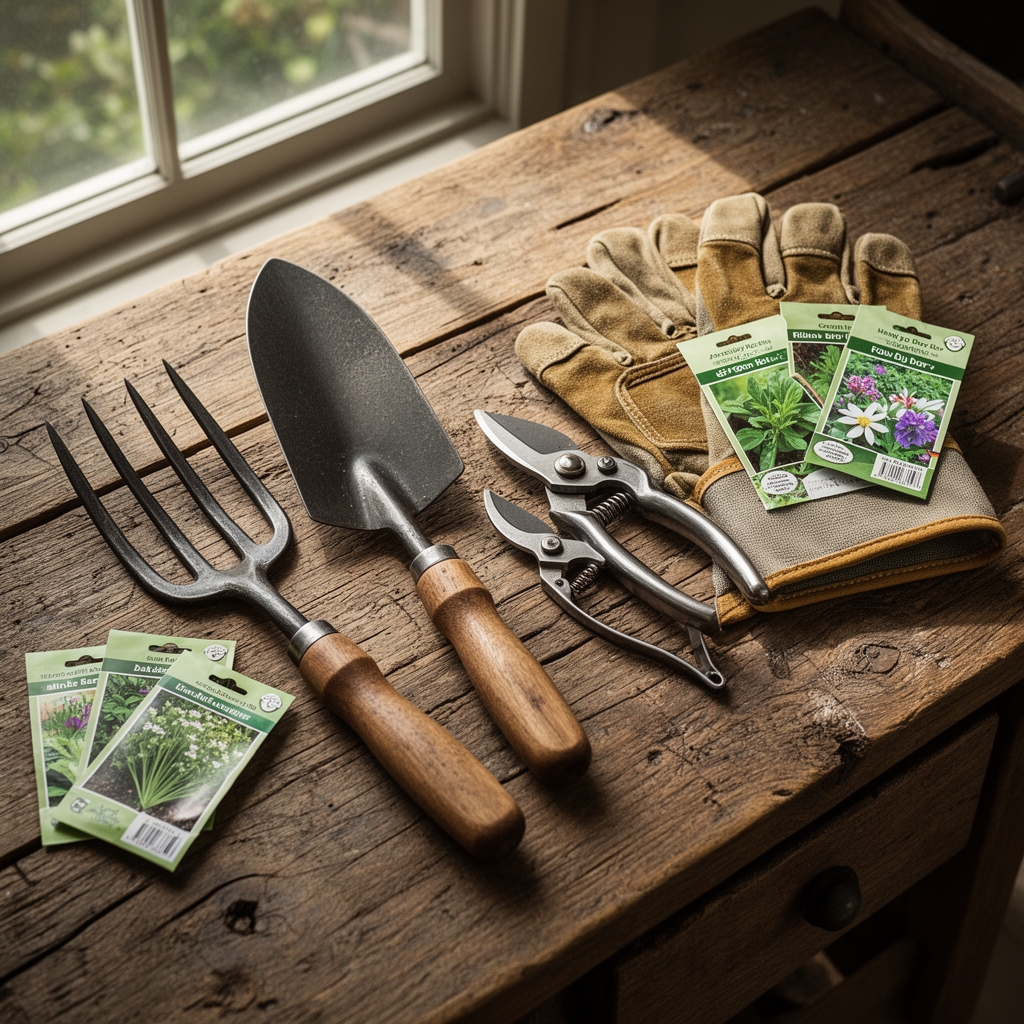
Hardware requires galvanized steel anchors rated for 1,500 pounds per post, concrete mix (one 60-pound bag per anchor), and gravel base material (3/4-inch crushed stone). For the landing zone, acquire rubber mulch (ASTM F1292 certified) or pea gravel at 9 inches depth minimum. A hand tamper, post-hole digger extending 36 inches, and landscape fabric complete the kit.
Timing
Site preparation aligns with dormant seasons to minimize transplant shock in adjacent plantings. In USDA Hardiness Zones 3-5, begin work in late September after soil temperatures drop below 60°F but before first frost. Zones 6-7 allow a wider window from mid-October through November. Zones 8-10 work best in December when cool-season grasses establish vigorous root systems.
Concrete curing requires ambient temperatures above 40°F for seven days. Schedule anchor installation at least two weeks before first hard freeze. Spring installation works in Zones 3-6 from late April through May, after final frost date but before soil temperatures exceed 70°F, which stresses new turf.
Phases

Site Assessment and Layout: Mark a rectangle extending 6 feet beyond each swing arc. Remove existing sod with a flat spade, cutting 2 inches deep to preserve topsoil structure. Test drainage by digging a 12-inch hole and filling with water. Proper drainage empties the hole within 4 hours. Clay soils retaining water beyond 8 hours require French drain installation along the site perimeter, sloped 1 inch per 8 feet toward a gravel-filled trench.
Pro-Tip: Apply mycorrhizal fungi inoculant (Rhizophagus irregularis) at 1 ounce per 10 square feet during soil preparation. The symbiotic relationship increases phosphorus uptake by 300 percent in compacted zones where root exploration is limited.
Excavation and Base Preparation: Dig post holes to 36 inches depth, exceeding frost line specifications for your zone. Flare the base to 12 inches diameter to resist uplift forces exceeding 800 pounds during swing motion. Add 6 inches of crushed stone, tamp firm, then set posts plumb using a 4-foot level. Mix concrete to a stiff consistency (3 parts aggregate to 1 part Portland cement) and pour around posts, sloping the top 2 inches away from wood to shed water.
For the impact zone directly beneath swings, excavate 9 inches of soil in a 6-foot radius. Lay landscape fabric, then fill with ASTM-certified rubber mulch or pea gravel. This sacrificial surface absorbs kinetic energy and prevents bare soil compaction that creates anaerobic conditions hostile to beneficial soil bacteria.
Pro-Tip: Install a perimeter edging of 6-inch steel landscape border buried 4 inches deep. This barrier prevents mulch migration and maintains critical fall zone depth mandated by CPSC guidelines.
Perimeter Planting and Stabilization: Beyond the impact zone, establish wear-tolerant ground cover. White clover (Trifolium repens) fixes atmospheric nitrogen at 2-4 pounds per 1,000 square feet annually and tolerates partial shade. Perennial ryegrass (Lolium perenne) germinates in 7 days at soil temperatures above 50°F and develops deep roots resisting compaction. Blend seed at 6 pounds clover to 4 pounds ryegrass per 1,000 square feet.
Rake seed into loosened topsoil amended with composted bark. Roll with a water-filled lawn roller (100 pounds) to ensure seed-to-soil contact. Mulch lightly with straw at 50 pounds per 1,000 square feet to retain moisture and moderate soil temperature fluctuations.
Pro-Tip: Foliar spray new seedlings with diluted kelp extract (1 tablespoon per gallon) at the 3-leaf stage. Cytokinin compounds in kelp promote lateral root branching, increasing anchorage strength by 40 percent within 30 days.
Troubleshooting
Symptom: Posts shift or lean within first season.
Solution: Frost heave indicates inadequate depth. Re-excavate to 42 inches in Zones 3-5. Backfill with concrete extending 6 inches above grade, sloped for drainage.
Symptom: Bare soil develops in landing zone despite mulch.
Solution: Mulch depth below 9 inches fails ASTM impact attenuation standards. Add material to restore proper cushioning. Tamp lightly to 8.5-inch settled depth.
Symptom: Grass yellows in perimeter within 8 weeks of seeding.
Solution: Compaction from foot traffic restricts oxygen diffusion. Aerate with a core aerator, pulling plugs 3 inches deep on 4-inch centers. Topdress with compost at 1/4 inch depth.
Symptom: Puddling occurs after rain near posts.
Solution: Grading inadequacy. Reshape soil to slope 2 percent (1/4 inch per foot) away from posts across a 4-foot radius.
Symptom: Clover outcompetes ryegrass, creating uneven surface.
Solution: Excessive nitrogen from synthetic fertilizer favors clover. Switch to slow-release organic 3-1-2 formula. Mow at 3 inches to favor grass blade photosynthesis.
Maintenance
Water new seedlings with 0.25 inches daily for 14 days, measured with a rain gauge. Reduce to 1 inch weekly once germination completes, applied in a single deep watering to encourage root depth. Mow when grass reaches 4 inches, cutting to 3 inches. Maintain mower blade sharpness; dull blades tear leaf tissue, creating entry points for Drechslera fungal pathogens.
Inspect anchor bolts quarterly, torquing to manufacturer specifications (typically 40 foot-pounds for 1/2-inch hardware). Rake rubber mulch monthly to redistribute material and prevent compression below critical depth thresholds. Replenish mulch annually, adding 2 inches to offset decomposition and displacement.
Apply organic 4-4-4 fertilizer each spring at 2 pounds per 100 square feet when soil temperature reaches 55°F. Avoid late-season nitrogen after August 15 in Zones 3-6; excess vegetative growth reduces cold hardiness.
FAQ
How deep should swing set posts be buried?
Posts must extend below the frost line for your zone, typically 36 inches in Zones 5-7 and 42 inches in Zones 3-4. Add 6 inches of gravel base before setting posts in concrete.
What ground cover survives under swings?
No vegetative cover withstands direct impact zones. Use 9 inches of rubber mulch or pea gravel in a 6-foot radius beneath each swing. Plant white clover and perennial ryegrass beyond this zone.
When can children use a newly installed swing?
Allow concrete anchors to cure for 7 days at temperatures above 50°F. If seeding perimeter grass, wait until seedlings reach 3 inches (approximately 21 days) before permitting play to avoid damaging immature root systems.
How often should safety surfacing be replaced?
Test rubber mulch depth monthly. When settled depth falls below 9 inches, add material immediately. Complete replacement occurs every 8-10 years as rubber degrades and loses impact attenuation properties.
Can I install a swing near tree roots?
Maintain 8 feet clearance from trunks. Post excavation within the critical root zone (1 foot of radius per inch of trunk diameter) severs structural roots and invites wood-decay fungi like Armillaria mellea into damaged tissue.