6 Steps to Prepare a Secure Garden Statue Site
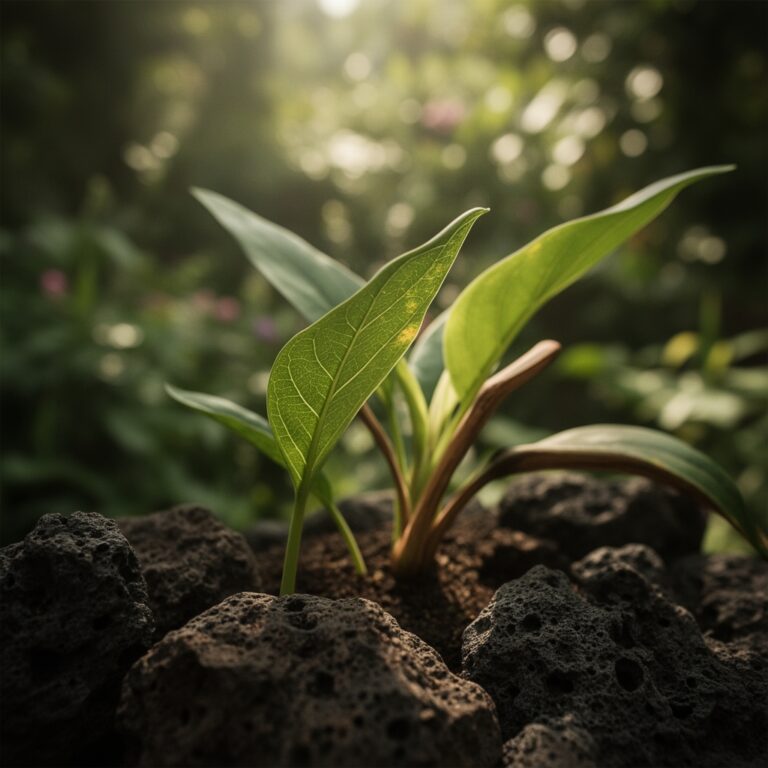
Damp earth releases a sharp, metallic scent of geosmin as the spade breaks the surface; the turgor pressure of nearby Hostas indicates a well-hydrated rhizosphere. Placing heavy stone or bronze requires more than aesthetic intuition; it demands structural engineering. Learning how to prepare a site for a garden statue prevents the inevitable sinking and tilting caused by seasonal freeze-thaw cycles. A standard 200-pound cast stone figure exerts significant localized pressure on the soil profile. Without a stabilized substrate, the vertical alignment will fail within two seasons. You must evaluate the soil density and drainage capacity before the first shovel hits the dirt. This process ensures the sculpture remains a permanent fixture rather than a sinking liability. Precision in site preparation involves managing soil compaction and moisture migration to protect both the art and the surrounding root systems.
Materials:
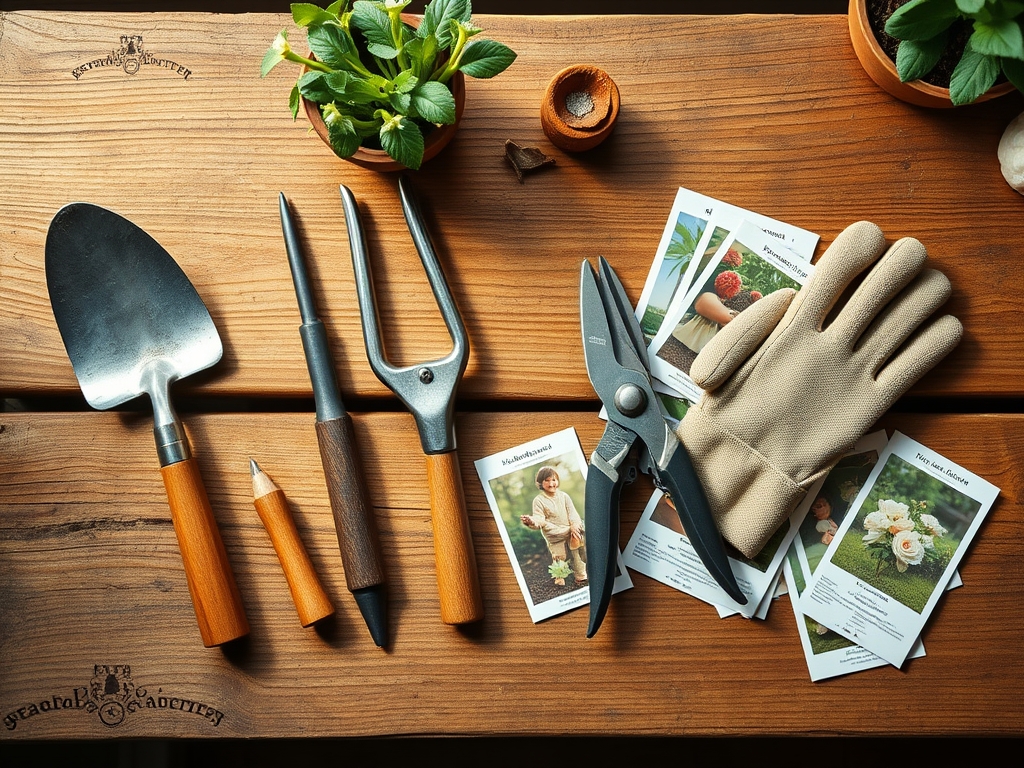
The foundation begins with the soil chemistry of the surrounding area to ensure plant health around the base. Ideal substrate for surrounding vegetation is a friable loam with a pH between 6.0 and 7.0. For heavy statuary, you require a base of crushed 3/4-inch angular limestone or gravel to facilitate drainage. If planting around the base, incorporate a slow-release fertilizer with an NPK ratio of 10-10-10 to support initial root establishment. High-clay soils with low Cation Exchange Capacity (CEC) require the addition of organic matter to prevent "bathtubbing," where water traps around the statue base and rots nearby roots. You will also need a spirit level, a tamper, and landscape fabric with a flow rate of at least 10 gallons per minute per square foot.
Timing:
Site preparation must occur when the soil is workable and not saturated. In Hardiness Zones 4 through 7, the ideal window is late spring after the final frost has passed and the soil temperature reaches a consistent 55 degrees Fahrenheit. This timing aligns with the "Biological Clock" of most temperate perennials; they are transitioning from winter dormancy to the vegetative stage. Avoid installation during the reproductive stage (flowering) of surrounding plants to minimize transplant shock. In warmer Zones 8 through 10, autumn installation is preferable to allow the soil to settle before the intense heat of the summer solstice increases evapotranspiration rates.
Phases:
Sowing the Foundation
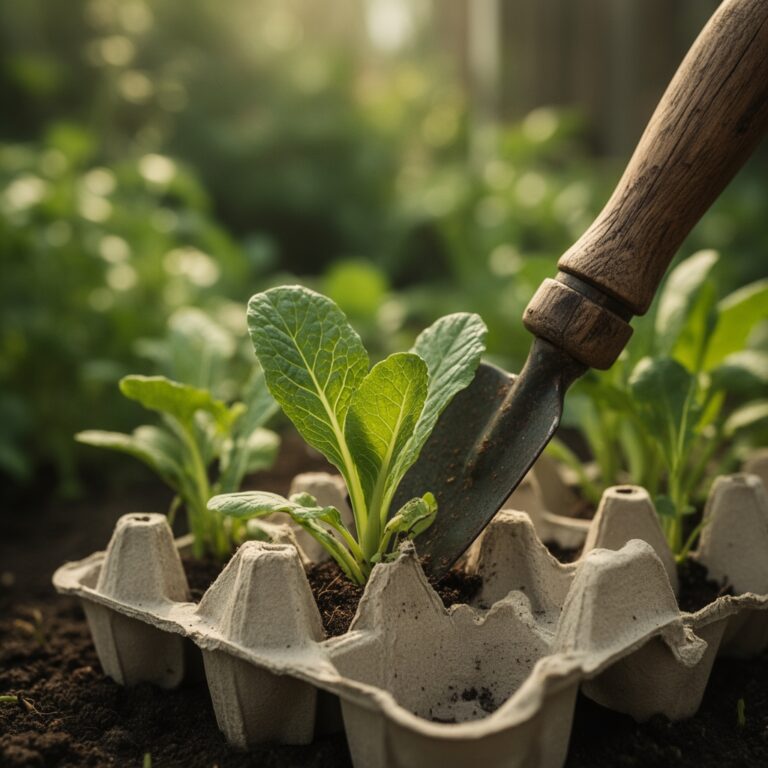
Excavate the site to a depth of 8 to 12 inches, depending on the weight of the statue. The hole should be 6 inches wider than the statue base on all sides. Line the cavity with landscape fabric to prevent the migration of fines into your drainage layer. Fill with 4 inches of compacted gravel, followed by 2 inches of leveling sand.
Pro-Tip: Proper compaction prevents soil subsidence. If the substrate is loose, gravity and hydraulic pressure will shift the statue, potentially crushing the mycorrhizal symbiosis in the surrounding soil as the base tilts and compresses the root zones unevenly.
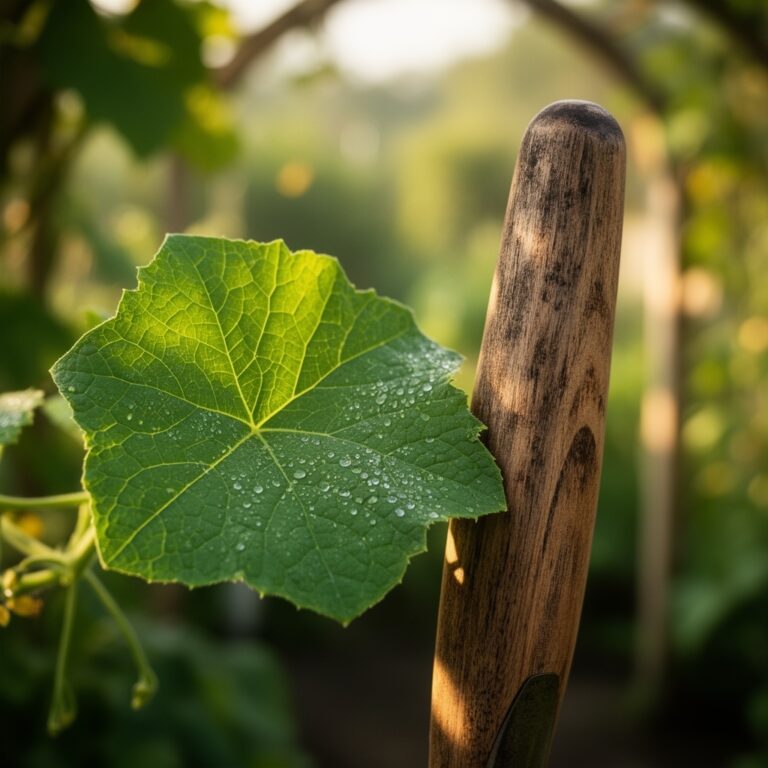
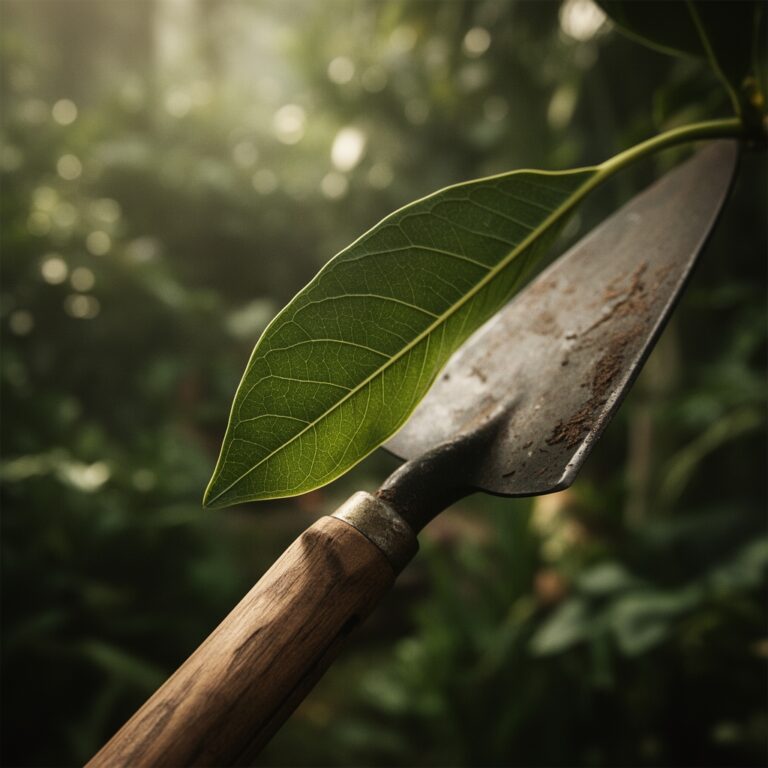
Transplanting Peripheral Flora
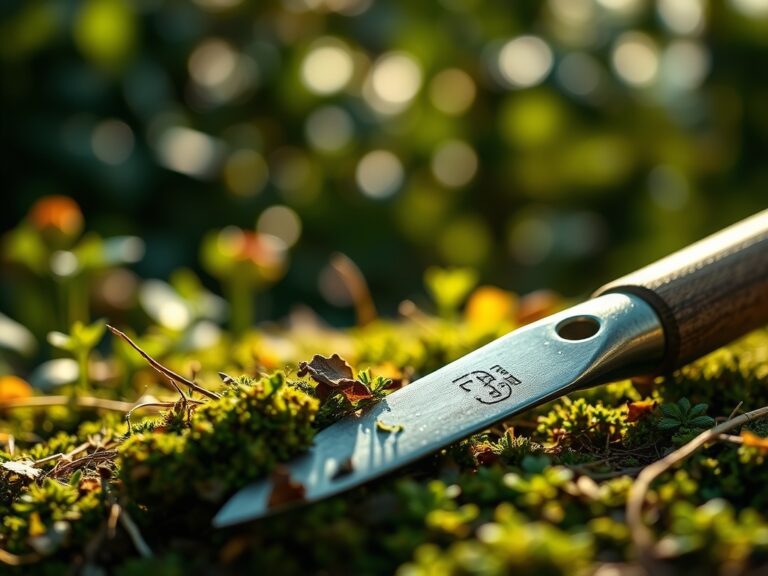
When placing plants around the new stone feature, ensure they are positioned at least 12 inches from the edge of the foundation to allow for root expansion. Use a hori-hori knife to clean up any root damage during the digging process. Backfill with a mix of native soil and compost to maintain a CEC of 15-25 meq/100g.
Pro-Tip: Be mindful of phototropism. A large statue creates a "rain shadow" and a light block. Plants on the north side of the statue will lean toward the light source due to auxin accumulation on the shaded side of the stem, which causes cells to elongate and the plant to bend.
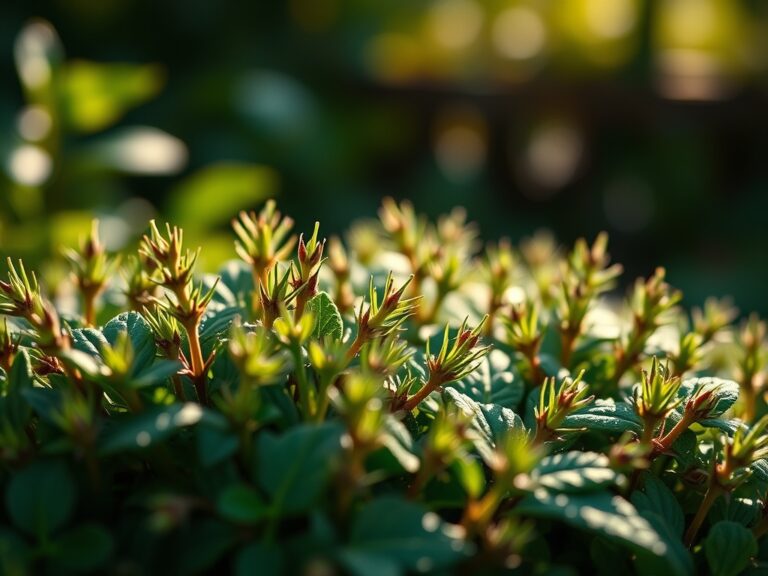
Establishing the Microclimate
Once the statue is leveled and the plants are in ground, apply a 2-inch layer of organic mulch. This regulates soil temperature and prevents "splash back" of soil pathogens onto the statue base. Monitor the soil moisture daily for the first 14 days.
Pro-Tip: Initial heavy watering encourages root geotropism, forcing roots to grow downward into the cooler, moister subsoil layers rather than staying near the surface where they are vulnerable to desiccation.
The Clinic:
Physiological disorders often arise when the soil environment is altered by heavy installations.
- Symptom: Interveinal chlorosis (yellow leaves with green veins) in nearby shrubs.
- Solution: This indicates Iron deficiency or high pH. Test the soil; if the pH is above 7.5, apply chelated iron or elemental sulfur to lower the alkalinity.
- Symptom: Stunted growth and purple-tinted foliage.
- Solution: This is a classic Phosphorus (P) deficiency, often caused by cold soils or poor drainage near the statue base. Incorporate bone meal or a 0-20-0 fertilizer into the top 3 inches of soil.
- Symptom: Marginal leaf burn on new growth.
- Solution: Likely Potassium (K) deficiency or salt accumulation. Flush the area with 2 inches of water and ensure the statue base is not leaching lime into the root zone.
- Fix-It for Nitrogen Chlorosis: If older leaves turn pale green or yellow, apply a quick-release high-nitrogen fertilizer (20-10-10) at a rate of 1 pound per 1,000 square feet to restore chlorophyll production.
Maintenance:
Maintain the site with mechanical precision. Use a soil moisture meter twice weekly; the probe should read "moist" at a depth of 4 inches. Provide exactly 1.5 inches of water per week at the drip line of surrounding plants, preferably in the early morning to reduce fungal spore germination. Use bypass pruners to remove any branches that touch the statue; constant contact can lead to localized humidity pockets and lichen growth. Every spring, check the level of the statue. If it has shifted more than 1/4 inch, use a pry bar to tuck additional leveling sand under the low side.
The Yield:
For gardens featuring edible flowers or herbs around the statue, harvest timing is critical for volatile oil retention. Harvest Lavandula or Rosmarinus just as the first buds open, typically between 8:00 AM and 10:00 AM after the dew has evaporated but before the sun triggers high transpiration. Use sharp snips to make clean vascular cuts. For "day-one" freshness, immediately submerge the stems in 40-degree Fahrenheit water to maintain cell turgidity and slow the process of senescence.
FAQ:
How deep should the gravel base be for a heavy statue?
For statues over 100 pounds, excavate 8 to 12 inches. Fill with 6 inches of compacted 3/4-inch angular stone and 2 inches of leveling sand. This depth prevents shifting during frost heaves and ensures rapid drainage.
Can I place a statue directly on the grass?
No. Direct placement causes soil compaction, which eliminates macropores necessary for oxygen exchange. This leads to anaerobic conditions, killing the turf and causing the statue to sink unevenly as the organic matter decomposes.
What is the best soil pH for plants near stone statues?
Aim for a pH of 6.2 to 6.8. Concrete and cast stone statues can leach lime over time, raising the pH. Regular testing with a digital meter ensures you can counteract alkalinity before it causes nutrient lockout.
How do I prevent the statue from tipping in soft soil?
Increase the footprint of the base. Use a sub-base of reinforced concrete or a large flagstone that extends 4 inches beyond the statue's dimensions. This distributes the weight (PSI) over a larger surface area to prevent sinking.
When is the best time to move a garden statue?
Move statues during late dormancy in early spring. This prevents physical damage to emerging perennials and allows you to reset the foundation before the soil undergoes the heavy expansion and contraction of the spring thaw.