6 Sturdy Steps to Prepare an Indoor Bamboo Support
Learning how to prepare a bamboo pole for indoor support transforms raw cane into a functional structure that will anchor climbing houseplants for years. The cut stem of Phyllostachys or Bambusa species carries field pathogens, surface waxes, and residual sugars that invite mold in the enclosed atmosphere of a living room. Proper curing, sterilization, and sealing create a bio-stable column that resists fungal colonization and maintains structural integrity under the weight of monstera aerial roots or pothos vines.
Materials
Gather the following supplies, organized by function and chemical profile.
Bamboo Selection
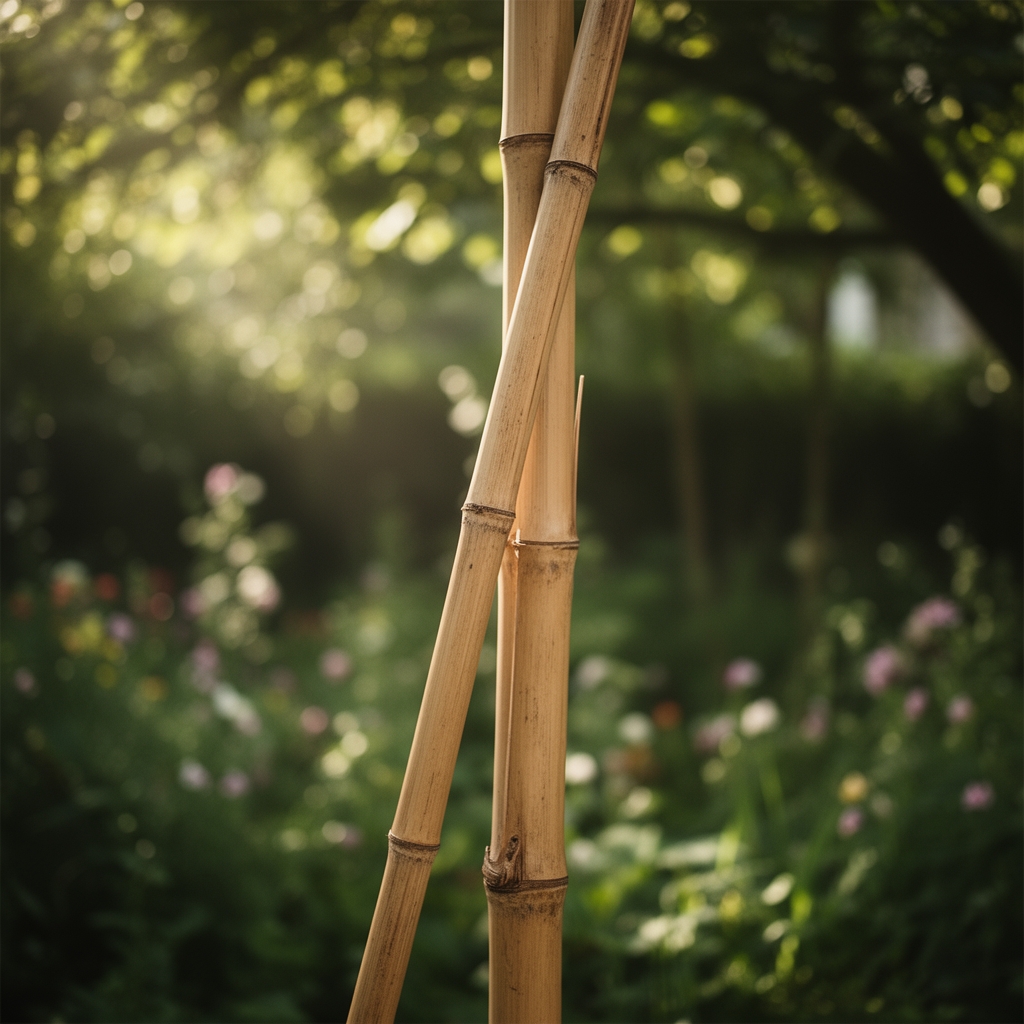
Choose poles 0.75 to 1.5 inches in diameter and at least 4 feet tall. Harvested culms older than three years offer lignin density above 40 percent, reducing flex under load.
Cleaning & Sterilization
A 10 percent bleach solution (sodium hypochlorite) adjusted to pH 11 eliminates surface spores of Aspergillus and Penicillium. Substitute hydrogen peroxide at 3 percent concentration for a gentler option that degrades to water and oxygen within 48 hours.
Sealing & Finishing
Boiled linseed oil penetrates the vascular bundles and polymerizes within the silica-rich epidermal layer. Tung oil provides a harder finish with superior water resistance. Both products carry an NPK of 0-0-0; they supply no nutrients but prevent moisture ingress that would trigger decomposition.
Fastening Hardware
Jute twine, coconut coir cord, or soft wire coated in vinyl. Avoid bare metal against wet stems; galvanic corrosion and auxin disruption occur at contact points where iron or copper ions leach into plant tissue.

Timing
Indoor bamboo preparation operates independently of hardiness zones, yet seasonal humidity fluctuates with outdoor conditions. In USDA Zones 3 through 7, winter indoor relative humidity drops to 20 percent, accelerating drying and risking splits. Prepare poles in late summer or early autumn when ambient humidity ranges from 50 to 60 percent. This window allows a controlled cure before heating systems activate in November.
In Zones 8 through 11, year-round preparation is feasible. Monitor indoor dew point; when it exceeds 55 degrees Fahrenheit, extend drying time by 72 hours to prevent surface condensation during the sealing phase.
Phases
Step 1: Harvesting or Sourcing
Purchase dried poles from garden suppliers or harvest live culms in late winter when carbohydrate reserves concentrate in rhizomes. Cut at a 45-degree angle 2 inches above a node to prevent water pooling. The node diaphragm acts as a natural bulkhead, compartmentalizing decay.
Pro-Tip: Select culms with intact nodal rings. A cracked node loses 30 percent shear strength and invites insect boring.
Step 2: Initial Cleaning
Scrub the exterior with a stiff nylon brush and dish soap to remove field soil, lichen thalli, and oxidized wax. Rinse under running water at 70 degrees Fahrenheit. Hot water above 120 degrees can flash-steam internal chambers and cause longitudinal cracking.
Pro-Tip: Inspect for exit holes of the bamboo powderpost beetle (Dinoderus minutus). Holes smaller than 2 mm indicate active infestation requiring heat treatment at 140 degrees Fahrenheit for 30 minutes.
Step 3: Sterilization Soak
Submerge poles in the 10 percent bleach solution for 20 minutes. Rotate every 5 minutes to ensure coverage of all nodal valleys. The hypochlorous acid penetrates 1 to 2 mm into the cortex, denaturing fungal proteins and bacterial cell walls. Rinse thoroughly; residual chlorine disrupts mycorrhizal fungi in potting media if poles touch soil.
Pro-Tip: Add 1 tablespoon of white vinegar per gallon of rinse water to neutralize alkaline bleach residue and restore a pH of 6.5.

Step 4: Drying
Stand poles vertically in a space with air circulation at 65 to 75 degrees Fahrenheit and 40 to 50 percent relative humidity. Lean them against a wall at a 10-degree angle to prevent warping. Drying time spans 7 to 14 days; thick-walled species like Phyllostachys nigra require the full two weeks. Check moisture content with a pin-type meter; readings below 12 percent indicate readiness for sealing.
Pro-Tip: Rotate poles 180 degrees every 48 hours to equalize moisture loss. Uneven drying creates tension wood that bows under plant weight.
Step 5: Sealing
Apply boiled linseed oil with a foam brush in two thin coats, allowing 24 hours between applications. The oil migrates into parenchyma cells and displaces air, reducing oxygen available for aerobic decomposition. Work in a ventilated area; volatile organic compounds dissipate within 72 hours. For high-humidity environments, substitute spar varnish diluted 1:1 with mineral spirits.
Pro-Tip: Seal cut ends with melted beeswax. The hydrophobic barrier prevents end-grain moisture wicking, which initiates splitting 3 inches from the terminal node.
Step 6: Final Curing & Installation
Cure sealed poles horizontally on sawhorses for 5 days. The polymerization reaction generates minimal heat but continues to off-gas for 120 hours. Insert the base into potting mix no deeper than 3 inches; deeper insertion fosters anaerobic pockets where Clostridium species produce volatile fatty acids that soften lignin bonds.
Pro-Tip: Anchor with a 4-inch terracotta pot saucer filled with pea gravel at the base. The ballast prevents tipping when a climbing philodendron reaches 6 feet.
Troubleshooting
Symptom: White powdery patches appear within two weeks.
Solution: Mold from incomplete sterilization. Re-soak in 3 percent hydrogen peroxide for 15 minutes, dry for 10 days, and apply a second oil coat.
Symptom: Longitudinal cracks radiate from nodes.
Solution: Moisture differential exceeded 4 percent between core and cortex. Wrap cracked sections with jute soaked in wood glue (polyvinyl acetate), then clamp with spring clamps for 48 hours.
Symptom: Pole bows under 5 pounds of plant mass.
Solution: Insufficient lignin content. Replace with a thicker-walled culm or install a second parallel pole spaced 4 inches apart, connected with horizontal crossbars at 18-inch intervals.
Symptom: Black spotting on internodes after six months.
Solution: Fusarium penetration through micro-cracks in the finish. Sand affected areas with 220-grit paper, wipe with isopropyl alcohol, and apply shellac-based primer before re-oiling.
Symptom: Insect frass accumulates at the base.
Solution: Secondary infestation by drugstore beetles (Stegobium paniceum). Remove pole, freeze at 0 degrees Fahrenheit for 72 hours, then retreat with permethrin-based wood preservative.
Maintenance
Wipe poles monthly with a microfiber cloth dampened with distilled water to remove dust that harbors spores. Avoid commercial cleaners containing ammonia; the alkaline pH degrades oil finishes within three months. Reapply linseed oil annually in a single thin coat, focusing on wear points where vine tendrils have abraded the surface. Inspect hardware quarterly; replace jute ties when tensile strength drops below 80 pounds per square inch, typically after 18 months of UV exposure from nearby windows.
If the pole contacts potting mix, monitor the cation exchange capacity of the substrate. High-CEC media above 25 meq/100g retain moisture against the bamboo base and require insertion of a 2-inch PVC collar as a moisture barrier.
FAQ
How long does a prepared bamboo pole last indoors?
Properly sealed poles remain structurally sound for 5 to 8 years. Degradation accelerates in rooms with humidity above 65 percent or temperatures exceeding 80 degrees Fahrenheit.
Can I use fresh-cut green bamboo immediately?
No. Green culms carry 60 to 80 percent moisture content and will split during rapid indoor drying. Cure for a minimum of 21 days before sealing.
What is the weight capacity of a 1-inch diameter pole?
A 1-inch pole with wall thickness of 0.25 inches supports 12 to 15 pounds when anchored 3 inches deep. Distribute load across multiple poles for heavier climbers like mature Epipremnum aureum.
Does bamboo need fertilizer after installation?
No. The pole is inert structural material. Direct fertilization to the potted plant at standard rates: 10-10-10 diluted to half-strength every four weeks during active growth.
How do I prevent mold in high-humidity rooms?
Increase air circulation with a small fan set to low speed. Position poles 6 inches from walls to allow 360-degree airflow. Apply a final coat of shellac over oil for added moisture resistance; shellac creates a hydrophobic film that repels condensation.