7 Steps to Install a Secure Garden Gate and Latch
Damp earth releases a sharp, geosmin-heavy scent as the spade breaks through the O-horizon. The turgor pressure of a healthy leaf depends on the stability of its environment; a secure perimeter is the first line of defense for the rhizosphere. Proper steps for installing a garden gate ensure that the structural integrity of your garden matches its biological vigor. A gate that sags or fails to latch allows erratic foot traffic to compact the soil, which reduces pore space and limits oxygen availability to root systems. Establishing a secure entryway requires the same precision as managing a soil's cation exchange capacity. Every measurement must be exact to prevent structural senescence. You are not just hanging wood or metal; you are calibrating the primary access point for your horticultural ecosystem. Failure to secure the latch results in mechanical damage to peripheral foliage when the gate swings unchecked. This guide provides the technical framework to install a gate that remains plumb through seasonal thermal expansion and contraction.
Materials:
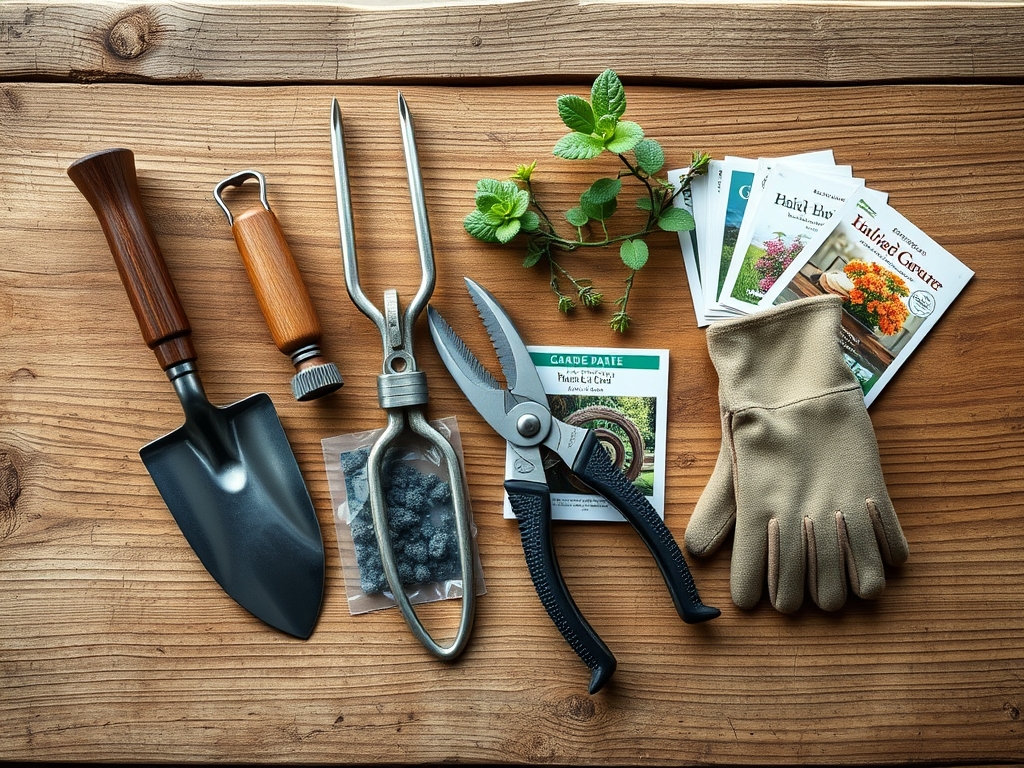
Before setting posts, analyze the substrate. The ideal substrate for post-setting is a **friable loam** with a **pH between 6.0 and 7.0**. High acidity (low pH) in the soil can accelerate the corrosion of galvanized hardware. If your soil has a high **Cation Exchange Capacity (CEC)**, it will retain moisture longer, necessitating the use of pressure-treated lumber rated for ground contact or a gravel drainage sleeve. To support the surrounding flora during installation, apply a balanced **10-10-10 NPK** fertilizer to the immediate area to offset the stress of localized soil compaction. If you are planting nitrogen-fixing cover crops near the gate, adjust to a **5-10-10 NPK** ratio to prioritize root development over excessive vegetative growth. You will need two 4×4 pressure-treated posts, quick-set concrete, heavy-duty strap hinges, and a gravity latch.
Timing:
Installation should occur when the soil is workable but not saturated. In Hardiness Zones 4 through 7, the ideal window is late spring after the final frost date has passed and the soil temperature reaches a consistent 55 degrees Fahrenheit. This prevents "frost heave," where the expansion of frozen soil moisture forces posts upward. Observe the biological clock of your garden; schedule construction during the transition from the vegetative stage to the reproductive stage of your primary perennials. This timing ensures that the heavy physical activity of installation does not interfere with the delicate pollination period or the high-auxin growth phase of early spring. Avoid installation during periods of high humidity to prevent the wood from reaching maximum hygroscopic expansion before it is even hung.
Phases:

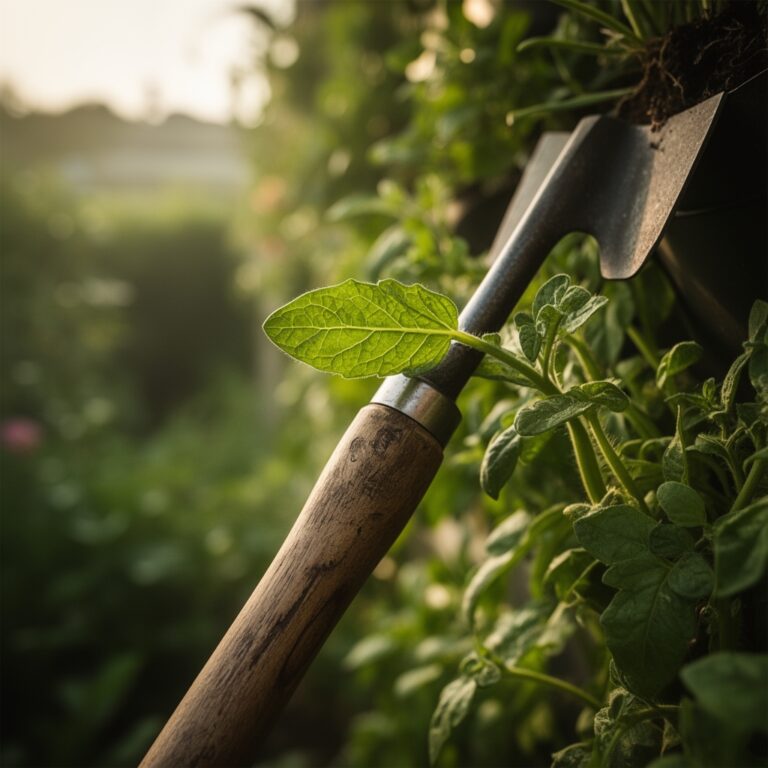
Sowing the Foundation
Excavate post holes to a depth of at least one-third the height of the post, plus six inches for a gravel base. In colder climates, you must dig below the frost line, often 30 to 48 inches deep. Use a post-hole digger to maintain a narrow, vertical shaft. This minimizes the disturbance to the surrounding mycorrhizal symbiosis in the soil.
Pro-Tip: Maintaining a narrow hole preserves the existing soil structure. Biological Why: Soil compaction outside the immediate hole protects the rhizosphere of nearby plants by preventing the collapse of macro-pores that facilitate gas exchange.
Transplanting the Posts
Set the posts and use a level to ensure they are perfectly plumb on two adjacent sides. Pour dry concrete mix into the hole and add water according to the manufacturer's ratio. Slope the top of the concrete away from the post to prevent water pooling.
Pro-Tip: Use temporary bracing to hold the posts for 24 hours. Biological Why: This prevents micro-shifts during the concrete's exothermic curing process, which can create gaps where anaerobic bacteria might proliferate and cause root rot in nearby specimens.
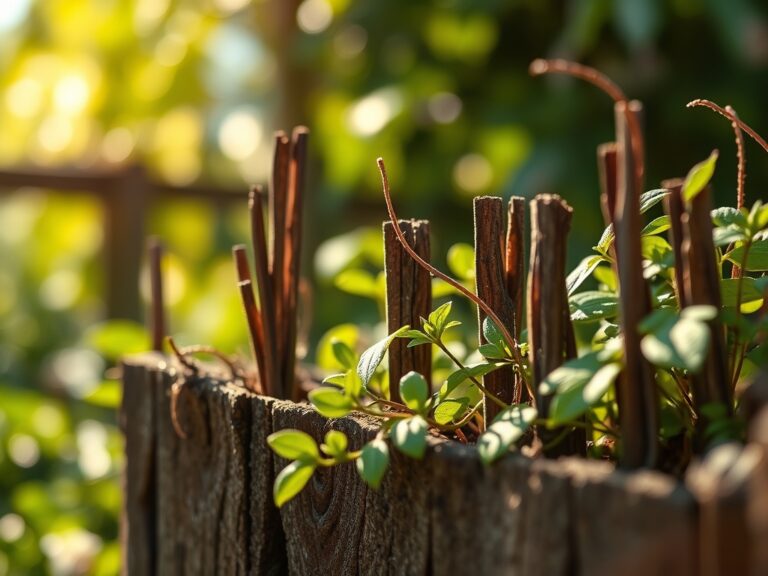
Establishing the Gate
Attach the strap hinges to the gate frame first, then to the post. Maintain a 1/2-inch clearance on the hinge side and a 3/4-inch clearance on the latch side to account for wood swelling during high-precipitation events. Install the latch at a height that is unreachable for local herbivores but ergonomic for the gardener.
Pro-Tip: Pre-drill all pilot holes for screws. Biological Why: Pre-drilling prevents the wood from splitting; split wood becomes a vector for fungal pathogens and wood-boring insects that can eventually migrate to your woody perennials.
The Clinic:
Symptom: Hinge Bind
Symptom: The gate resists closing and squeaks loudly.
Solution: Check the post for "lean." If the post has shifted due to poor soil drainage, install a diagonal turnbuckle (anti-sag kit) to pull the gate back into a square alignment.
Symptom: Post Rot
Symptom: The base of the post feels soft; the gate wobbles.
Solution: This is often caused by high soil moisture and low pH. Replace the post and incorporate a 3-inch layer of crushed stone at the base of the hole to improve drainage.
Symptom: Nitrogen Chlorosis in Adjacent Plants
Symptom: Leaves of plants near the new gate turn pale yellow while veins remain green.
Solution (Fix-It): Construction often leaches lime from concrete, raising soil pH and locking out nitrogen. Apply a chelated iron supplement and a high-nitrogen fertilizer (e.g., 21-0-0 ammonium sulfate) to restore leaf turgor and color.
Maintenance:
A garden gate requires seasonal calibration. Use a soil moisture meter to monitor the area around the posts; excessive moisture can lead to soil "muckiness," causing the posts to lose their grip. Ensure the surrounding plants receive exactly 1.5 inches of water per week at the drip line to prevent root systems from seeking moisture underneath the gate's concrete footer. Every six months, use bypass pruners to clear any encroaching vegetation that might trap moisture against the wood. If you notice the gate dragging, use a hori-hori knife to shave down the high spot in the soil or sod rather than re-hanging the entire gate. Lubricate hinges with a dry graphite spray to avoid attracting grit that can grind down the metal.
The Yield:
While a gate does not produce a harvest, its "yield" is measured in the security of the biomass within. A properly installed gate prevents the "harvesting" of your crops by unauthorized wildlife. For edible gardens, the gate marks the transition from the external environment to the controlled production zone. By maintaining a secure perimeter, you ensure that your fruits and vegetables reach peak senescence on the vine rather than being consumed prematurely. When you do harvest, the gate provides a wide, stable exit for transporting heavy crates of produce, ensuring that "day-one" freshness is maintained by getting the yield to cool storage without mechanical bruising.
FAQ:
How deep should I set my gate posts?
Set posts at a depth equal to one-third of their total length. In regions with freezing winters, the hole must extend 6 inches below the local frost line to prevent the gate from shifting during freeze-thaw cycles.
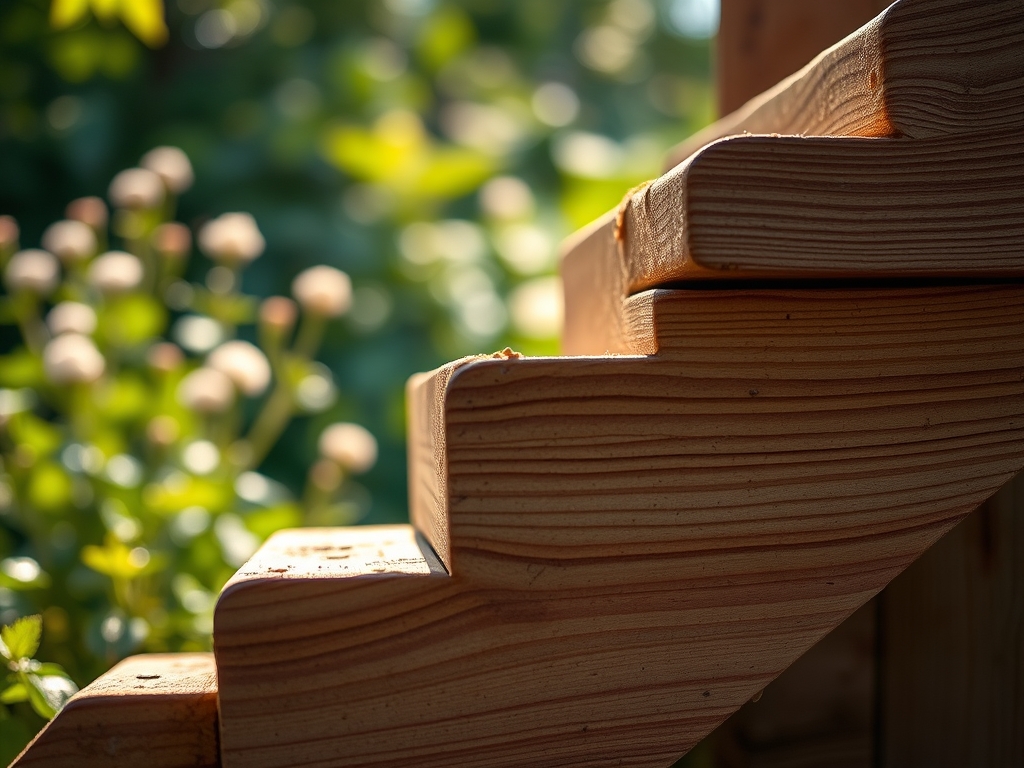
What is the best wood for a garden gate?
Use Western Red Cedar or Pressure-Treated Pine. Cedar contains natural oils that resist decay and insects; pressure-treated lumber is chemically infused to withstand high-moisture environments and direct contact with soil microbes and fungi.
How do I prevent my garden gate from sagging?
Install a diagonal cross-brace or a metal turnbuckle kit. The brace must run from the bottom corner on the hinge side to the top corner on the latch side to effectively transfer the weight to the hinges.
Can I use concrete to set my gate posts?
Yes, concrete provides the highest lateral stability. Ensure the concrete terminates 2 inches below the soil surface and is topped with soil to maintain the aesthetic and biological continuity of the garden's topsoil layer.