7 Steps to Prepare a New Garden Pond Site
Learning how to prepare a site for a garden pond requires understanding the intersection of soil mechanics, hydrology, and structural planning. The smell of turned earth, the weight of clay on a spade, and the shimmer of water finding its level mark the beginning of an aquatic ecosystem that will persist for decades. Site preparation determines whether your pond holds water efficiently or becomes a maintenance burden draining both time and resources.
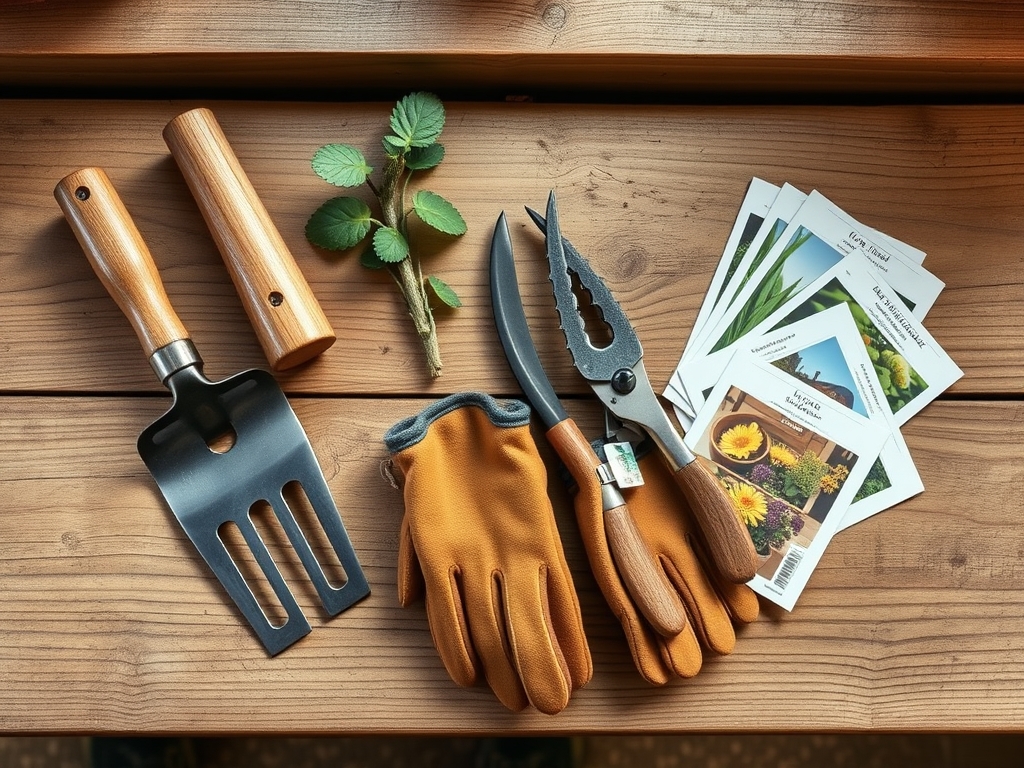
Materials
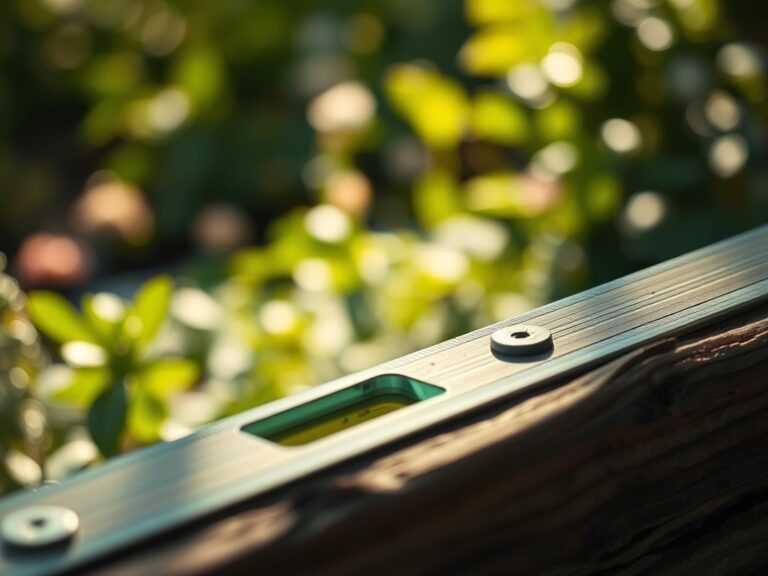
Site Assessment Tools
- Line level and stakes (accuracy to 1/8 inch over 10 feet)
- Soil pH test kit (target range 6.5-7.5 for balanced aquatic plant growth)
- Compaction tamper (150-pound plate minimum)
- Flexible pond liner (45-mil EPDM or equivalent)
- Underlayment fabric (8-ounce geotextile minimum)
Soil Amendments and Structural Materials
- Bentonite clay (25 pounds per 100 square feet for seepage control)
- Sand base layer (3-4 inch depth, washed masonry grade)
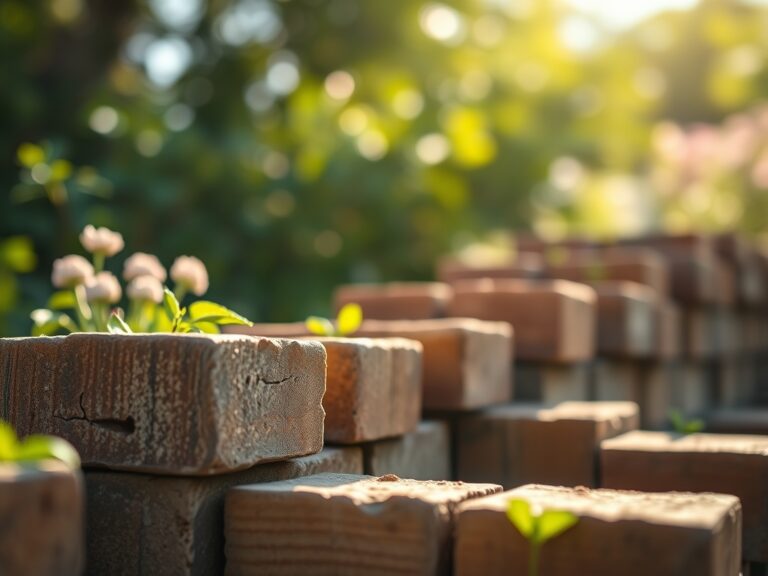
- Edging stone or timber (pressure-treated rated for ground contact)
- Organic matter (well-aged compost at 2-3 inch incorporation depth)
Aquatic Planting Media
- Heavy clay loam (NPK 0-0-0 native soil preferred)
- Aquatic plant fertilizer tablets (10-14-8 slow-release formulation)
- Pea gravel cap (1/2 inch diameter, 2 inch depth over planting media)
Cation exchange capacity matters significantly in pond substrate. Clay particles hold nutrients through ionic bonding while preventing fertilizer from dispersing into the water column.
Timing
Zone 5 and colder: Begin excavation after final frost date when soil temperature reaches 50°F at 6-inch depth. Ground must be workable without forming clods.
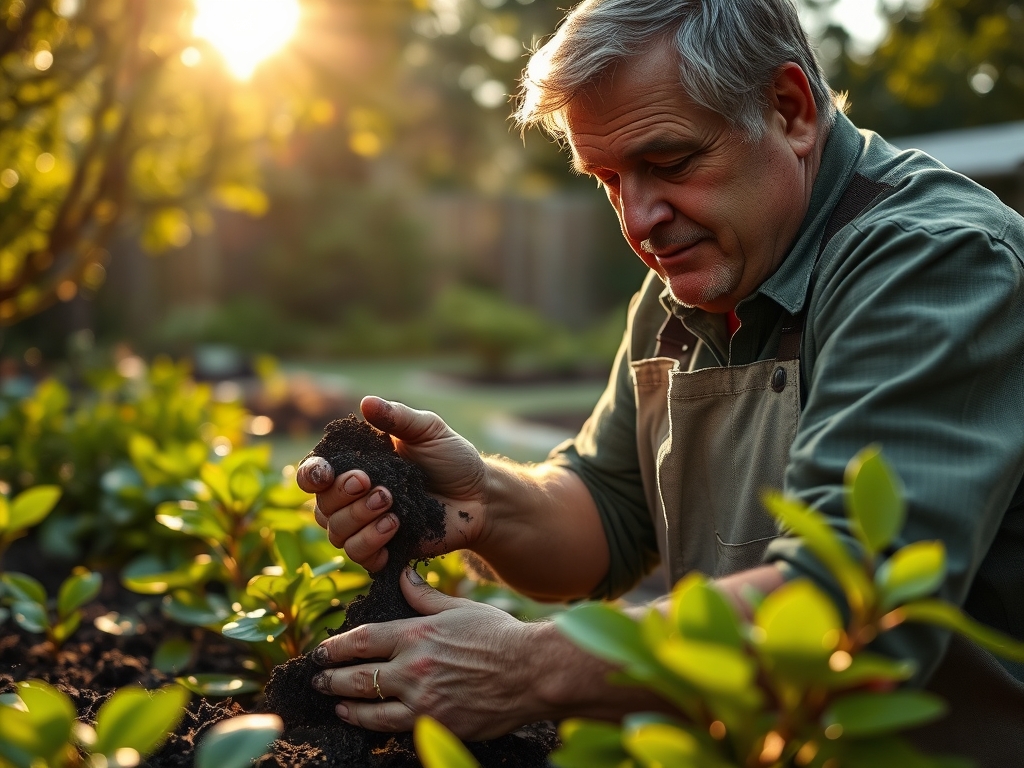
Zone 6-7: Mid-March through April offers ideal conditions. Soil moisture content should allow a handful to form a loose ball that crumbles under light pressure.
Zone 8 and warmer: Late winter preparation (January-February) allows planting by early spring. Avoid summer excavation when heat stress affects both workers and newly introduced aquatic plants.
Autumn site preparation (September-October across most zones) allows winter settling. This timing reduces spring workload and permits earlier stocking.
Phases
Site Selection and Excavation
Mark the perimeter with stakes at 3-foot intervals. Remove sod in intact sections for use elsewhere or composting. Excavate to planned depth plus 6 inches for base materials. Create shelves at 9-inch and 18-inch depths for marginal plant zones. Slope sides at 20-degree maximum angle to prevent collapse.
Check level across multiple axes every 12 inches of digging. Even 2-inch discrepancies create visual imbalance and complicate edging installation.
Pro-Tip: Excavate 8 inches beyond the final pond footprint. This working margin simplifies liner installation and provides space for edge treatment without compromising the water-holding envelope.
Base Preparation and Liner Installation
Remove all roots, rocks larger than 1 inch, and debris from the excavation. Compact soil with multiple passes until boot-heel pressure creates no visible depression. Spread sand base evenly and screed level with a straightedge. Compact sand layer to 90% density.
Install underlayment fabric with 12-inch overlaps at seams. Position liner during warmest part of day when material flexibility peaks. Anchor temporarily with smooth stones. Begin filling, adjusting liner position as water weight settles material into contours.
Pro-Tip: Introduce beneficial bacteria culture (Bacillus subtilis and Nitrosomonas species) at first fill. These establish nitrogen cycling before fish or high plant loads stress the system.
Edging and Marginal Establishment
Trim liner 12 inches beyond water level after full settling (72 hours minimum). Fold excess under edging materials rather than cutting flush. This prevents wicking and masks liner visually. Install edging with 1-inch overhang above water surface.
Plant marginals in fabric baskets filled with clay loam. Top with pea gravel to prevent soil dispersal. Position baskets at species-appropriate depths: iris at 2-4 inches, water lily at 12-18 inches.
Pro-Tip: Apply mycorrhizal inoculant to marginal plant roots at a rate of 1 tablespoon per gallon of planting media. Glomus species colonization enhances phosphorus uptake even in saturated conditions.
Troubleshooting
Symptom: Water Level Drops More Than 1 Inch Per Week
Solution: Differentiate evaporation from leakage. Mark water level and monitor for 48 hours with pump off. Loss exceeding 1/4 inch daily indicates liner damage or poor edge seal. Inspect folds and penetrations first.
Symptom: Persistent Cloudy Water (Turbidity Exceeding 15 NTU)
Solution: Suspended clay particles indicate insufficient base compaction or disturbed planting media. Add liquid flocculant (aluminum sulfate at 1 tablespoon per 100 gallons). Increase mechanical filtration to 5-micron capture.
Symptom: Algae Blooms Within Two Weeks of Fill
Solution: Excess phosphorus from tap water or runoff feeds rapid algal growth. Test phosphorus levels (target below 0.05 ppm). Install barley straw at 8 ounces per 100 gallons. Ensure 60% surface coverage with floating or marginal plants to limit light penetration.
Symptom: Marginal Plants Exhibiting Chlorosis
Solution: Nitrogen deficiency common in new ponds lacking established bacterial populations. Apply aquatic fertilizer tablets monthly during growing season. Verify water pH remains between 6.8-7.4 for optimal nutrient availability.
Maintenance
Test water pH weekly for the first month, then monthly. Maintain pH between 6.8 and 7.4 using agricultural lime (raises) or sulfur (lowers) at rates of 1 tablespoon per 100 gallons per 0.2 pH adjustment needed.
Remove fallen leaves daily during autumn. Organic matter decomposition depletes oxygen and releases tannins that lower pH. Net installations reduce labor but require weekly cleaning.
Top off water loss weekly to maintain consistent depth. Municipal water contains chlorine or chloramine requiring neutralization with sodium thiosulfate at 1 teaspoon per 100 gallons.
Divide marginal plants every 3 years in early spring. Root-bound specimens decline in flower production and compete aggressively for space.
FAQ
How deep should a garden pond be?
Minimum 24 inches in temperate zones prevents complete freezing. Deeper zones to 36 inches allow fish overwintering and support greater temperature stability.
Can I build a pond without a liner?
Clay-rich soils (40% clay content minimum) hold water if compacted to 95% density. Bentonite amendments improve sealing in marginal soils. Most sites require synthetic liner for reliable water retention.
How long before I can add fish?
Wait 4-6 weeks after filling. This allows nitrogen cycle establishment and chlorine dissipation. Test ammonia (0 ppm), nitrite (0 ppm), and nitrate (below 40 ppm) before stocking.
What plants establish fastest in new ponds?
Water hyacinth, duckweed, and hornwort establish within 7-10 days. These rapidly absorb excess nutrients while slower marginals develop root systems.
Should I run pumps continuously?
Continuous operation maintains dissolved oxygen above 6 ppm and prevents stratification in ponds exceeding 500 gallons. Smaller features tolerate 12-hour daily cycles if heavily planted.