7 Vital Steps to Plant Catnip Herbs
Crushing a fresh leaf of Nepeta cataria releases a sharp, minty musk that signals the presence of nepetalactone, a terpenoid produced in the bulbous trichomes of the foliage. Successful cultivation requires more than casual effort; it demands an understanding of cellular turgor and soil chemistry. Following the correct steps to plant catnip herbs ensures a robust harvest of essential oils rather than a spindly, chlorotic specimen. You must manage light cycles and drainage to prevent root senescence in this aggressive perennial.
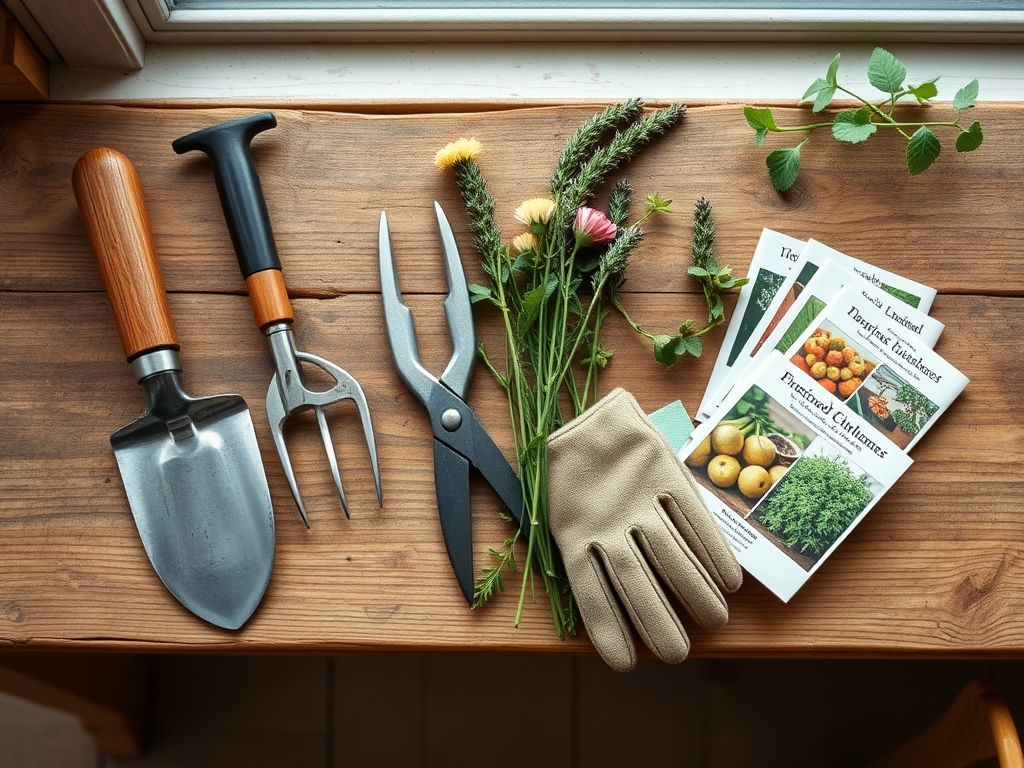
Materials:
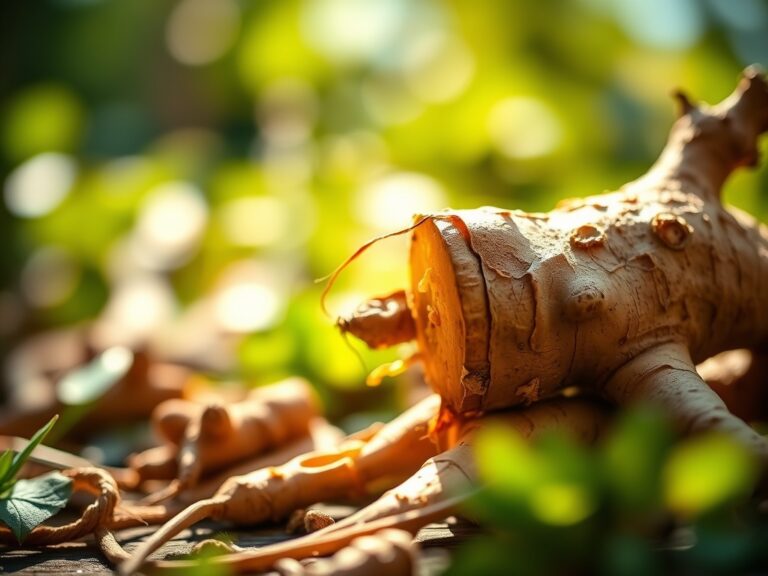
The biological success of *Nepeta cataria* begins with the substrate. This species thrives in a **friable loam** that allows for rapid gas exchange within the rhizosphere. Compacted clay will cause oxygen deprivation and subsequent root rot.
Target a soil pH between 6.0 and 7.5. If your soil is highly acidic, incorporate dolomitic lime to raise the pH and provide essential magnesium. For the initial growth phase, utilize a fertilizer with an NPK ratio of 10-10-10 to support balanced leaf and root development. Avoid high-nitrogen formulas like 30-10-10; excessive nitrogen increases vegetative mass at the expense of essential oil concentration.
The soil must have a moderate Cation Exchange Capacity (CEC) to retain potassium and calcium ions. If planting in containers, use a mix of 60 percent peat or coco coir, 30 percent perlite for aeration, and 10 percent composted organic matter. Ensure your hori-hori knife is sharpened for clean incisions during the planting process.
Timing:
Nepeta cataria is hardy in USDA Zones 3 through 9. The biological clock of the plant is governed by the photoperiod and soil temperature. Do not move seedlings outdoors until the soil temperature consistently reaches 55 degrees Fahrenheit (12.8 degrees Celsius).
In temperate climates, the ideal window for sowing is six weeks before the last predicted frost. The plant transitions from its vegetative stage to its reproductive (flowering) stage as day lengths increase in midsummer. To maximize leaf production, you must intervene before the plant reaches full senescence by pruning the flower spikes. This redirection of energy keeps the plant in a state of active metabolic growth.
Phases:
Sowing
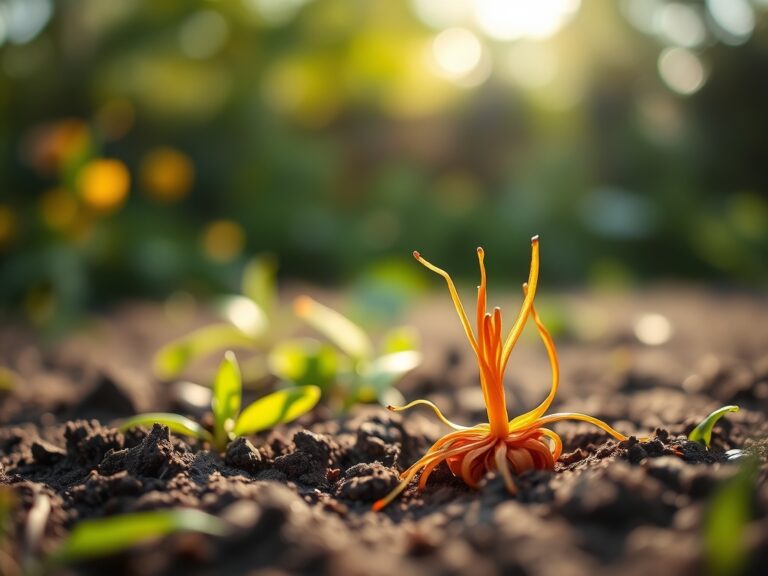
Start seeds indoors in sterile flats. Surface-sow the seeds as they require light for germination; a process known as positive photoblasty. Press them lightly into the medium but do not cover them with soil. Maintain a constant temperature of 70 degrees Fahrenheit. Germination typically occurs within 7 to 14 days.
Pro-Tip: Maintain consistent humidity during germination to prevent the delicate radicle from desiccating. This ensures the seedling establishes a strong primary root before the first true leaves appear.
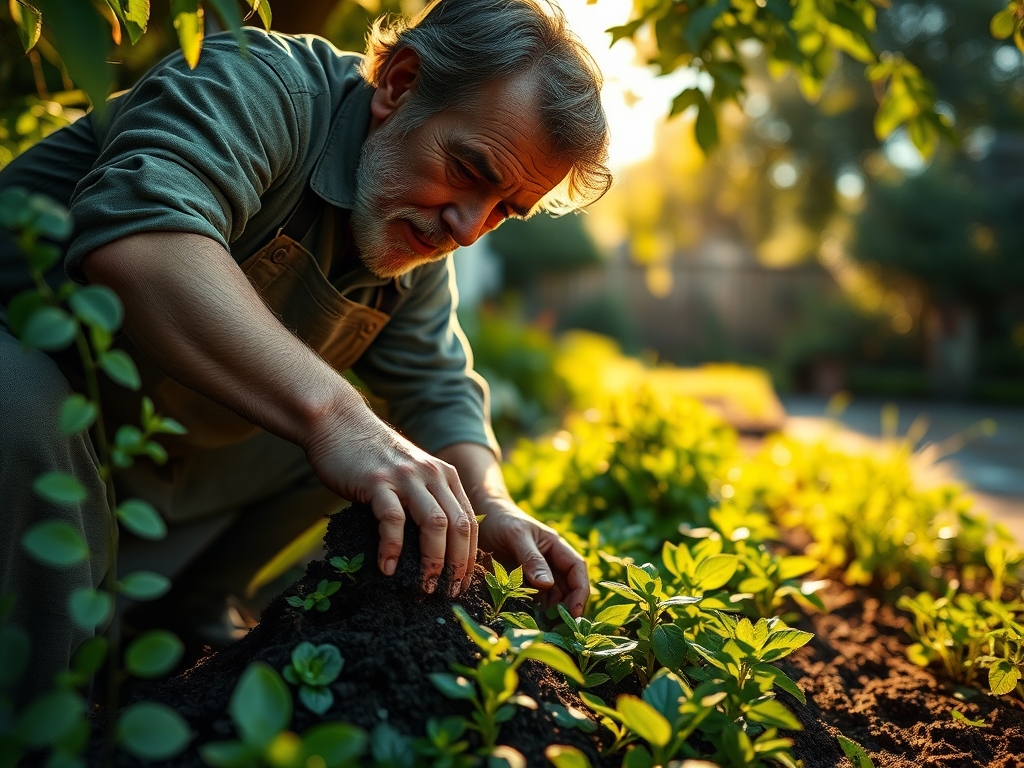
Transplanting
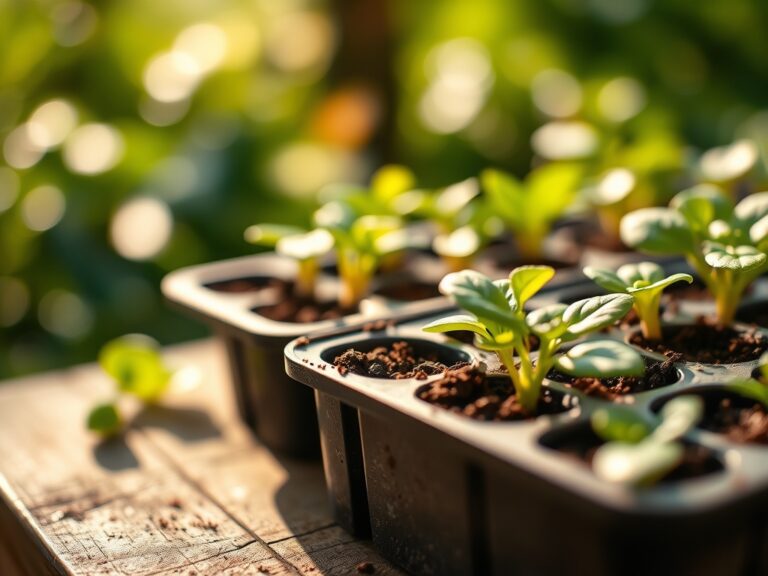
Once seedlings reach three inches in height and have developed at least two sets of true leaves, they are ready for hardening off. Space plants 18 to 24 inches apart. This spacing is critical for airflow, which reduces the incidence of fungal pathogens like powdery mildew. Use a hori-hori knife to dig a hole twice the width of the root ball.
Pro-Tip: Dust the root ball with mycorrhizal fungi during transplanting. This symbiotic relationship enhances the plant's ability to uptake phosphorus and water by effectively increasing the surface area of the root system.
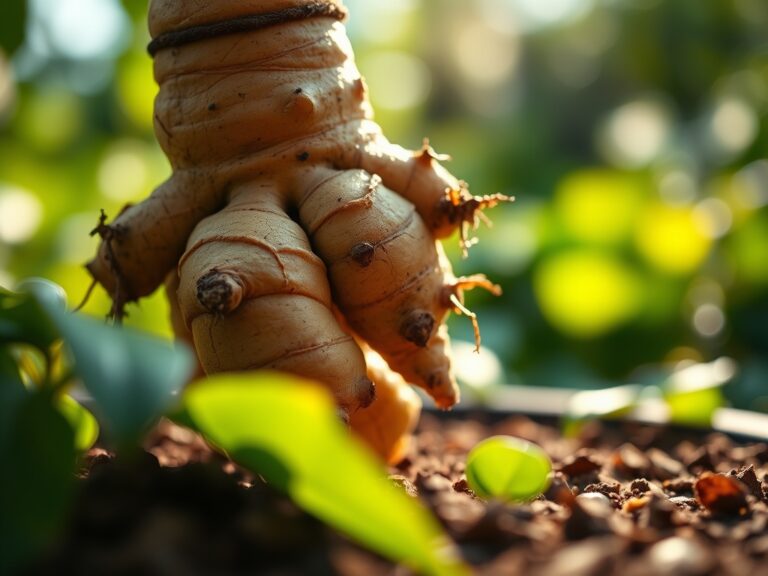
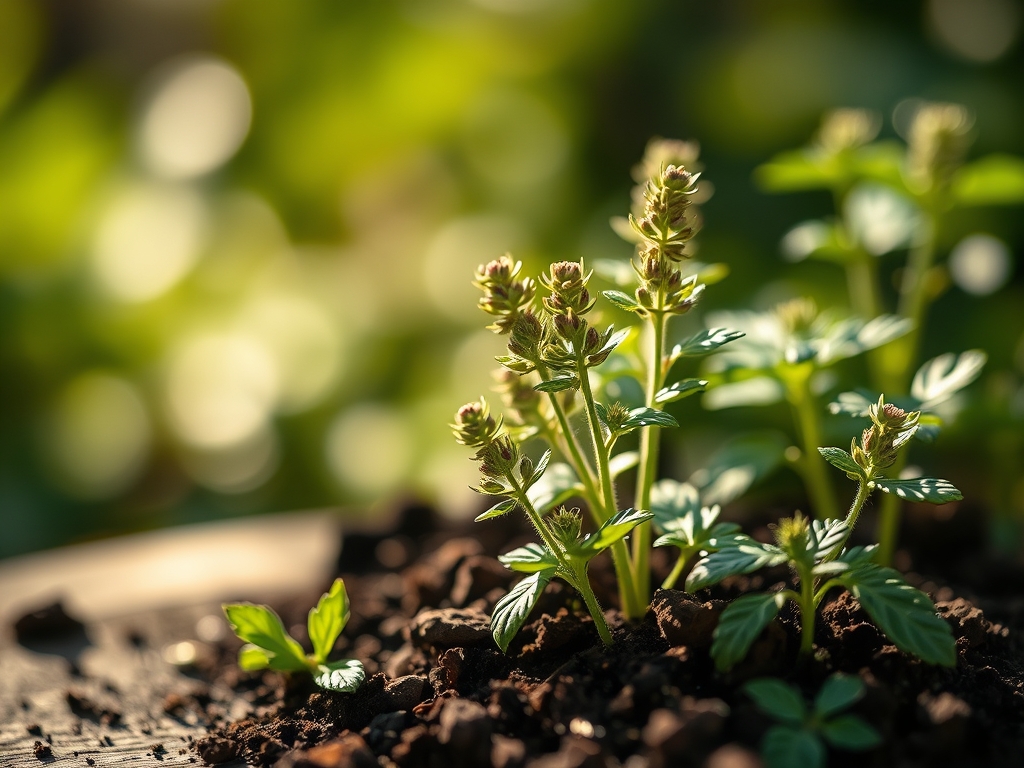
Establishing
During the first three weeks after transplanting, the plant focuses on root expansion. Monitor the soil moisture daily. The plant should show high turgor pressure in the mornings. If the leaves appear flaccid, the xylem is not transporting water efficiently enough to keep up with transpiration.
Pro-Tip: Pinch off the apical meristem (the top growing tip) once the plant is six inches tall. This triggers auxin suppression, forcing the plant to grow laterally and creating a bushier, more productive herb.
The Clinic:
Physiological disorders often stem from environmental stressors or nutrient imbalances. Use the following diagnostic criteria to identify issues.
Symptom: Yellowing of lower leaves (Chlorosis).
Solution: This is typically a Nitrogen deficiency. Apply a water-soluble 10-10-10 fertilizer. If the veins remain green while the rest of the leaf turns yellow, it is likely Iron or Magnesium deficiency caused by high pH levels.
Symptom: White, powdery spots on leaf surfaces.
Solution: This is Powdery Mildew. Improve air circulation and reduce overhead watering. Increase the spacing between plants to lower the humidity in the microclimate.
Symptom: Stunted growth and purple tint on stems.
Solution: This indicates Phosphorus deficiency, often caused by cold soil temperatures (below 50 degrees Fahrenheit) which lock out phosphorus uptake regardless of soil concentration.
Fix-It for Drainage: If the plant shows signs of wilting despite wet soil, it is experiencing root hypoxia. Incorporate coarse sand or perlite into the top six inches of soil immediately to improve macropore space.
Maintenance:
Precision is the hallmark of a master horticulturist. Nepeta cataria requires 1.5 inches of water per week, delivered ideally at the drip line to keep the foliage dry. Use a soil moisture meter to ensure the root zone stays damp but not saturated.
Weed suppression is vital during the first season. Use a hori-hori knife to remove competitors by the root. For pruning, use bypass pruners to make clean, slanted cuts above a node. This prevents water from pooling on the cut surface, which can lead to localized necrosis. If the plant becomes leggy in midsummer, shear it back by one-third of its total height to stimulate a second flush of growth.
The Yield:
Harvesting should occur when the nepetalactone concentration is at its peak; this happens just as the plant begins to flower. Use bypass pruners to cut stems in the early morning after the dew has evaporated but before the sun's heat volatilizes the essential oils.
Leave at least four inches of growth above the soil line to ensure the plant can recover for a subsequent harvest. For "day-one" freshness, bundle the stems and hang them upside down in a dark, well-ventilated area with temperatures between 65 and 75 degrees Fahrenheit. Avoid direct sunlight during the drying process, as UV rays degrade the chemical potency of the herb.
FAQ:
How much sun does catnip need?
Catnip requires a minimum of six hours of direct sunlight daily. While it can tolerate partial shade, insufficient light leads to leggy growth and a significant reduction in essential oil production within the leaf trichomes.
Why are my catnip seeds not sprouting?
Catnip seeds are photoblastic, meaning they require light to trigger germination. If you bury them too deeply, the embryo will not receive the necessary light signals. Ensure soil temperatures remain consistently above 65 degrees Fahrenheit for optimal success.
Can catnip grow in pots?
Yes, catnip thrives in containers provided they have a 12-inch diameter and excellent drainage. Use a high-quality potting mix with a balanced NPK ratio and monitor moisture levels closely, as pots undergo faster evaporation than in-ground soil.
How do I stop catnip from spreading?
Catnip spreads via seeds and rhizomes. To control its footprint, use a hori-hori knife to prune roots annually or plant it in a buried container. Deadheading the flowers before they drop seeds is essential for preventing unwanted volunteers.