8 Steps to Clean and Sterilize Used Plastic Pots
Reusing plastic nursery pots saves money and reduces landfill waste, but recycled containers harbor disease spores, mineral salts, and algae biofilms that threaten new plantings. Proper sanitation breaks this chain of infection and restores containers to near-sterile condition. The steps for cleaning used plastic nursery pots combine mechanical removal of organic debris with chemical sterilization, creating safe environments for seedlings and transplants. Each stage addresses specific pathogens, from damping-off fungi to bacterial crown rots that persist in pot crevices.
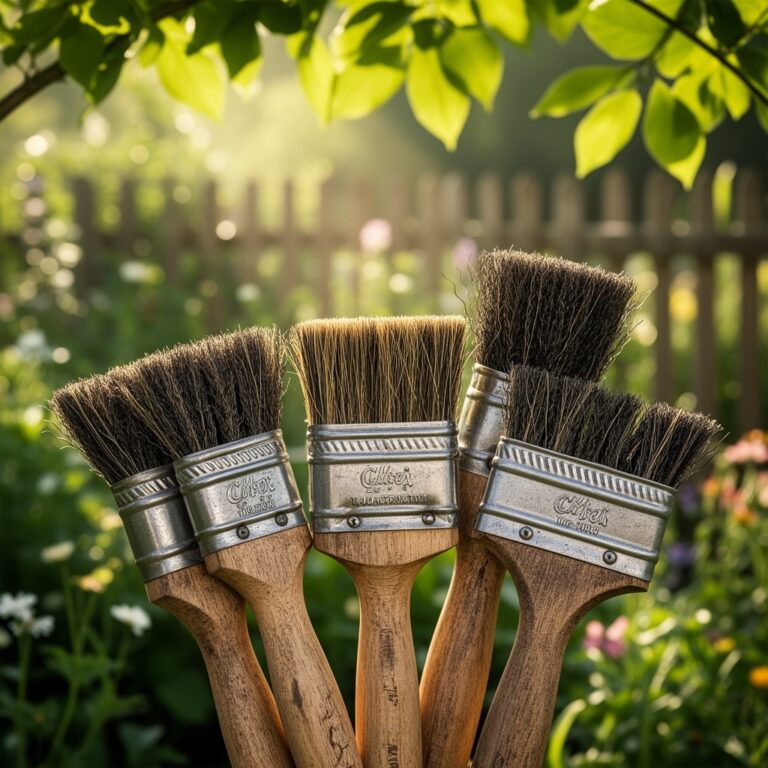
Materials
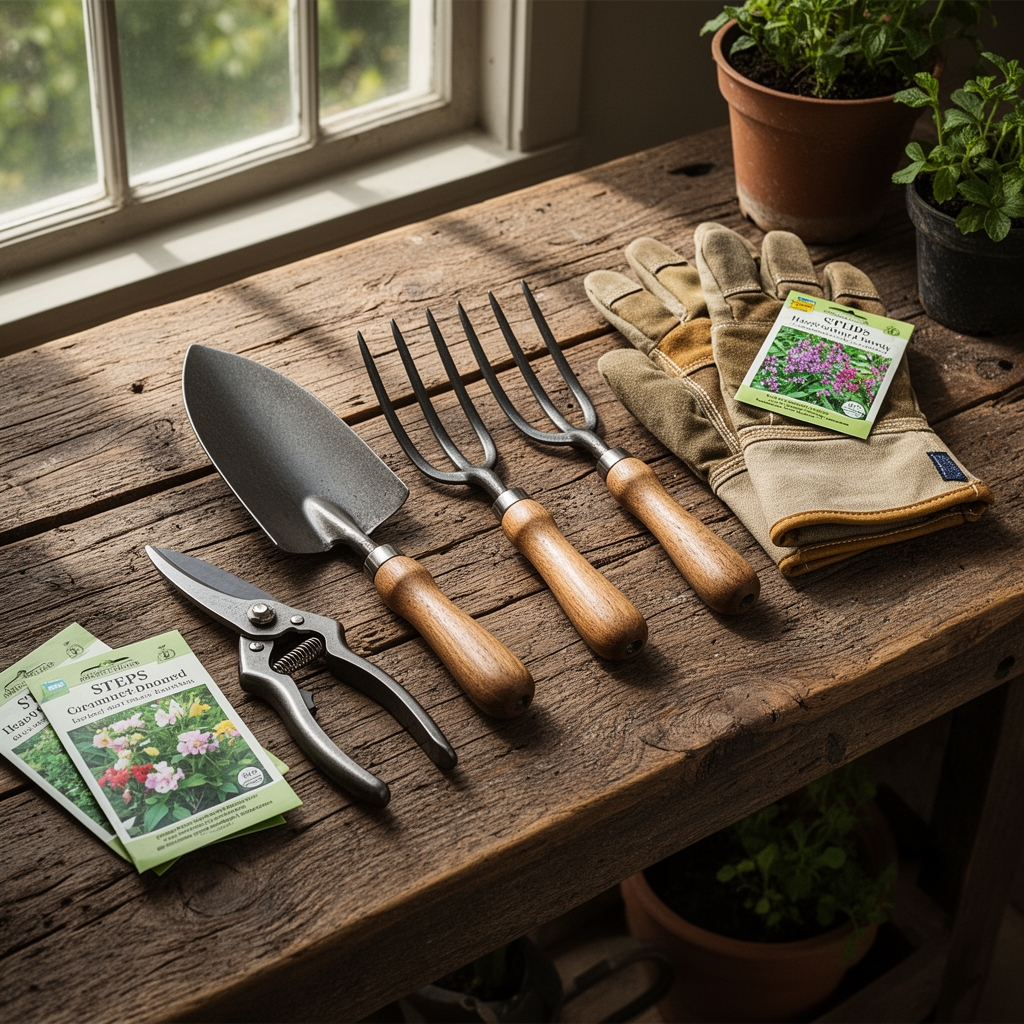
Gather stiff-bristle brushes rated for scrubbing textured surfaces without degrading polypropylene. A 5-gallon bucket holds enough solution for batch processing. White vinegar (5% acetic acid, pH 2.4) dissolves mineral deposits and lowers water pH for enhanced disinfectant activity. Household bleach (sodium hypochlorite at 5.25-8.25% concentration) oxidizes organic matter and destroys pathogen cell walls. Dish soap breaks surface tension and lifts oils.
For organic growers, hydrogen peroxide (3% solution, pH 6.2) serves as an alternative oxidizing agent. Quaternary ammonium compounds (quats) offer residual antimicrobial protection but require thorough rinsing to prevent root inhibition. Commercial greenhouse disinfectants often contain didecyl dimethyl ammonium chloride at 0.5-2% active concentration, formulated specifically for horticultural plastics without phytotoxic residues.
Timing
Clean pots between seasons when soil temperatures fall below 50°F, signaling dormancy in most zones. In USDA Hardiness Zones 3-6, sterilize containers during late October through March, before spring sowing begins. Zones 7-9 benefit from mid-winter sanitation in December and January when pathogen populations enter stationary phase. Zones 10-11 require quarterly cleaning cycles due to year-round growing conditions that allow continuous pathogen multiplication.
Complete sterilization 14 days before intended planting to allow residual disinfectants to volatilize. This buffer prevents chemical interference with mycorrhizal fungi inoculation and seed germination. Schedule cleaning after the last frost date passes, when outdoor water sources thaw and ambient temperatures exceed 40°F for comfortable handling.
Phases
Step 1: Empty and Dry Knock
Invert pots and strike sharply against a hard surface to dislodge root balls and compacted soil. Remove 90% of loose media this way. Dried soil separates more cleanly than wet substrate, reducing scrubbing time by half.
Step 2: Initial Rinse
Spray pots with high-pressure water at 40-60 psi to flush drainage holes and rim channels. This removes soil particles that interfere with disinfectant contact. Target the interior bottom where salts accumulate.
Step 3: Soap Scrub
Fill the bucket with warm water (110-120°F) and add 2 tablespoons dish soap per gallon. Submerge pots for 10 minutes to soften algae films. Scrub all surfaces with circular motions, paying attention to textured interiors where fungal hyphae anchor.
Pro-Tip: Use a bottle brush for deep containers over 8 inches tall. The angled bristles reach bottom corners where Pythium zoospores cluster in moisture films.
Step 4: Vinegar Soak
Create a solution of 1 part white vinegar to 3 parts water. Submerge pots for 30 minutes to dissolve calcium and magnesium carbonate deposits that appear as white crusts. This step restores cation exchange capacity in pot surfaces, allowing proper nutrient solution contact later.
Step 5: Bleach Disinfection
Mix 1 part bleach to 9 parts water (yielding approximately 0.5% sodium hypochlorite). Submerge pots completely for 10 minutes. This concentration kills 99.9% of fungal spores including Fusarium, Rhizoctonia, and Botrytis. Ensure solution contacts all surfaces.
Pro-Tip: Increase contact time to 30 minutes for pots that held diseased plants. Extended exposure denatures viral proteins and bacterial endospores resistant to shorter treatments.
Step 6: Triple Rinse
Flush each pot with clean water three times, allowing 30-second drain intervals between rinses. Residual chlorine inhibits beneficial microbes and disrupts auxin distribution in developing roots. Test rinse water with a chlorine test strip; readings should fall below 0.2 ppm.
Step 7: Air Dry
Invert pots on wire racks in full sun for 48 hours. UV radiation at wavelengths of 250-280 nanometers provides secondary sterilization. Sunlight also accelerates chlorine off-gassing and prevents anaerobic conditions that allow pathogen regrowth.
Step 8: Storage
Stack dried pots in covered bins away from soil and compost. Elevated storage prevents ground-dwelling insects from depositing eggs in drainage holes. Store in temperatures below 75°F to discourage microbial recolonization during idle periods.
Troubleshooting
Symptom: White crusty rings persist after vinegar soak.
Solution: Apply undiluted vinegar directly to deposits. Let sit 60 minutes, then scrub with steel wool. These are calcium oxalate crystals requiring stronger acid contact.
Symptom: Green algae regrows within 2 weeks of cleaning.
Solution: Increase bleach concentration to 1:5 ratio for 15 minutes. Algae forms resistant cysts that survive standard dilutions. Store cleaned pots in complete darkness.
Symptom: Pot plastic becomes brittle or discolored.
Solution: Reduce bleach contact time to 5 minutes. UV-degraded polypropylene absorbs chlorine excessively, causing polymer chain breakdown. Replace pots showing stress cracks.
Symptom: Seedlings in cleaned pots show stunted root hairs.
Solution: Extend rinse cycle to 5 flushes. Residual quaternary ammonium compounds concentrate in drainage holes and leach slowly, interfering with root cap auxin signaling.
Maintenance
Rinse pots after every use even if they appear clean. Biofilms form within 72 hours in moist conditions. Perform full sterilization after growing any member of Solanaceae or Brassicaceae, families prone to soil-borne wilt diseases. Replace pots every 3-5 years as UV exposure degrades plastic integrity regardless of cleaning frequency.
Apply 1 tablespoon of food-grade diatomaceous earth to pot bottoms before filling with media. This creates a mechanical barrier against fungus gnat larvae and improves drainage by preventing soil compaction over drain holes.
FAQ
How often should plastic pots be sterilized?
After each growing cycle and always between different plant species. Disease organisms show host specificity but cross-contamination risk justifies universal sterilization.
Can I skip bleach for organic certification?
Use 3% hydrogen peroxide at full strength for 20-minute soaks. Alternatively, steam sterilization at 180°F for 30 minutes kills pathogens without chemical residues.
Do terra cotta pots require the same process?
Clay is porous and absorbs pathogens into the matrix. Soak in 1:5 bleach solution for 24 hours, then oven-bake at 220°F for 2 hours.
What about nursery pots with cracks?
Discard them. Fissures harbor anaerobic bacteria and prevent complete sterilization regardless of chemical exposure.
Can I reuse potting soil after sterilizing pots?
No. Used media contains depleted nutrients, compressed air pores, and pathogen-laden organic matter that survives outside containers. Always start with fresh substrate formulated to appropriate NPK ratios for your crop.