8 Sturdy Steps to Build a Vegetable Garden Pergola
The smell of sun-warmed tomato leaves and the creak of weathered cedar mark the heart of a working garden. Building a permanent structure to support pole beans, cucumbers, and indeterminate tomatoes transforms vertical space into productive real estate. Steps for building a garden pergola for climbing veg begin with engineering a frame that survives wind loads while providing adequate light penetration for understory crops.
Materials
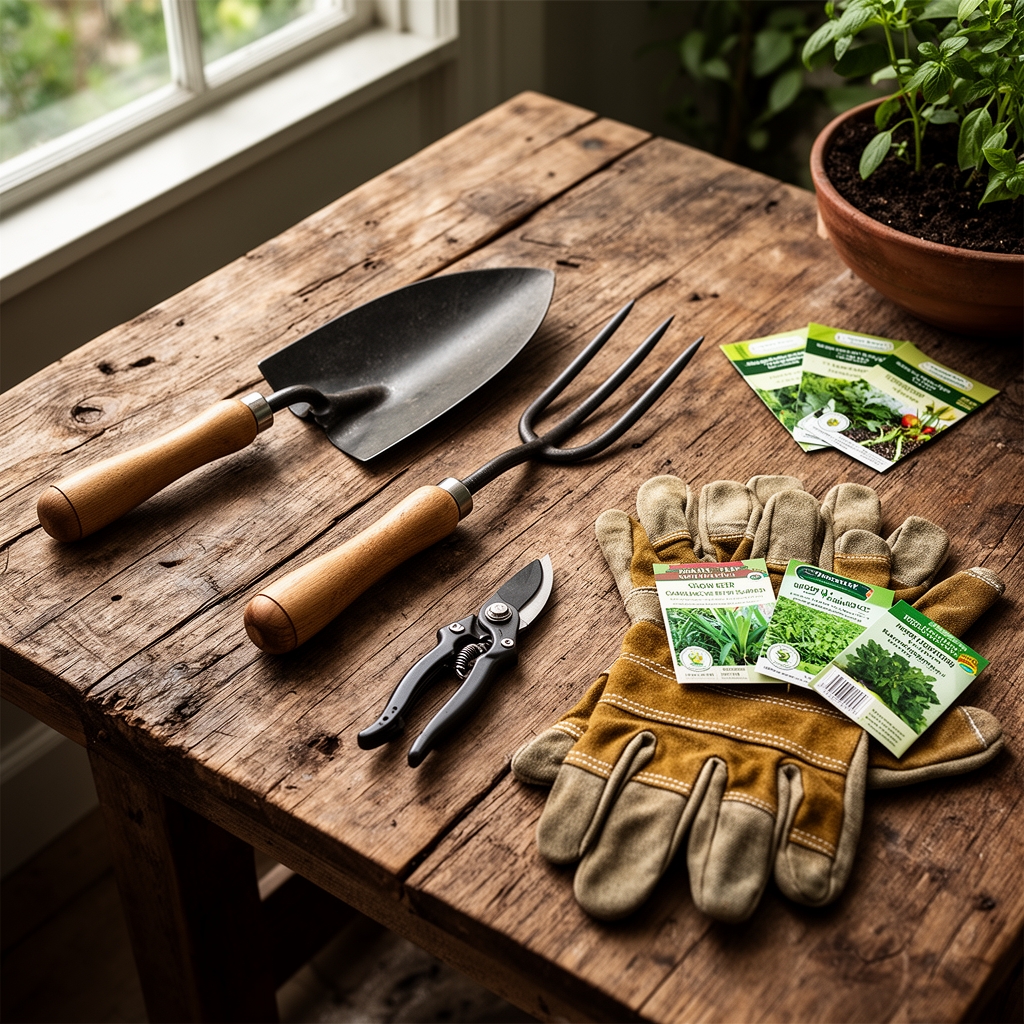
Select pressure-treated lumber rated for ground contact (4×4-inch posts, 2×6-inch beams) or naturally rot-resistant cedar heartwood. Avoid creosote-treated wood near edibles due to PAH leaching. Galvanized carriage bolts (3/8-inch diameter, 6-inch length) resist corrosion better than deck screws under load.
For soil amendment around post footings, incorporate a 4-4-4 organic meal blend (blood meal, bone meal, kelp) to establish mycorrhizal fungi networks. This ratio supports lignin decomposition without excess nitrogen that promotes soft growth vulnerable to wind damage. Test soil pH before installation. Most vegetable crops thrive between 6.2 and 6.8. If native pH exceeds 7.2, add elemental sulfur at 1 pound per 100 square feet to lower by 0.5 units.
Concrete mix (one 60-pound bag per post) stabilizes footings. Opt for quick-setting formulas in climates with short installation windows. Jute twine (biodegradable) or galvanized wire (reusable) provides climbing support between crossbeams.
Timing
Hardiness Zones 5 through 7 permit construction from late March through early May, after frost heave risk subsides but before peak planting. Zones 8 and 9 allow year-round installation, though avoid periods of saturated soil that compromise footing integrity.
Coordinate pergola completion with transplant schedules. Tomatoes and cucumbers require soil temperatures above 60°F. In Zone 6, this typically occurs May 10 to May 20. Pole beans tolerate direct seeding when soil reaches 55°F, approximately two weeks earlier.
Install structures at least three weeks before transplanting to allow concrete curing and initial soil settling. This window prevents root disturbance during the critical establishment phase.
Phases

Step 1: Site Layout and Post Placement
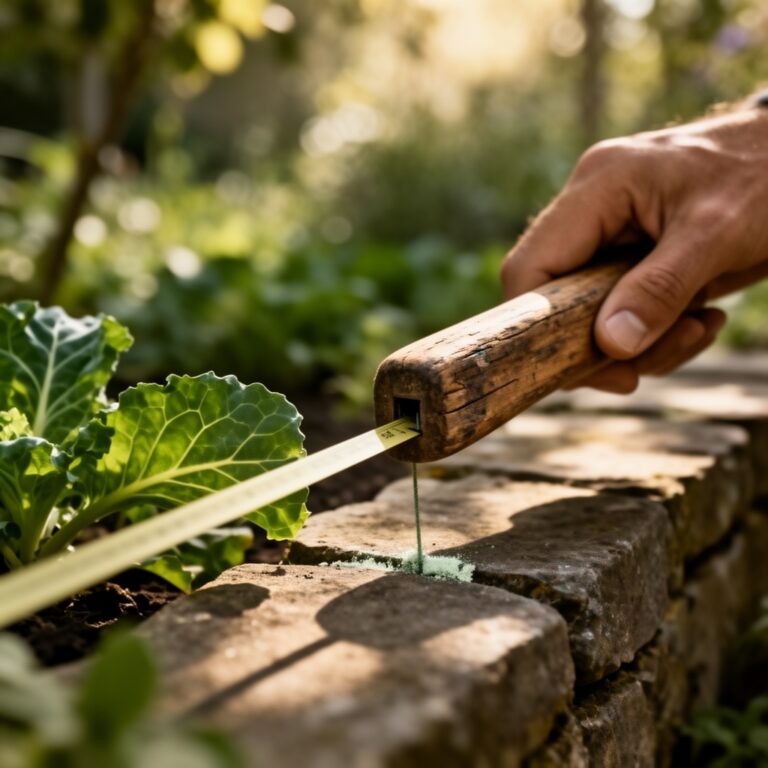
Mark corners with stakes, maintaining 8-foot spacing for standard designs. Verify square by measuring diagonals. Dig post holes 30 inches deep (below frost line in northern zones) using a clamshell digger. Holes should measure 12 inches in diameter.
Pro-Tip: Add 4 inches of gravel at hole bottoms to facilitate drainage and prevent post wicking moisture from saturated subsoil.
Step 2: Post Installation
Set posts vertically using a 48-inch level on two adjacent faces. Brace with scrap lumber staked at 45-degree angles. Pour concrete, tamping every 3 inches to eliminate air pockets. Slope the top surface away from the post to shed water.
Step 3: Beam Attachment
After 72-hour cure time, attach 2×6 beams across post tops using two carriage bolts per connection. Pre-drill holes 1/16-inch smaller than bolt diameter to ensure tight fit. Beams should overhang posts by 12 inches on each end for aesthetic balance and additional tie-point options.
Pro-Tip: Cut beam ends at 30-degree angles to reduce water pooling on end grain, extending lumber life by 3 to 5 seasons.
Step 4: Cross Supports
Install 2×4 cross members perpendicular to main beams at 18-inch intervals. Use exterior-grade deck screws (3-inch) driven at slight angles for mechanical advantage. This spacing accommodates cucurbit tendrils (which coil at 4 to 6-inch intervals) while supporting heavy fruit loads.
Step 5: Vertical Stringing
Attach jute twine from ground-level stakes to overhead cross members, spacing lines every 10 inches. Maintain tension to prevent sagging under vine weight. Replace jute annually. Alternatively, install permanent galvanized wire using turnbuckles for adjustable tension.
Step 6: Soil Preparation
Amend planting beds around posts with 2 inches of finished compost. Incorporate a balanced 5-5-5 granular fertilizer at 2 pounds per 100 square feet. Work amendments to 8-inch depth, avoiding post footings.
Pro-Tip: Inoculate transplant holes with endomycorrhizal fungi (Glomus species) at 1 teaspoon per plant to accelerate phosphorus uptake and drought tolerance.
Step 7: Transplanting
Position plants 18 inches from posts to avoid root competition with pergola footings. Water transplants with a starter solution of 1 tablespoon fish emulsion per gallon to deliver immediately available nitrogen (typically 5-1-1 ratio) and stimulate auxin distribution for rapid root expansion.
Step 8: Training
Guide primary stems to twine within 48 hours of transplanting. Secure with soft plant ties, never constricting stems. Remove lateral shoots below the first flower cluster on tomatoes to direct energy upward.
Troubleshooting
Symptom: Posts leaning after first season.
Solution: Frost heave or inadequate depth. Excavate, add 6 inches gravel, reset below frost line.
Symptom: Beam connections loosening.
Solution: Wood shrinkage. Retighten bolts each spring. Add washers if gaps exceed 1/4 inch.
Symptom: Vine collapse mid-season despite adequate water.
Solution: Bacterial wilt vectored by cucumber beetles. Remove infected plants immediately. Apply pyrethrin-based sprays at first beetle emergence.
Symptom: Fruit sunscald on west-facing exposure.
Solution: Excessive light penetration. Install shade cloth (30% density) on west side during peak summer.
Symptom: Poor fruit set despite flowering.
Solution: Inadequate pollination. Introduce native bee habitat within 50 feet or hand-pollinate using soft brush at 10 a.m.
Maintenance
Apply 1 inch of water weekly during fruit development, delivered through drip irrigation to minimize foliar disease. Increase to 1.5 inches during heat waves exceeding 90°F for three consecutive days.
Prune determinant tomato varieties minimally. Remove only damaged foliage. Indeterminate types require weekly removal of suckers larger than 2 inches to maintain single-stem architecture.
Side-dress with 1/4 cup 5-10-10 fertilizer per plant when first fruits reach golf-ball size. Avoid high nitrogen after flowering to prevent excessive vegetative growth at the expense of yield.
Inspect crossbeams monthly for stress cracks. Sand rough spots that could abrade vines. Apply linseed oil annually to untreated wood surfaces.
FAQ
How deep should pergola posts be buried?
30 inches minimum in Zones 6 and colder, 24 inches in Zones 7 through 9, always 6 inches below local frost line.
What is the ideal pergola height for cucumbers?
7 feet allows comfortable harvest and adequate air circulation to reduce powdery mildew pressure.
Can I use recycled pallets for beams?
Avoid pallets marked "MB" (methyl bromide treatment). Use only "HT" (heat-treated) stamped lumber to prevent toxin exposure.
How much weight must crossbeams support?
Calculate 15 pounds per linear foot for mature indeterminate tomato vines with full fruit load.
When should I replace jute twine supports?
Annually. Jute degrades under UV exposure and loses 40% tensile strength after one growing season.