9 Pro Tips How to Grow Turmeric Root
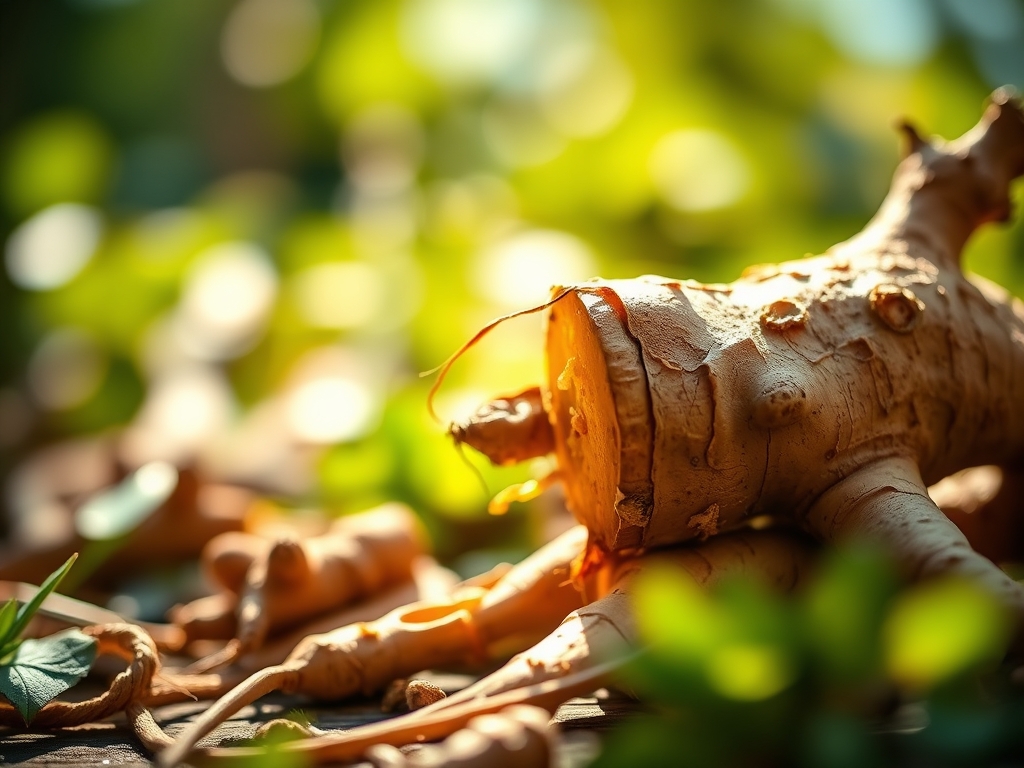
Crushing a fresh turmeric rhizome between your fingers releases a pungent, earthy aroma and a staining pigment that signals high curcuminoid density. Successful cultivation requires more than just burying a root; it demands an understanding of tropical physiology and soil chemistry. Learning how to grow turmeric root effectively starts with managing the plant's high metabolic rate and its thirst for consistent moisture. This perennial herb, Curcuma longa, thrives when turgor pressure remains high and the rhizosphere stays nutrient-dense.
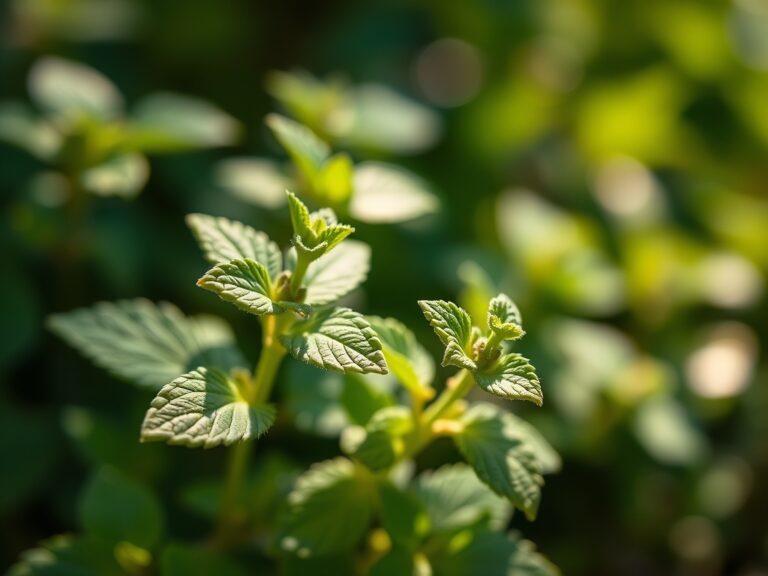
The plant's large, lanceolate leaves act as massive solar panels, requiring a steady supply of nitrogen and potassium to maintain structural integrity. Without proper drainage, the fleshy rhizomes succumb to anaerobic pathogens. You must balance the water-holding capacity of your substrate with physical aeration to prevent stagnation. In temperate climates, this means mimicking a monsoon cycle: heavy feeding and hydration during the long summer days, followed by a gradual reduction in resources as the plant enters senescence. Precision in soil preparation and temperature control determines whether you harvest small, fibrous fingers or thick, succulent rhizomes.
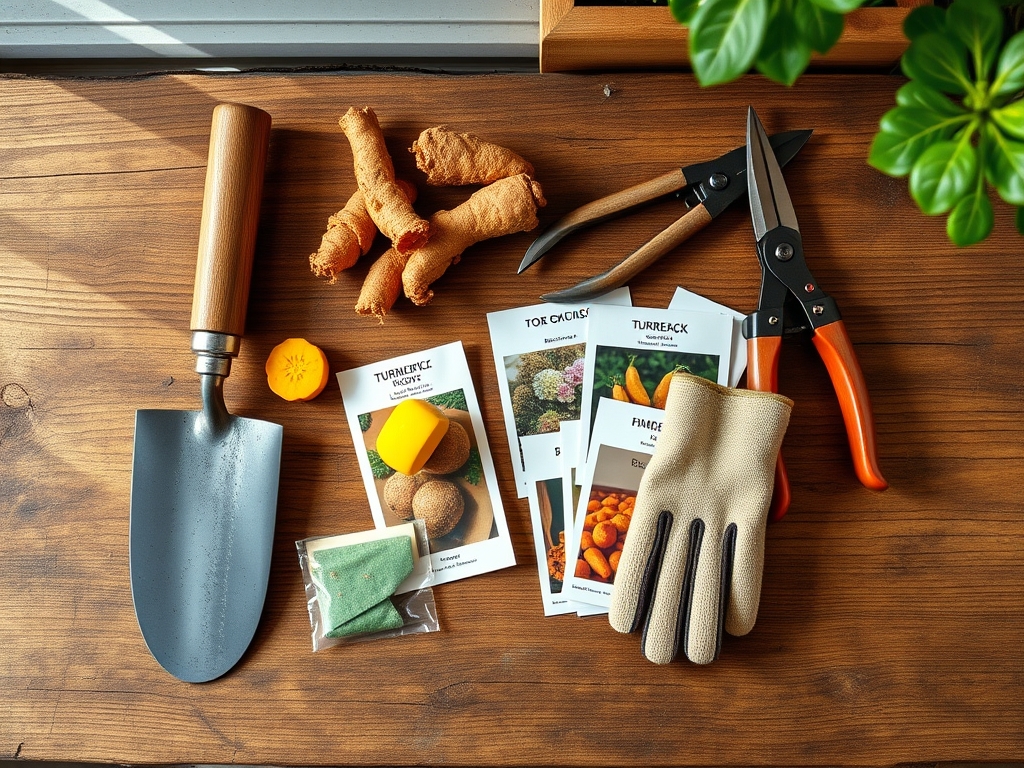
Materials:
The foundation of a high-yield turmeric crop is a friable loam with high organic matter content. Aim for a soil pH between 6.0 and 7.5. If your pH drops below 5.5, the availability of phosphorus and magnesium becomes limited; if it rises above 8.0, iron and manganese are locked away from the plant.
For the initial planting phase, use a base substrate with a Cation Exchange Capacity (CEC) of 15 to 25 meq/100g. This ensures the soil can hold onto essential cations like calcium and potassium.
Fertilizer Ratios:
- Initial Sowing: Use a balanced NPK ratio of 10-10-10 to establish the root system.
- Vegetative Growth: Transition to a high-nitrogen formula (20-10-10) once the first three leaves emerge to drive leaf area index.
- Rhizome Bulking: Switch to a high-potassium blend (5-10-20) during the final four months to facilitate the translocation of sugars from the leaves to the underground storage organs.
Timing:
Turmeric is a tropical species suited for USDA Hardiness Zones 8 through 11. In these regions, it can remain in the ground year-round. For growers in Zones 7 and below, turmeric must be treated as an annual or moved indoors when temperatures drop.
The Biological Clock of Curcuma longa is governed by a long growing season of 210 to 280 days. Planting should occur in early spring, once soil temperatures consistently reach 65 degrees Fahrenheit (18 degrees Celsius). The transition from vegetative growth to the reproductive/storage phase is triggered by a shortening photoperiod. As daylight hours decrease in late autumn, the plant shifts its energy from foliage production to rhizome expansion. Ensure your planting window allows for at least 8 months of frost-free growth to maximize the harvest weight.
Phases:
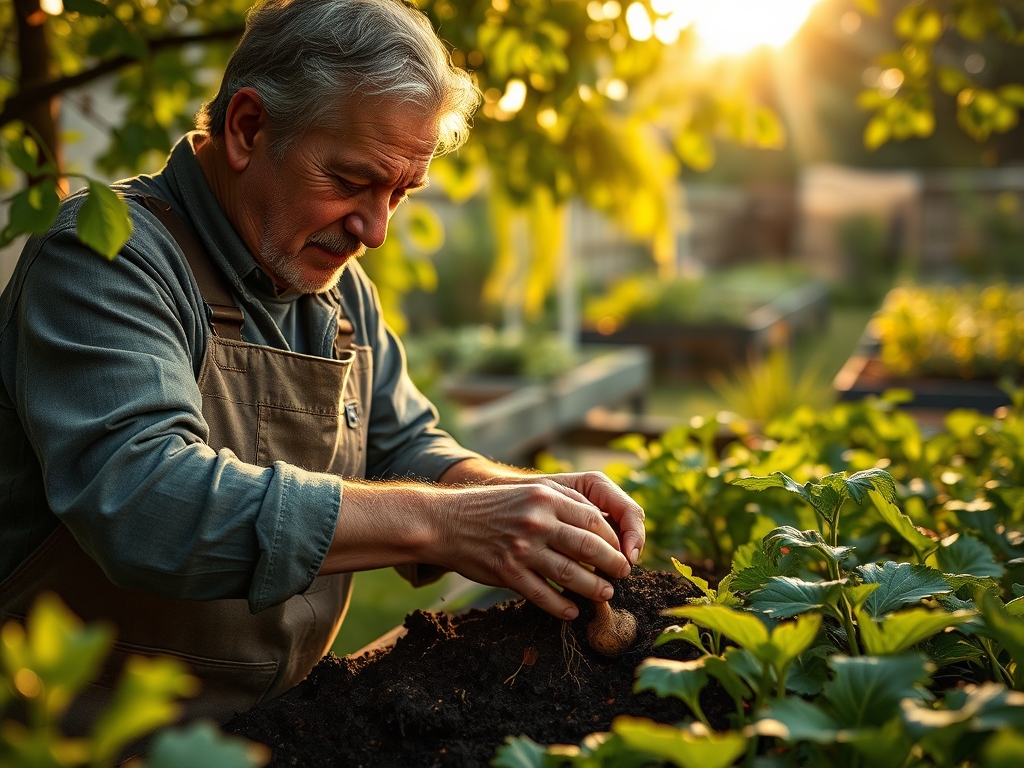
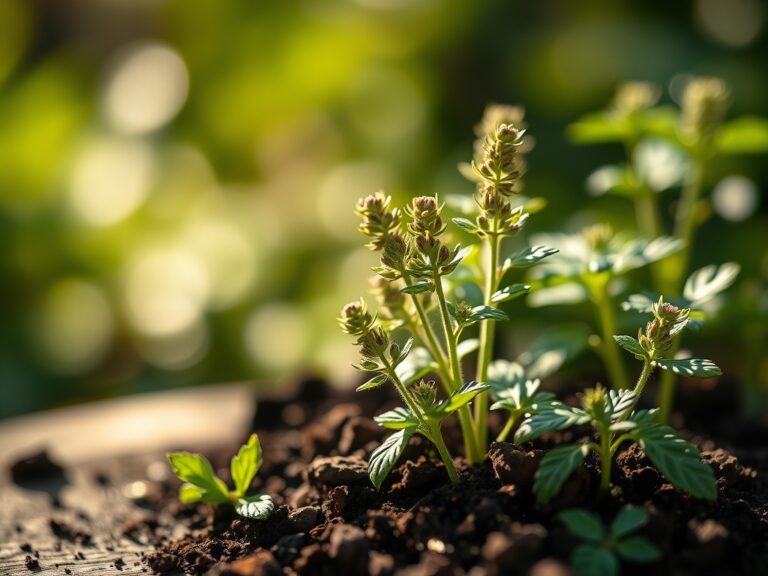
Sowing and Sprouting
Select seed rhizomes that are at least 2 inches long and contain at least two visible "eyes" or buds. Place the rhizomes 2 to 4 inches deep in the soil, spaced 12 inches apart. The buds should face upward.
Pro-Tip: Pre-sprout your rhizomes in a warm, humid environment (around 85 degrees Fahrenheit) before planting. This bypasses the slow initial dormancy phase and ensures that the plant maximizes its use of the summer heat. This works because of auxin suppression; once the apical bud breaks dormancy, it signals the rest of the rhizome to begin vascular development.
Transplanting and Spacing
If starting indoors, transplant seedlings when they reach 4 to 6 inches in height. Handle the root ball carefully to avoid damaging the delicate fine-root hairs responsible for nutrient uptake.
Pro-Tip: Inoculate the planting hole with mycorrhizal fungi. This symbiotic relationship extends the reach of the root system, allowing the plant to access phosphorus and water that would otherwise be unavailable. This biological synergy is critical for turmeric, which has a relatively shallow and compact root architecture compared to its large leaf surface area.
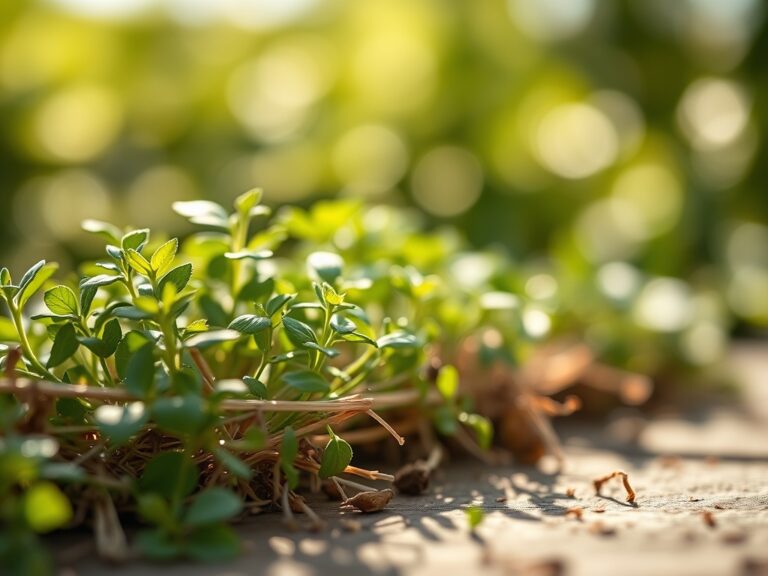
Establishing the Canopy
During the first 60 days, the plant focuses on establishing its leaf canopy. This is the period of highest transpiration. Maintain high humidity if possible.
Pro-Tip: Use a light layer of organic mulch, such as straw or shredded bark, to regulate soil temperature. This prevents phototropism-related stress in the roots, where fluctuating soil temperatures can stall growth. Keeping the root zone cool and dark encourages the plant to allocate more carbon to rhizome development rather than heat-stress proteins.
The Clinic:
Physiological disorders in turmeric are often misidentified as diseases. Use these diagnostics to correct issues quickly.
-
Symptom: Yellowing of older leaves while veins remain green (Interveinal Chlorosis).
-
Solution: This indicates a Magnesium deficiency. Apply a foliar spray of Epsom salts (magnesium sulfate) at a rate of 1 tablespoon per gallon of water.
-
Symptom: Scorched, brown leaf margins on new growth.
-
Solution: This is typically Potassium deficiency or salt buildup. Flush the soil with clean water and adjust your NPK to a higher K-value.
-
Symptom: Drooping leaves despite wet soil.
-
Solution: This is Root Hypoxia caused by overwatering. The lack of oxygen in the rhizosphere prevents the roots from functioning. Stop irrigation and use a hori-hori knife to gently aerate the soil around the plant.
-
Fix-It for Nitrogen Chlorosis: If the entire plant turns pale green or yellow, it lacks nitrogen. Apply a liquid kelp or fish emulsion with a 5-1-1 NPK for rapid absorption.
Maintenance:
Precision irrigation is the difference between a mediocre harvest and a professional yield. Turmeric requires approximately 1.5 inches of water per week delivered at the drip line. Avoid overhead watering, which can encourage fungal pathogens on the broad leaves. Use a soil moisture meter to ensure the substrate stays at 60% to 80% field capacity.
Weed competition must be eliminated early. Use a hori-hori knife to remove deep-rooted weeds without disturbing the shallow rhizomes. As the plant grows, use bypass pruners to remove any yellowing or diseased lower leaves. This improves airflow around the base of the plant and reduces the risk of rhizome rot. In mid-summer, top-dress the soil with 2 inches of well-rotted compost to provide a slow-release source of micronutrients and maintain the soil's CEC.
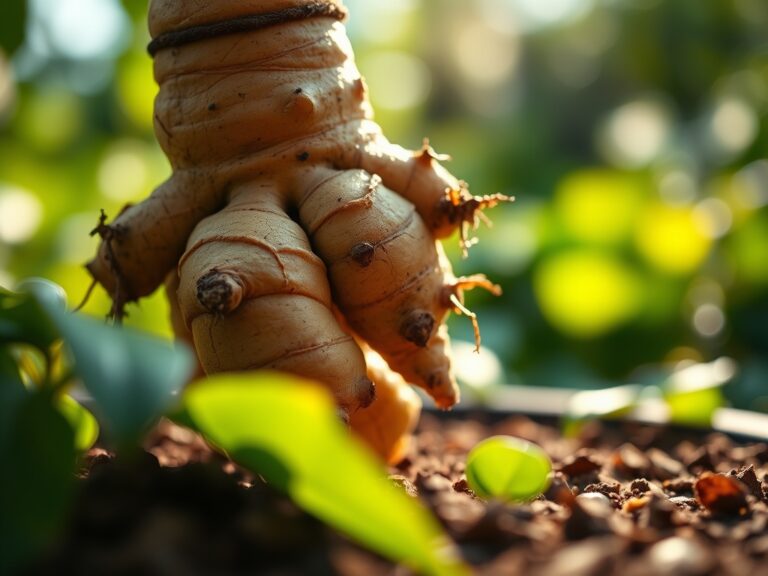
The Yield:
Harvest occurs when the leaves and stems turn brown and dry out, a process known as senescence. This usually happens 8 to 10 months after planting. Use a garden fork to gently lift the entire root clump from the soil. Avoid slicing the rhizomes, as wounds invite decay.
To handle the harvest for "day-one" freshness, shake off the excess soil and wash the roots under a high-pressure stream of water. Trim the stems to within 1 inch of the rhizome. For long-term storage, allow the roots to air-dry in a shaded, well-ventilated area for 3 to 5 days until the outer skin toughens. Store the cured rhizomes in a cool, dark place at 55 degrees Fahrenheit with 70% humidity.
FAQ:
How long does it take to grow turmeric?
Turmeric requires a long growing season of 7 to 10 months. It is typically planted in the spring and harvested in early winter once the foliage begins to die back naturally.
Can you grow turmeric from store-bought roots?
Yes, provided the rhizomes are fresh and have visible "eyes." Soak them in water overnight to remove any growth inhibitors applied by commercial distributors before planting them in well-draining, organic soil.
How much sun does turmeric need?
Turmeric thrives in filtered sunlight or partial shade. While it can handle full sun in humid environments, intense heat in dry climates can cause leaf scorch. Aim for 5 to 6 hours of light.
What is the best fertilizer for turmeric?
Start with a balanced 10-10-10 NPK at planting. Shift to a high-potassium fertilizer during the final months to encourage rhizome growth. Ensure the soil remains rich in organic matter to maintain a high cation exchange capacity.