9 Site-Prep Steps to Prepare a Kitchen Micro-Herb Site
Growing micro-herbs on a sunny windowsill or compact counter transforms raw seed into edible tissue in seven to fourteen days. The difference between sparse germination and a dense mat of cotyledons lies in substrate choice, light intensity, and sanitation. How to prepare a kitchen garden for micro-herbs requires attention to sterile medium, air circulation, and nutrient availability. Every tray you plant becomes a controlled experiment in rapid tissue development. The following nine steps outline site selection, substrate engineering, and environmental tuning.
Materials
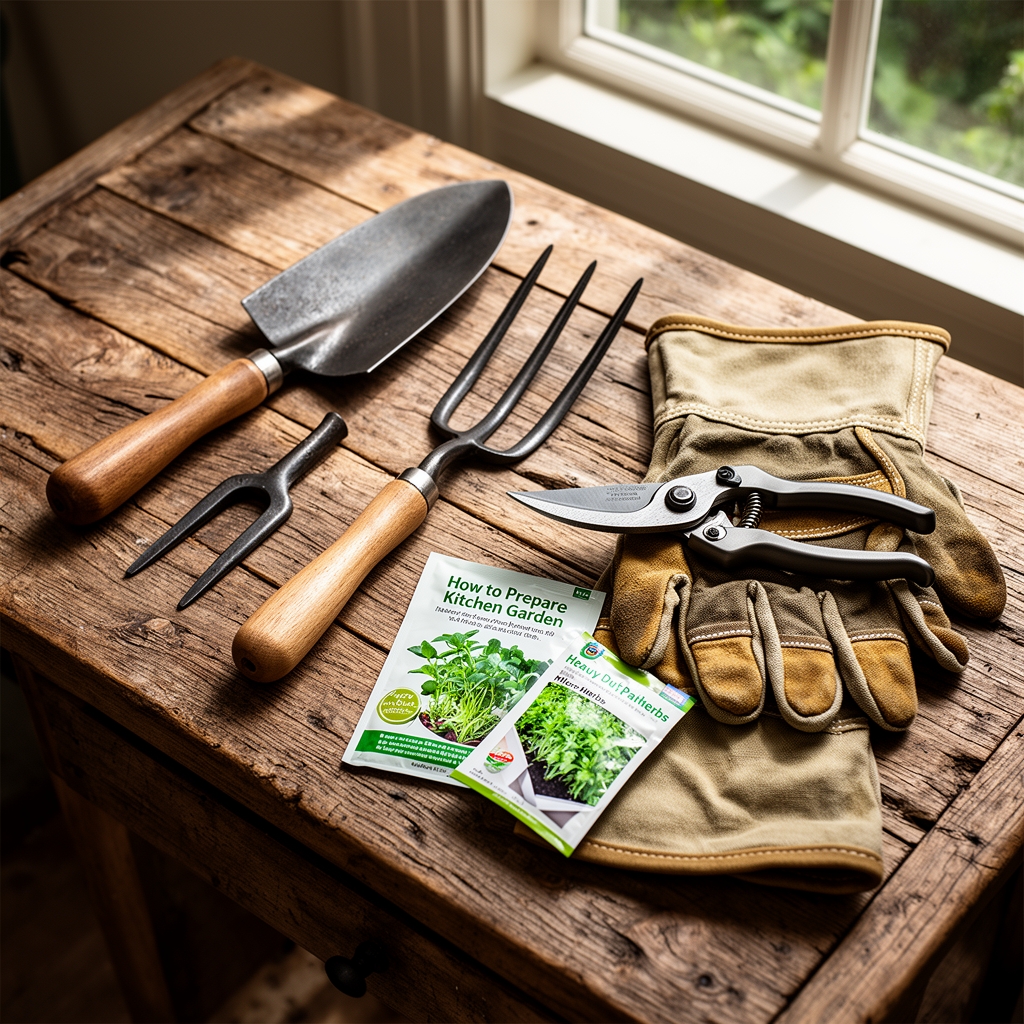
Select shallow propagation trays with drainage holes measuring 10 by 20 inches. Standard 1020 flats work well for basil, cilantro, and arugula. Substrate must remain sterile to prevent damping-off pathogens. Coco coir, a pH-neutral medium at 5.5 to 6.5, offers excellent water retention and minimal cation exchange capacity. Sphagnum peat sits at 3.5 to 4.5 pH; buffer it with dolomitic lime at 5 pounds per cubic yard if desired.
For fertilization, use a balanced soluble feed at 4-4-4 NPK. Fish emulsion or kelp hydrolysate supplies trace elements, including iron and manganese, essential for chlorophyll synthesis. Organic seed-starting mixes often contain composted bark and mycorrhizal fungi inoculant, yet micro-greens harvested before true leaves rarely form symbiotic root associations. A fine-grade vermiculite top-dress at 1/8 inch maintains seed contact without crust formation.
Light delivery requires full-spectrum LED panels or T5 fluorescent tubes positioned 4 to 6 inches above trays. Target 200 to 400 micromoles per square meter per second for leafy herbs. A basic light meter or smartphone app calibrates intensity. Air circulation comes from a 6-inch oscillating fan set on low, preventing ethylene accumulation and fungal spore settlement.
Sanitation tools include 10 percent bleach solution for tray sterilization and 3 percent hydrogen peroxide for seed surface treatment. A spray bottle with 0.1 percent sodium hypochlorite reduces bacterial loads on high-mucilage seeds like basil. Use distilled or reverse-osmosis water if municipal supply exceeds 150 ppm total dissolved solids.
Timing
Hardiness zones matter less for indoor micro-herb production, yet natural photoperiod influences seedling vigor. In zones 3 through 6, late autumn and winter months deliver shorter days and weaker sun angles. Supplemental lighting becomes mandatory from November through February. Zones 7 through 10 allow south-facing window cultivation year-round, though July and August heat may require shade cloth at 30 percent density.
Frost dates do not impact protected indoor sites. Begin sowing any week, but synchronize with kitchen demand. Basil germinates in 3 to 5 days at 70 to 75 degrees Fahrenheit. Cilantro emerges in 7 to 10 days at 60 to 65 degrees. Stagger plantings every 5 days for continuous harvest. Pre-soaking cilantro and dill seed in room-temperature water for 12 hours softens the seed coat and accelerates imbibition.
Phases
Sowing Phase
Moisten substrate to field capacity before broadcast seeding. One ounce of basil seed covers one 10-by-20 tray at the recommended density of 15 to 20 seeds per square inch. Press seeds gently into the surface; auxin distribution in the hypocotyl responds to contact pressure. Cover with humidity dome or clear plastic to maintain 95 percent relative humidity. Remove dome at first cotyledon emergence to prevent stretch.
Pro-Tip: Spray seed surface with 3 percent hydrogen peroxide 2 hours before sowing to oxidize pathogen spores and increase oxygen availability to the radicle.
Transplanting Phase
Micro-herbs remain in the germination tray from seed to harvest. No transplanting occurs. The term "transplanting" in this context refers to shifting trays from germination shelves under domes to open shelving with full light and air movement. Execute this transition when 50 percent of seeds show cotyledons. Abrupt environmental change triggers stress hormones; acclimate by removing the dome for 1 hour, then 3 hours, then fully on day three.
Pro-Tip: Reduce substrate temperature by 5 degrees Fahrenheit during this phase to slow elongation and promote lateral root branching.
Establishing Phase
Cotyledons expand and begin photosynthesis within 24 hours of light exposure. Monitor canopy height. Harvest basil at 1.5 to 2 inches, cilantro at 2 to 3 inches. Water from below by pouring 1/4 inch into the drainage tray, allowing capillary action to rehydrate coco coir without wetting foliage. Apply dilute 4-4-4 liquid feed at 1/4 strength if you notice chlorosis, though most micro-herb cycles finish on seed reserves alone.
Pro-Tip: Use scissors sterilized in 10 percent bleach solution and cut at a 45-degree angle 1/4 inch above substrate. This angle maximizes vascular surface area and reduces sap pooling, which attracts fungus gnats.
Troubleshooting
Symptom: Elongated, pale hypocotyls collapsing at soil line.
Solution: Damping-off from Pythium or Rhizoctonia. Increase air circulation to 80 cubic feet per minute. Lower humidity below 70 percent post-germination. Drench substrate with chamomile tea at 1:10 dilution, delivering antifungal compounds.
Symptom: Yellow or purple cotyledon margins.
Solution: Phosphorus deficiency or cold stress. Raise ambient temperature to 68 degrees minimum. Apply soluble 4-4-4 at half label rate.
Symptom: Dense white mycelial mat on substrate surface.
Solution: Saprophytic mold from overwatering. Reduce irrigation frequency. Top-dress with 1/16 inch horticultural sand to create a dry barrier.
Symptom: Holes and ragged edges on leaves.
Solution: Fungus gnat larvae feeding on root hairs. Apply Bacillus thuringiensis subspecies israelensis drench at 1 tablespoon per gallon. Place yellow sticky traps 2 inches above canopy.
Symptom: Brown, crispy cotyledon tips.
Solution: Salt accumulation from hard water or over-fertilization. Flush trays with distilled water at twice the tray volume. Resume feeding at 1/4 strength.
Maintenance
Irrigate every 2 to 3 days or when substrate surface appears dry. Pour 1/4 inch of water into the tray base. Avoid overhead misting after cotyledon expansion to prevent bacterial leaf spot. Maintain daytime temperatures between 68 and 72 degrees Fahrenheit and nighttime lows no cooler than 60 degrees. Run grow lights for 14 to 16 hours daily. Rotate trays 180 degrees every other day to ensure even phototropic growth.
Prune out any seedlings showing necrotic lesions within 2 hours of detection. This quarantine measure prevents systemic spread of Xanthomonas or Pseudomonas bacteria. Clean trays with 10 percent bleach solution after each harvest, rinse thoroughly, and air-dry for 24 hours. Replace coco coir substrate every cycle; reuse introduces pathogen inoculum.
Monitor for thrips by shaking foliage over white paper. Black specks indicate frass. Insecticidal soap at 2 percent concentration controls soft-bodied insects without residue concerns. Aphids rarely infest indoor micro-herb setups, but a strong water spray dislodges colonies if they appear.
FAQ
How long does it take to grow micro-herbs indoors?
Seven to fourteen days from seed to harvest for most species. Basil and arugula finish in 7 to 10 days. Cilantro and dill require 12 to 14 days.
Can I reuse the growing medium for a second crop?
No. Used coco coir harbors pathogen spores and depleted nutrient reserves. Compost spent substrate and start fresh each cycle.
Do micro-herbs need fertilizer?
Seed endosperm provides sufficient energy for cotyledon development. Apply dilute 4-4-4 liquid feed only if chlorosis appears before harvest.
What is the best light source for micro-herbs?
Full-spectrum LED or T5 fluorescent tubes at 200 to 400 micromoles per square meter per second. Position 4 to 6 inches above canopy.
How do I prevent mold on the soil surface?
Lower humidity below 70 percent after germination. Increase air circulation and reduce watering frequency. Top-dress with fine sand if mold persists.