7 Steps to Build a Stone or Gravel Garden Path
Damp earth releases geosmin as you break the surface tension of the soil; this aromatic compound signals a healthy microbial community within the rhizosphere. Building a functional walkway requires more than aesthetic placement. You must understand the Steps for building a garden path through the lens of soil physics and structural integrity. A path acts as a conduit for human traffic while protecting the surrounding soil from compaction; which preserves the turgor pressure of adjacent plant life by maintaining pore space for oxygen.
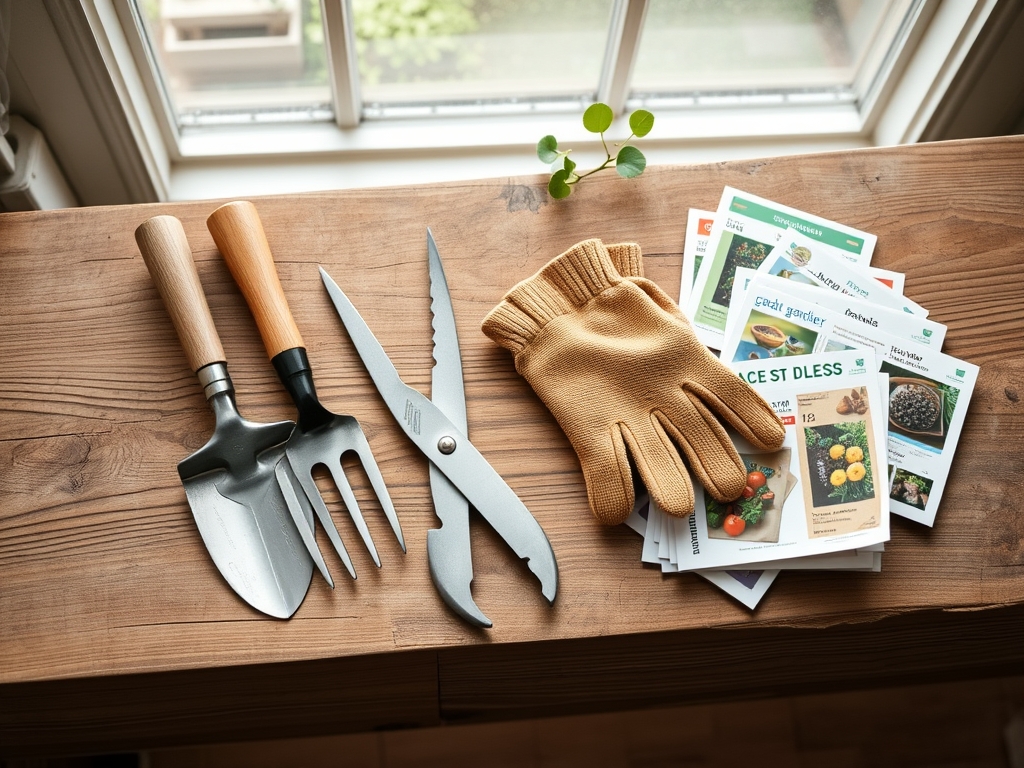
Materials:
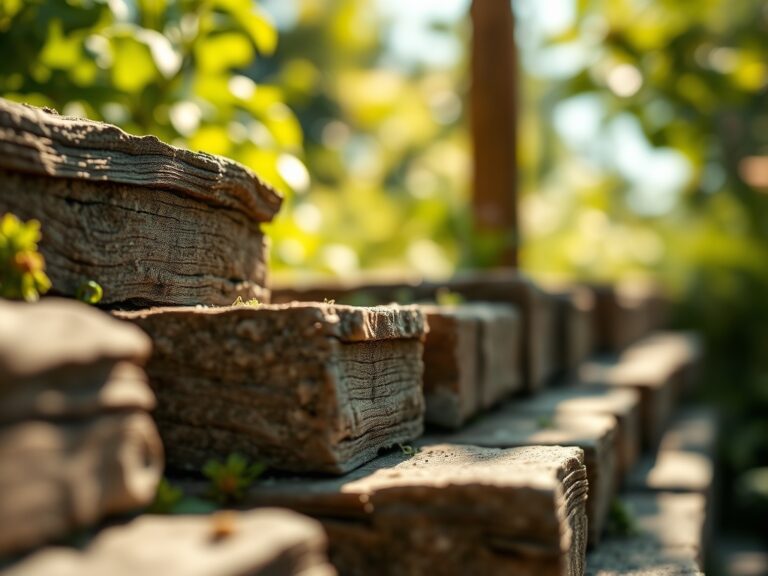
The foundation of any permanent garden structure begins with the substrate. You are looking for a **friable loam** base with a **Cation Exchange Capacity (CEC)** between **15 and 25 milliequivalents per 100g**. This ensures that the soil flanking your path can hold essential nutrients. For the path itself; you require **0.75-inch crushed angular stone** for the base layer. Angular stone interlocks under pressure; whereas rounded river rock will shift and cause structural failure.
If you plan to plant low-growing groundcovers like Thymus praecox between stones; the soil pH must be calibrated to 6.5 to 7.0. Incorporate a slow-release fertilizer with an NPK ratio of 5-10-5 into the bedding soil. The high phosphorus content supports vigorous root development without forcing excessive vegetative growth that could interfere with foot traffic. Ensure the sub-base is compacted to a 95 percent Proctor density to prevent settling.
Timing:
The ideal window for construction is during the dormant season or early spring; specifically when the ground is not frozen but the Hardiness Zone frost dates have passed the 50 percent probability mark. In Zones 5 through 7; this typically falls between late March and early May. You must avoid heavy excavation when the soil moisture is above the plastic limit. Working saturated soil destroys the soil structure; leading to massive compaction that halts the Biological Clock of nearby perennials.
By timing your build before the vegetative stage of your garden begins; you minimize the risk of damaging emerging shoots. As plants move from dormancy into their active growth phase; their metabolic demand for oxygen increases. Compacting the soil during this transition can trigger senescence in the root systems of nearby shrubs.
Phases:

Sowing the Foundation
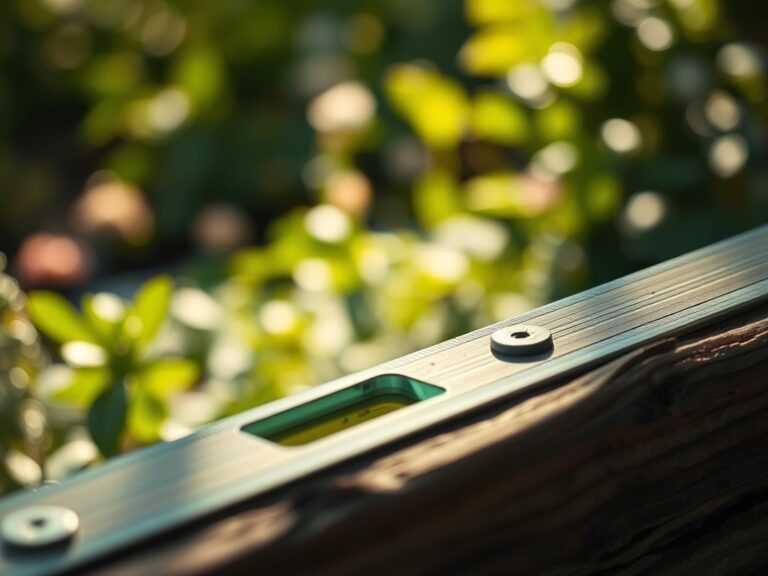
Excavate the path to a depth of 6 inches. This depth allows for 4 inches of compacted sub-base and 2 inches of leveling sand or stone dust. Remove all organic matter; as decomposing carbon will create voids that lead to path subsidence. Use a string line to maintain a 2 percent cross-slope for drainage.
Pro-Tip: Proper drainage prevents the "frost heave" cycle. This is critical because ice crystals in the soil can exert enough pressure to displace heavy flagstones; a process driven by the expansion of water by 9 percent upon freezing.
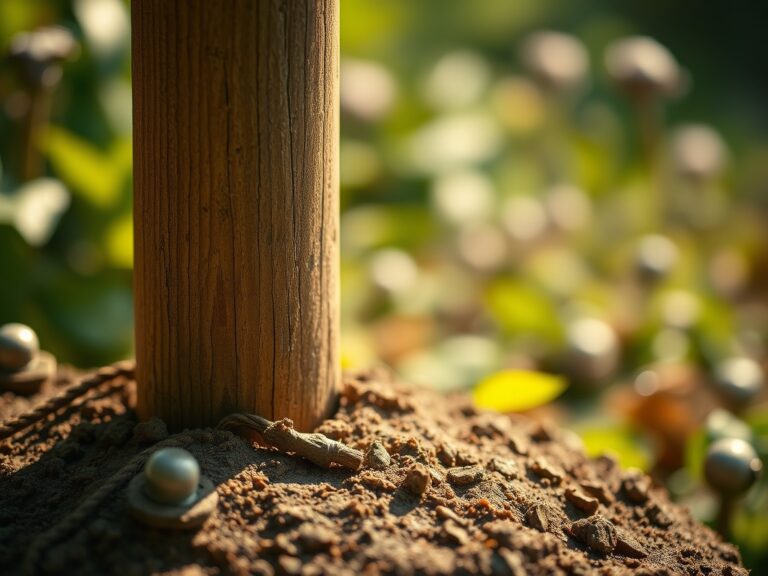
Transplanting and Edging
Install heavy-duty edging to contain the gravel or stone. If you are integrating "steppable" plants; ensure the soil pockets are deep enough to accommodate the entire root ball. The rhizosphere of these plants must be protected from the heat-sink effect of the stones.
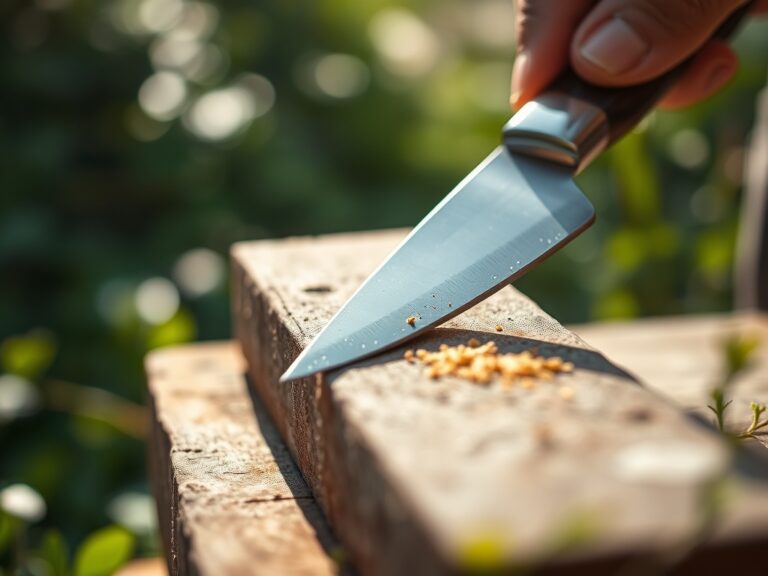
Pro-Tip: Use a hori-hori knife to slice through any circling roots before planting. This breaks apical dominance in the root tips; stimulating lateral root growth through auxin suppression and ensuring faster establishment in the narrow gaps.
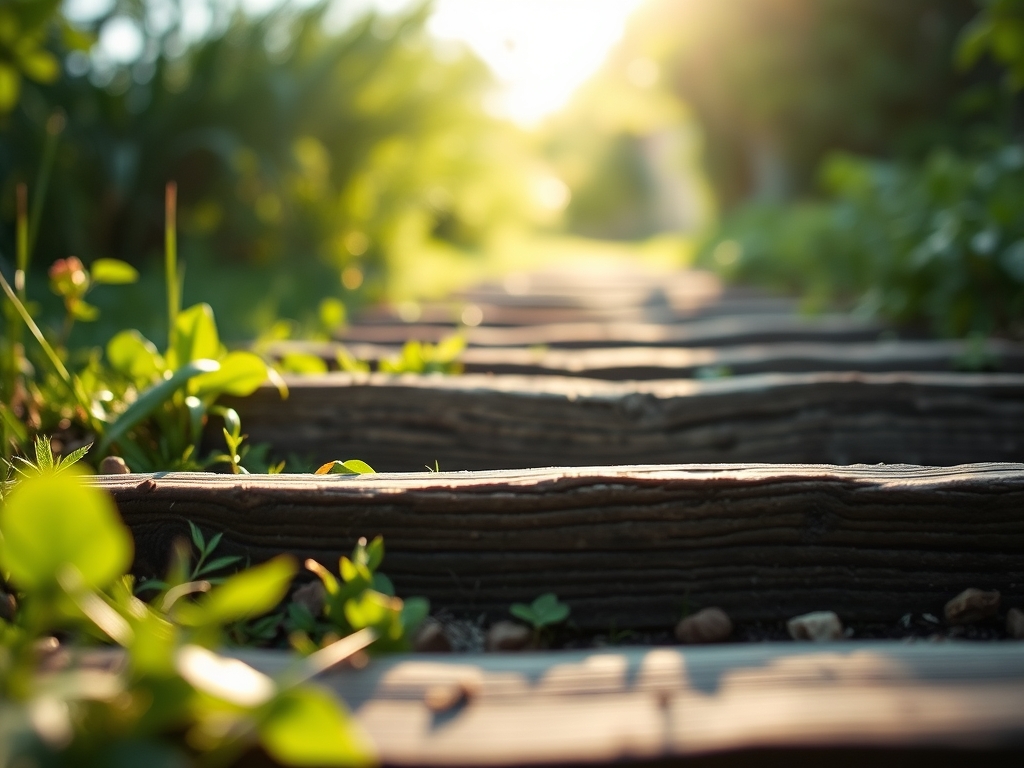
Establishing the Surface
Lay your primary stones or pour your gravel. For flagstone; ensure a gap of no more than 2 inches if you intend to maintain a solid walking surface. Fill the interstices with a mixture of fine grit and compost if planting; or polymeric sand if a sterile joint is required.
Pro-Tip: If planting between stones; use a mycorrhizal inoculant. This encourages mycorrhizal symbiosis; where fungal hyphae extend the reach of the plant roots to scavenge for phosphorus and water in the restricted space under the stones.
The Clinic:
Physiological disorders often manifest in the plants bordering a new path due to altered drainage patterns or soil chemistry changes from stone leaching.
-
Symptom: Interveinal chlorosis (yellowing leaves with green veins).
-
Solution: This is often Iron Deficiency caused by high pH leaching from limestone or concrete.
-
Fix-It: Apply chelated iron and sulfur to lower the pH to the 6.0 range.
-
Symptom: Marginal leaf scorch on nearby shrubs.
-
Solution: Drought stress or salt accumulation from path de-icers.
-
Fix-It: Increase irrigation to 1.5 inches per week and flush the soil with gypsum to displace sodium ions.
-
Symptom: Uniform yellowing of older leaves (Nitrogen chlorosis).
-
Solution: High carbon-to-nitrogen ratio in the mulch or base layer.
-
Fix-It: Supplement with a high-nitrogen liquid feed (NPK 10-0-0) to restore chlorophyll synthesis.
Maintenance:
A garden path is a living system. Use a soil moisture meter twice a month to check the hydration levels beneath the stones; as rocks can act as a mulch or a heat trap depending on the season. Provide 1.5 inches of water per week at the drip line of any plants bordering the path to compensate for the radiant heat from the stone.
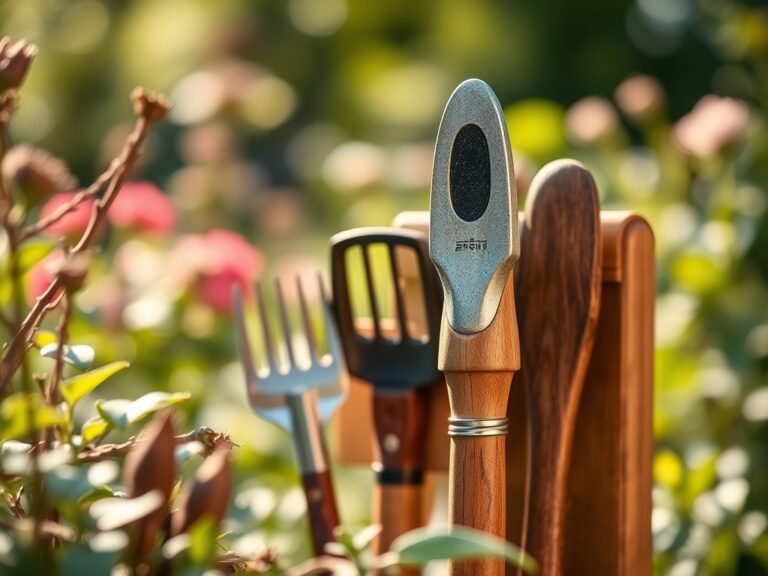
Maintain the edges with bypass pruners to prevent "creeping" species from obstructing the walkway. If using gravel; rake the surface monthly to redistribute the stones and prevent the accumulation of organic debris; which can provide a medium for weed seeds to germinate. In the autumn; use a leaf blower rather than a rake to avoid displacing the fines that stabilize the larger stones.
The Yield:
While a path is not "harvested" in the traditional sense; the "yield" is the successful establishment of the surrounding microclimate. If you have planted creeping thyme or chamomile between the stones; harvest the foliage when the essential oil concentration is highest; usually just before flowering in the early morning. Use sharp shears to cut no more than one-third of the plant to ensure it maintains enough photosynthetic surface area for recovery. Handle the cuttings gently to avoid bruising the cell walls; preserving the aromatic compounds for immediate use.
FAQ:
What is the best base for a stone path?
Use 4 inches of compacted 0.75-inch angular crushed stone. This provides superior structural stability and drainage compared to rounded stones. It prevents shifting by interlocking under the weight of foot traffic and environmental pressure.
How do I prevent weeds between stones?
Install a heavy-duty geotextile fabric beneath the gravel layer. This barrier prevents weed seeds in the subsoil from germinating while allowing water to permeate. For stone joints; use polymeric sand which hardens to block seed infiltration.
How deep should I dig for a gravel path?
Excavate to a total depth of 6 inches. This allows for a 4-inch sub-base of compacted rock and a 2-inch top layer of decorative gravel. Proper depth ensures the path remains flush with the surrounding grade.
Can I build a path over tree roots?
Avoid cutting roots larger than 2 inches in diameter. Excavating major roots disrupts the vascular system and can lead to crown dieback. Instead; use a "floating" path of mulch or a raised wooden boardwalk to protect the root zone.
How much water do path-side plants need?
Plants adjacent to stone paths require 1.5 inches of water per week. Stone surfaces increase local temperatures through thermal mass; which accelerates transpiration rates. Monitor soil moisture levels closely during peak summer months to prevent wilting.