7 Best Privacy Trees for Fast Growth
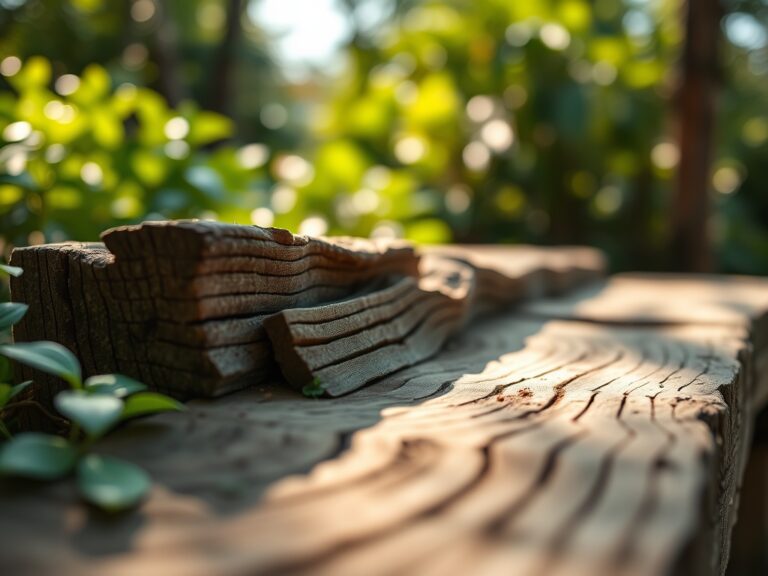
Crushing a handful of friable silt loam reveals the gritty reality of site preparation; the sharp, metallic scent of damp minerals signals a high cation exchange capacity. Establishing the best privacy trees for fast growth requires more than a casual planting. It demands an understanding of turgor pressure and the hydraulic conductivity of xylem tissues. To achieve a vertical screen that gains three feet per season, you must synchronize soil chemistry with the specific metabolic demands of rapid biomass production.
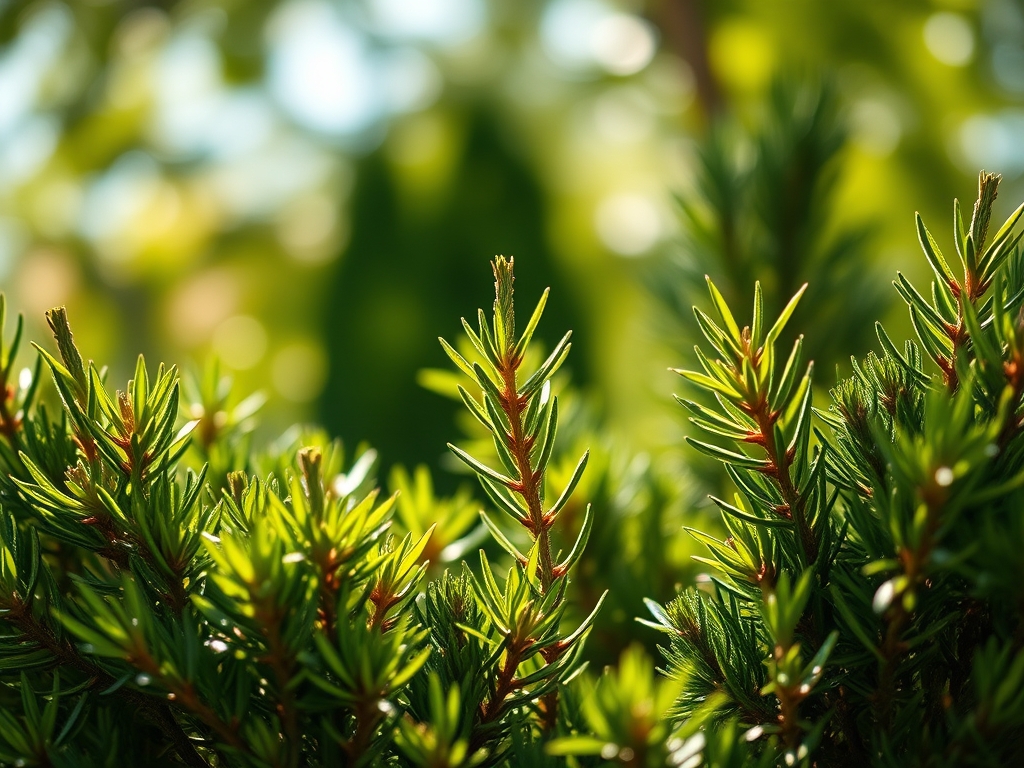
Success is measured in annual terminal leader extension. When a specimen lacks sufficient nitrogen or consistent irrigation, cell elongation slows and the privacy barrier fails. You are not merely planting a tree; you are engineering a biological wall. This process begins with selecting species that exhibit high photosynthetic efficiency and aggressive root colonization. By optimizing the rhizosphere environment, you ensure that the transition from nursery stock to established windbreak occurs without the setback of transplant shock or nutrient lockout.
Materials:
The substrate must be a friable loam with a bulk density between 1.1 and 1.6 g/cm3 to allow for unhindered root penetration. Soil pH should be monitored closely; most rapid-growth conifers and hardwoods thrive in a range of 5.5 to 7.0. Outside of this window, micronutrients like iron and manganese become chemically unavailable.
For initial establishment, utilize a slow-release fertilizer with an NPK ratio of 10-10-10 or a specialized 20-10-10 for high-nitrogen consumers like the Green Giant Arborvitae. High nitrogen levels drive the vegetative stage by fueling chlorophyll production and leaf expansion. Ensure the soil has a Cation Exchange Capacity (CEC) of at least 15 meq/100g to retain these cations against leaching. Organic matter, such as composted pine bark or leaf mold, should comprise 5 to 10 percent of the soil volume to improve moisture retention and microbial activity.
Timing:
Planting windows are dictated by the Hardiness Zones (typically 3 through 9) and the local frost-free dates. The biological clock of a fast-growing tree is governed by the photoperiod and soil temperature. Optimal planting occurs when soil temperatures reach a consistent 45 to 50 degrees Fahrenheit. This temperature range stimulates root respiration before the canopy demands heavy transpiration.
In temperate climates, the ideal window is late autumn or early spring. Autumn planting allows the root system to establish during the tree's dormant phase, utilizing stored carbohydrates. Spring planting must occur before the "bud break" stage, where the tree shifts energy from root development to shoot elongation. Missing this window by even two weeks can result in auxin suppression, where the tree prioritizes survival over the rapid vertical growth needed for a privacy screen.
Phases:

Sowing and Selection
While most privacy screens start as container-grown or balled-and-burlapped (B&B) stock, the selection phase is critical. Identify specimens with a single, dominant leader. Avoid trees with "co-dominant stems," as these create structural weak points. Inspect the root ball for circling roots that indicate a "pot-bound" state; these must be mechanically severed to prevent future girdling.
Pro-Tip: Utilize mycorrhizal inoculants during the initial phase. This symbiotic relationship between fungi and roots increases the surface area for nutrient uptake by up to 1,000 times, significantly boosting the tree's ability to withstand drought.
Transplanting
Dig a hole twice as wide as the root ball but no deeper. The "flare," where the roots meet the trunk, must remain slightly above the soil line. Deep planting leads to hypoxia, suffocating the root system. Backfill with native soil to maintain a consistent texture; creating a "pocket" of overly rich soil can discourage roots from expanding into the surrounding landscape.
Pro-Tip: Use a hori-hori knife to score the sides of the planting hole. This breaks the "glazing" effect caused by shovels in clay-heavy soils, allowing fine root hairs to penetrate the interface between the hole and the native earth through hydrotropism.
Establishing
During the first 12 to 18 months, the tree is in a critical establishment phase. Irrigation must be consistent. Use a soil moisture meter to ensure the root zone stays between 60 and 80 percent of field capacity. Mulch with a 3-inch layer of wood chips, keeping the material at least 4 inches away from the trunk to prevent fungal pathogens and bark rot.
Pro-Tip: Avoid heavy pruning in the first year. Leaves are the "engine" of the tree; removing too much foliage reduces the total photosynthetic output, which in turn slows root expansion. This is due to apical dominance, where the terminal bud sends signals to the rest of the plant to prioritize upward growth.
The Clinic:
Physiological disorders often mimic disease but are usually rooted in environmental stress or nutrient imbalances.
- Symptom: Interveinal chlorosis (yellowing between leaf veins).
- Solution: This typically indicates an Iron or Magnesium deficiency. Test soil pH; if it is above 7.5, the iron is locked. Apply chelated iron foliar spray for immediate relief.
- Symptom: Needle cast or browning from the inside out.
- Solution: Often caused by poor air circulation or spider mites. Thin the interior branches slightly to increase airflow and reduce humidity levels that favor fungal spores.
- Symptom: Leaf scorch or marginal necrosis.
- Solution: This is a sign of high salinity or moisture stress. Flush the soil with 3 inches of water to leach excess salts and check the drip line for consistent hydration.
Fix-It for Nitrogen Chlorosis: If the entire tree appears pale green or yellow, apply a high-nitrogen liquid fertilizer (30-10-10) at half-strength. Nitrogen is a mobile nutrient; the tree will move it from old growth to new growth, so watch for the youngest leaves to green up first as a sign of recovery.
Maintenance:
Precision maintenance is the difference between a sparse hedge and a dense wall. Deliver 1.5 inches of water per week directly at the drip line. Avoid overhead irrigation, which increases the risk of foliar diseases like Cercospora needle blight.
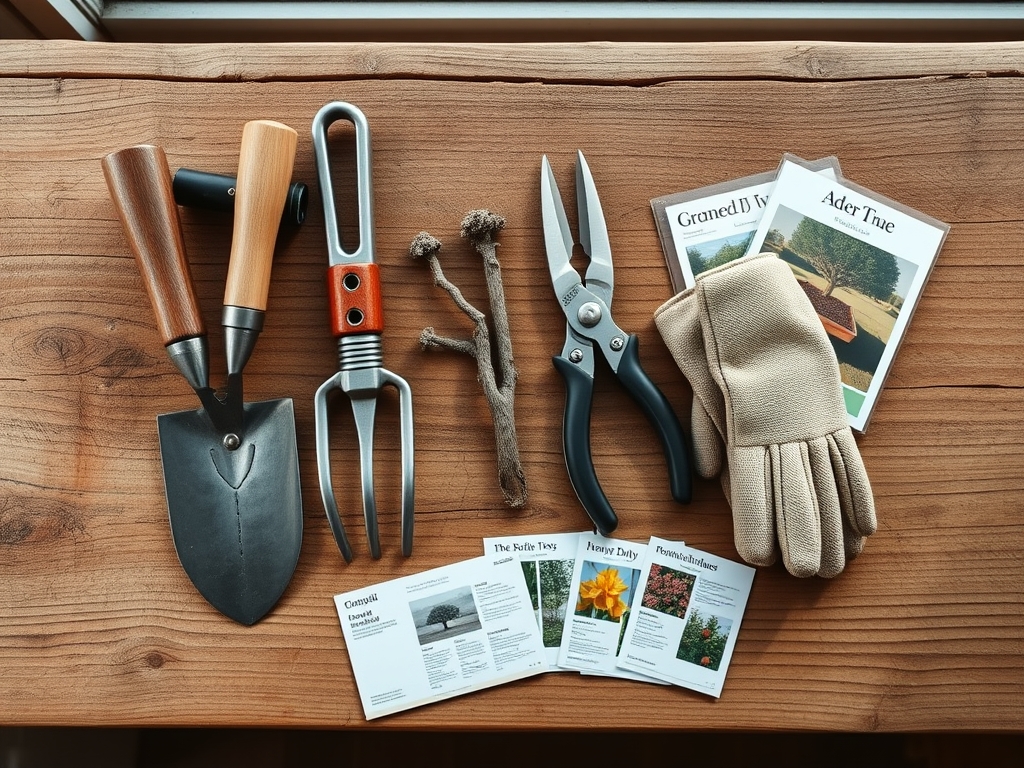
Pruning should be done with sharp bypass pruners to ensure clean cuts that callus quickly. For species like Leyland Cypress or Thuja, prune in late winter before the first flush of growth. Always prune so the base of the tree is wider than the top; this ensures sunlight reaches the lower branches, preventing "bottom-thinning" due to phototropism. Use a soil probe monthly to check for compaction. If the probe cannot penetrate 12 inches with moderate pressure, use a garden fork to aerate the soil around the perimeter.
The Yield:
For privacy trees, the "yield" is the density and height of the screen. To maximize the "Day-One" impact of a mature screen, maintain high turgor pressure through the heat of summer. If you are growing species that produce berries or flowers (like certain Hollies or Magnolias), harvest during the "cool of the morning" when cellular water content is at its peak. Use a sharp knife to make a 45-degree cut, and immediately submerge the stems in 100-degree Fahrenheit water to break any air embolisms in the xylem.
FAQ:
What is the fastest growing privacy tree?
The Hybrid Willow (Salix matsudana x alba) can grow 6 to 10 feet per year. It requires significant water and a soil pH between 5.5 and 8.0. It is best for large properties needing immediate screening.
How far apart should I plant for privacy?
Space trees based on their mature width. For a dense screen, plant Thuja Green Giant every 5 to 6 feet. Planting too closely leads to nutrient competition and fungal issues due to restricted airflow.
Can I grow privacy trees in pots?
Yes, but growth is limited by the container volume. Use a minimum 20-gallon pot and a high-porosity mix. Ensure the pot has a high cation exchange capacity to prevent rapid nutrient leaching during daily watering.
How do I stop my trees from turning brown?
Ensure consistent soil moisture and check for Nitrogen deficiency. Use a soil moisture meter to maintain levels. Browning is often a sign of transpiration exceeding water uptake, leading to cellular collapse and senescence.
When is the best time to fertilize?
Apply fertilizer in early spring just before the buds swell. This provides the necessary nitrogen for the primary vegetative flush. Avoid late-autumn fertilization, as new growth may not harden off before the first killing frost.