6 Best Concrete Mixers for DIY
The scent of damp earth and the turgor of a healthy leaf define the success of a horticultural project; yet, the foundation of any permanent garden structure relies on the structural integrity of hardscaping. Selecting the best concrete mixers for DIY projects is essential for constructing retaining walls, fence footings, or greenhouse slabs that withstand seasonal heave. A precise mix ensures that the finished product supports the surrounding rhizosphere without leaching harmful high-alkalinity runoff into your sensitive planting beds.
Materials:

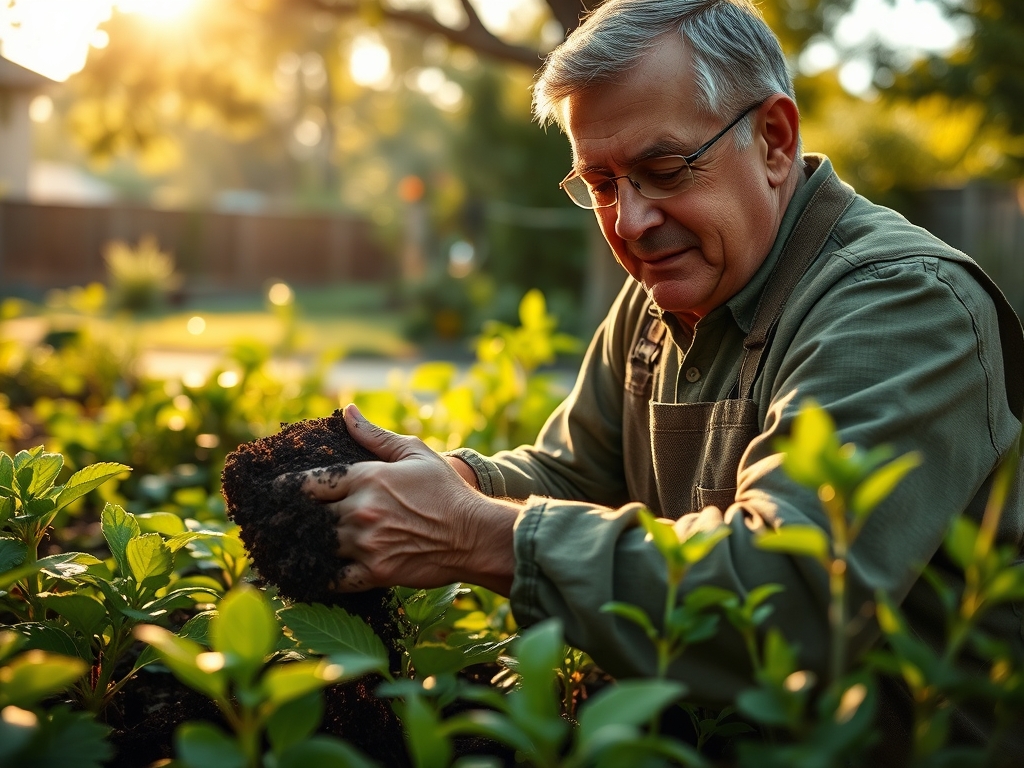
Soil health dictates the longevity of the plants surrounding your concrete installations. For optimal growth, target a friable loam with a Cation Exchange Capacity (CEC) between 15 and 25 meq/100g. This ensures the soil can hold and exchange essential cations like calcium and magnesium. Maintain a pH level between 6.2 and 6.8 to maximize nutrient bioavailability. When prepping the area around a new concrete pour, integrate organic matter to buffer against the lime-induced alkalinity of fresh cement.
The NPK requirements for establishing vegetation post-construction are specific. Use a 5-10-5 ratio for initial root establishment; high phosphorus levels encourage the development of robust lateral roots. Avoid high nitrogen (N) during the first three weeks to prevent excessive vegetative growth before the root system can support the plant's transpiration demands. The physical texture should be granular and non-compacted to allow for oxygen diffusion to the root zone.
Timing:
Hardiness Zones 4 through 8 require strict adherence to frost-date windows when planning both concrete pours and planting schedules. Concrete requires a minimum of 50 degrees Fahrenheit (10 degrees Celsius) for 48 hours to hydrate properly; similarly, most temperate perennials require soil temperatures of at least 55 degrees Fahrenheit to break dormancy.
The biological clock of a plant governs the transition from the vegetative stage to the reproductive stage. This shift is often triggered by the photoperiod. In the spring, as day length increases, auxin production stimulates cell elongation. If you are installing garden paths using the best concrete mixers for DIY, complete the heavy labor before the plant reaches its peak reproductive phase. Disturbance during the flowering stage causes significant stress and can lead to premature senescence.
Phases:
Sowing
Begin by preparing a seedbed that is free of large clods. For species like Lactuca sativa or Brassica oleracea, sow at a depth exactly three times the diameter of the seed. Ensure consistent moisture to maintain turgor pressure within the germinating embryo.
Pro-Tip: Maintain a consistent moisture film on the seed coat to facilitate imbibition. This biological process triggers the activation of enzymes that break down stored starches into glucose, fueling initial growth before photosynthesis begins.
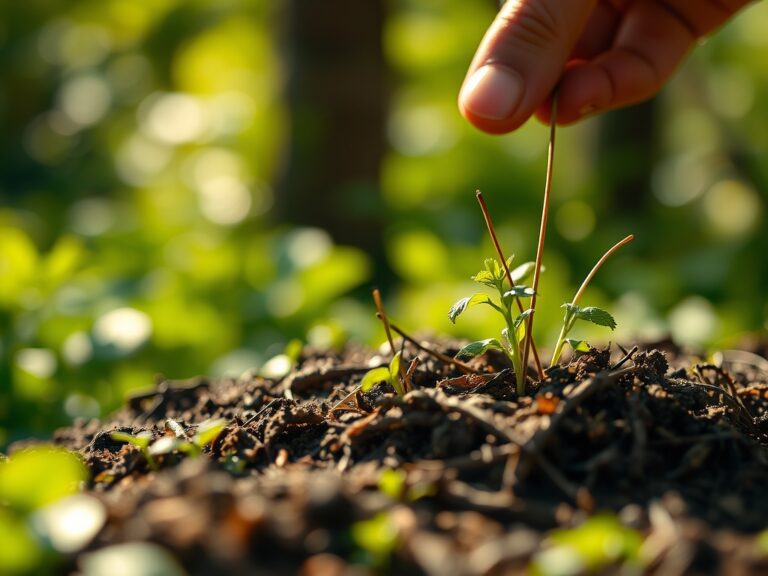
Transplanting
When moving seedlings from a controlled environment to the field, harden them off over a 7 to 10 day period. Dig a hole twice as wide as the root ball to encourage lateral expansion into the native soil. Ensure the crown sits exactly at the soil line to prevent fungal pathogens from attacking the stem.
Pro-Tip: Inoculate the planting hole with mycorrhizal fungi. This symbiotic relationship extends the root's reach by up to 100 times, significantly increasing the plant's ability to uptake phosphorus and water in challenging conditions.
Establishing
The first 21 days are critical for establishing the rhizosphere. Provide deep, infrequent watering to encourage roots to seek moisture at lower soil profiles. Monitor for signs of wilt, which indicates that transpiration is exceeding the rate of water uptake.
Pro-Tip: Avoid excessive pruning during establishment to prevent auxin suppression. Auxins produced in the terminal buds travel downward to stimulate root growth; removing too much foliage early on can stunt the development of the entire root system.
The Clinic:
Physiological disorders often mimic disease but are usually rooted in environmental stress or nutrient imbalances.
- Blossom End Rot: Observed as a dark, sunken spot on the fruit base. This is a calcium deficiency often caused by inconsistent watering rather than a lack of calcium in the soil. Maintain steady soil moisture to ensure calcium transport through the xylem.
- Interveinal Chlorosis: Yellowing between the leaf veins while veins remain green. This indicates an iron or magnesium deficiency. Check soil pH; if it exceeds 7.0, iron becomes chemically locked and unavailable to the plant.
- Leaf Scorch: Browning of leaf margins. This is typically a sign of potassium deficiency or high salinity. Flush the soil with 2 inches of water to leach excess salts if you have used heavy synthetic fertilizers.
Fix-It Section: For Nitrogen Chlorosis (general paling of older leaves), apply a water-soluble fertilizer with a 20-20-20 ratio at half strength. Nitrogen is a mobile nutrient; the plant will move it from old growth to new growth if supplies are low.
Maintenance:
Precision is the hallmark of professional maintenance. Deliver exactly 1.5 inches of water per week at the drip line of your plants. Use a soil moisture meter to verify that the moisture has penetrated at least 6 inches deep. Surface sprinkling encourages shallow root systems that are vulnerable to drought.
Utilize a hori-hori knife for deep-rooted weeding and precise bulb planting. For woody perennials, use bypass pruners to make clean, slanted cuts 1/4 inch above a lateral bud. This prevents water from pooling on the wound and reduces the risk of necrotic tissue. Observe the root structure in the step-by-step photos to ensure no girdling is occurring near the base of the trunk.
The Yield:
Harvesting is a matter of cellular timing. For leafy greens, harvest in the early morning when turgor pressure is at its peak and the plant is fully hydrated. For fruiting crops, look for "breaker stage" color changes. Use sharp shears to avoid tearing the vascular tissue.
Post-harvest handling is vital for "day-one" freshness. Immediately submerge harvested greens in 40-degree Fahrenheit water to remove field heat. This slows the rate of respiration and enzymatic breakdown, preserving the sugars and crispness of the cell walls.
FAQ:
What are the best concrete mixers for DIY garden paths?
Electric 3.5 cubic foot mixers are ideal for most DIY garden projects. They provide enough volume for fence posts and small slabs while remaining portable enough to maneuver through narrow garden gates without damaging the established turf or rhizosphere.
How does soil pH affect concrete longevity?
Acidic soils with a pH below 5.5 can slowly degrade concrete through acid etching. If your soil is highly acidic, apply a lime buffer around the concrete base to neutralize the environment and protect the structural integrity of the installation.
Can I pour concrete near established tree roots?
Avoid pouring concrete over more than 25 percent of a tree's root zone. Doing so restricts oxygen diffusion and water infiltration to the rhizosphere, which can lead to root suffocation, fungal infections, and eventual canopy dieback or senescence.
What is the best NPK ratio for post-construction repair?
Use a 10-10-10 balanced fertilizer to repair turf and plants stressed by construction. The equal parts nitrogen, phosphorus, and potassium support foliage regrowth, root repair, and cellular stress recovery after heavy machinery or foot traffic has compacted the soil.