7 Tiered Steps to Prepare a DIY Plant Ladder Display
Crushed perlite dust and the sharp, metallic scent of damp humus signal the start of a serious cultivation project. Success in vertical gardening depends on the structural integrity of the frame and the cellular health of the flora. When you learn how to prepare a DIY plant ladder, you are not merely building furniture; you are constructing a vertical microclimate that maximizes light interception and airflow. High turgor pressure in a leaf indicates a plant is properly hydrated and metabolically active. A ladder system allows for a graduated light gradient, placing sun-loving species at the apex while shade-tolerant varieties thrive in the lower canopy. This spatial efficiency prevents the stagnant air pockets that harbor fungal pathogens. Precision in the construction phase ensures that the weight of saturated soil, which can reach 80 pounds per cubic foot, does not cause structural failure. Every tier must be engineered to support the biomass and the hydraulic load of the substrate.
Materials:
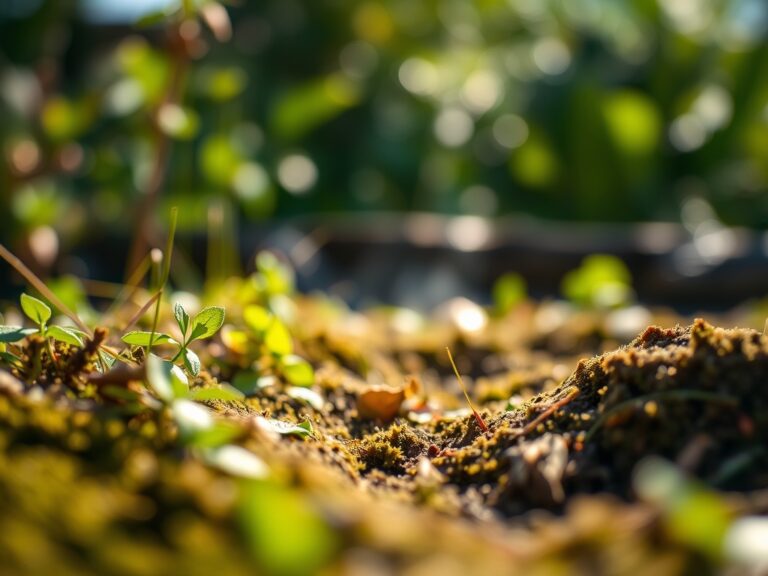
The substrate is the most critical component of your ladder. Avoid standard garden soil, which compacts and restricts gas exchange in the rhizosphere. Instead, utilize a friable loam composed of 40 percent peat or coconut coir, 30 percent perlite, and 30 percent composted organic matter. This mixture should maintain a pH between 6.0 and 6.8 to ensure optimal nutrient availability.
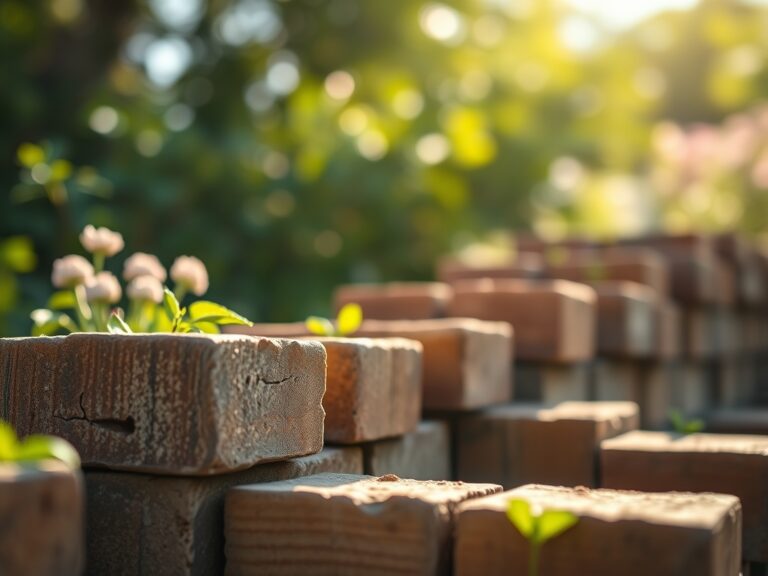
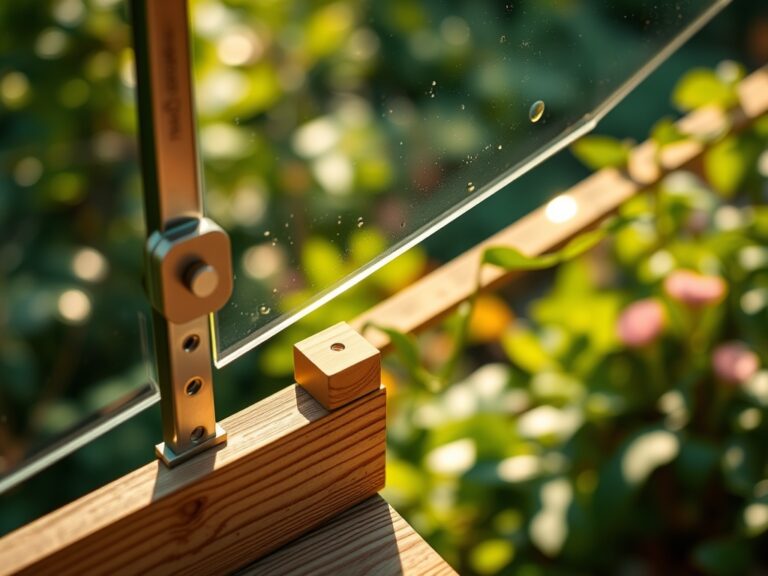
For the vegetative growth phase, select a fertilizer with an NPK ratio of 10-5-5. Nitrogen is essential for chlorophyll production and leafy expansion. As plants transition to flowering or fruiting, shift to a 5-10-10 ratio to provide the phosphorus and potassium necessary for reproductive development and cellular wall strength. The Cation Exchange Capacity (CEC) of your mix should be high; this allows the soil to hold onto positively charged ions like calcium and magnesium, preventing them from leaching out during irrigation. Use rot-resistant lumber such as cedar or redwood, or treat pine with a food-safe sealant to prevent the introduction of chemical toxins into the root zone.
Timing:
The biological clock of your display is dictated by your local Hardiness Zone. In Zones 7 through 9, the window for establishing a ladder display begins in late March or early April, once the soil temperature consistently exceeds 55 degrees Fahrenheit. In colder Zones 3 through 5, wait until the final frost date has passed to avoid cellular rupture in tender tissues.
Photoperiodism, the physiological reaction of organisms to the length of night or day, must guide your placement. Most flowering plants require at least 12 to 14 hours of light to trigger the transition from vegetative growth to the reproductive stage. If your ladder is indoors, you must supplement with full-spectrum LED lighting to simulate the solar spectrum. Monitor the transition carefully; as a plant enters senescence, its nutrient requirements drop, and over-fertilizing during this stage can lead to salt accumulation in the substrate.
Phases:
Sowing and Germination
Start seeds in sterile flats using a fine-textured seed-starting mix. Maintain a constant temperature of 70 to 75 degrees Fahrenheit for most temperate species. Ensure the medium remains moist but not saturated to prevent "damping off," a condition caused by Pythium or Rhizoctonia fungi.
Pro-Tip: Utilize a heat mat to increase soil temperature. This accelerates metabolic enzymes, reducing germination time and ensuring the seedling emerges before its stored energy reserves in the endosperm are exhausted.
Transplanting to the Ladder
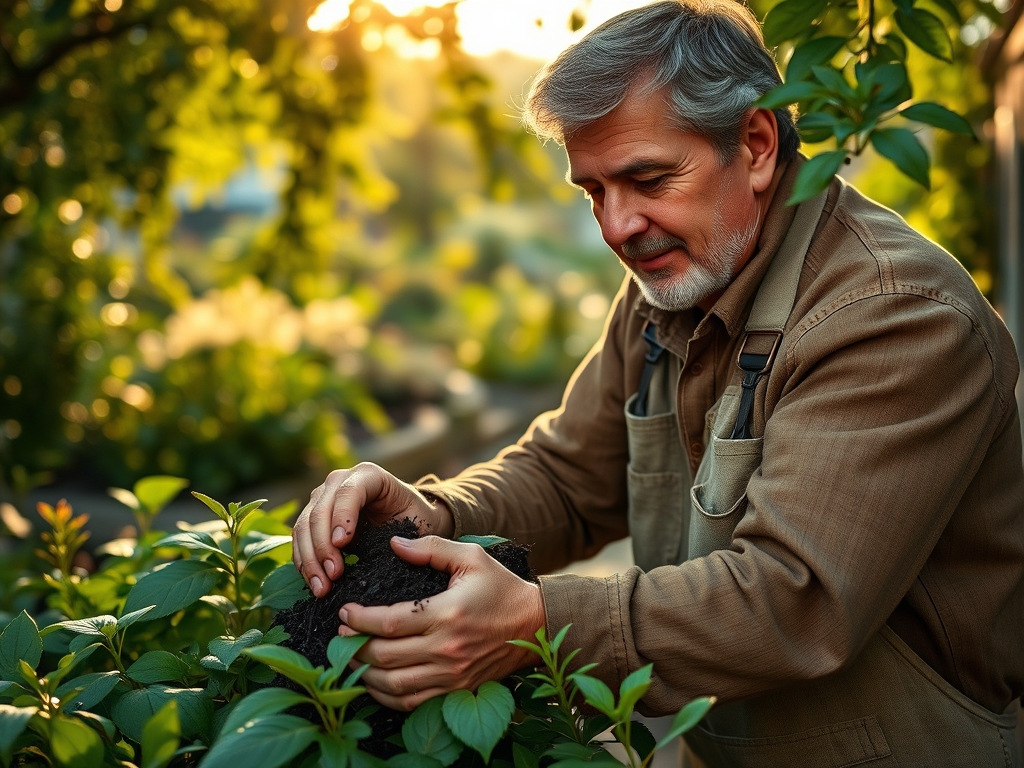
Once seedlings develop their first set of "true leaves," they are ready for the ladder. Dig a hole twice the width of the root ball. Gently loosen the roots to prevent "root-bound" circling, which restricts the uptake of water and minerals.
Pro-Tip: Inoculate the root zone with mycorrhizal fungi. This symbiotic relationship extends the reach of the root system, increasing the surface area for phosphorus absorption by up to 1,000 percent.
Establishing the Canopy
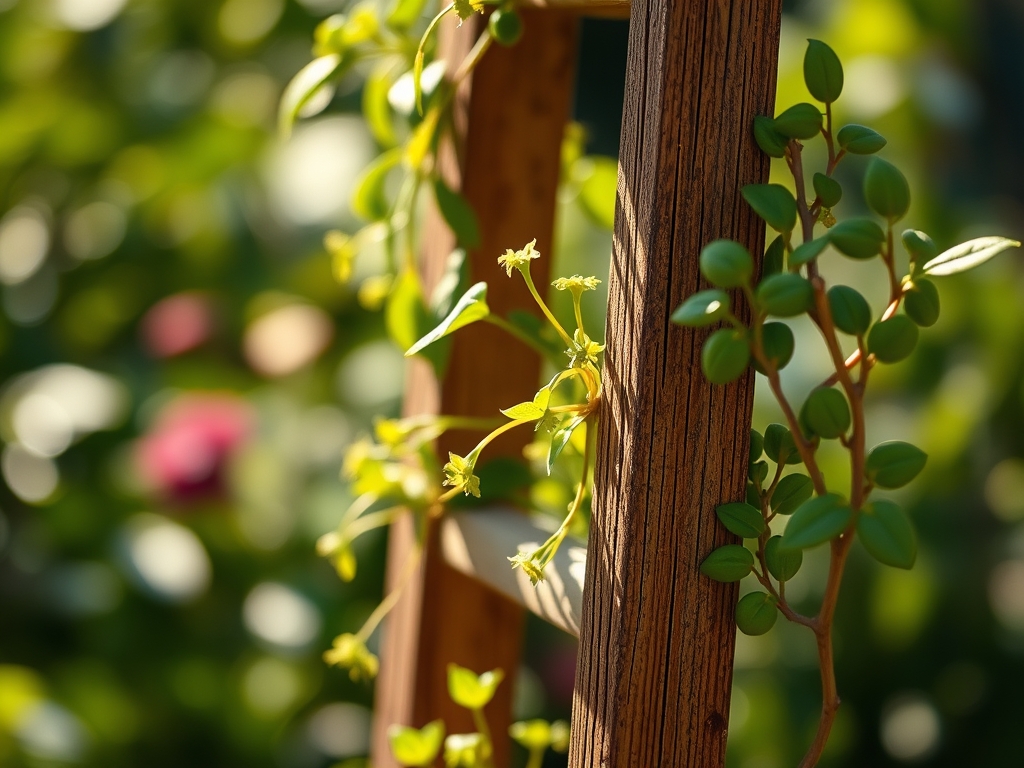
As plants grow, they will exhibit phototropism, leaning toward the primary light source. Rotate the pots on the ladder tiers by 90 degrees every week to ensure even growth and structural stability.
Pro-Tip: Practice "pinching" or apical pruning. By removing the terminal bud, you suppress auxin, the hormone responsible for apical dominance. This encourages the growth of lateral buds, resulting in a bushier, more robust plant profile.
The Clinic:
Physiological disorders often mimic disease but are usually the result of environmental stress or nutrient imbalances.
- Nitrogen Chlorosis: Symptoms include the yellowing of older, lower leaves while the veins remain green. Solution: Apply a water-soluble high-nitrogen fertilizer to restore chlorophyll synthesis.
- Blossom End Rot: This appears as a sunken, leathery black spot on the base of fruit. It is caused by a calcium deficiency often triggered by inconsistent watering. Fix-It: Maintain even soil moisture and apply a foliar calcium spray.
- Edema: Small bumps or blisters on the undersides of leaves indicate the plant is taking up more water than it can transpire. Solution: Increase airflow with a fan and reduce irrigation frequency.
- Tip Burn: This suggests high salt accumulation or boron toxicity. Solution: Flush the substrate with distilled water equal to three times the volume of the container to leach out excess minerals.
Maintenance:
A DIY plant ladder requires a rigorous maintenance schedule to prevent the collapse of the micro-ecosystem. Deliver 1.5 inches of water per week directly to the substrate at the drip line. Avoid overhead watering, which increases leaf wetness duration and invites bacterial leaf spot.
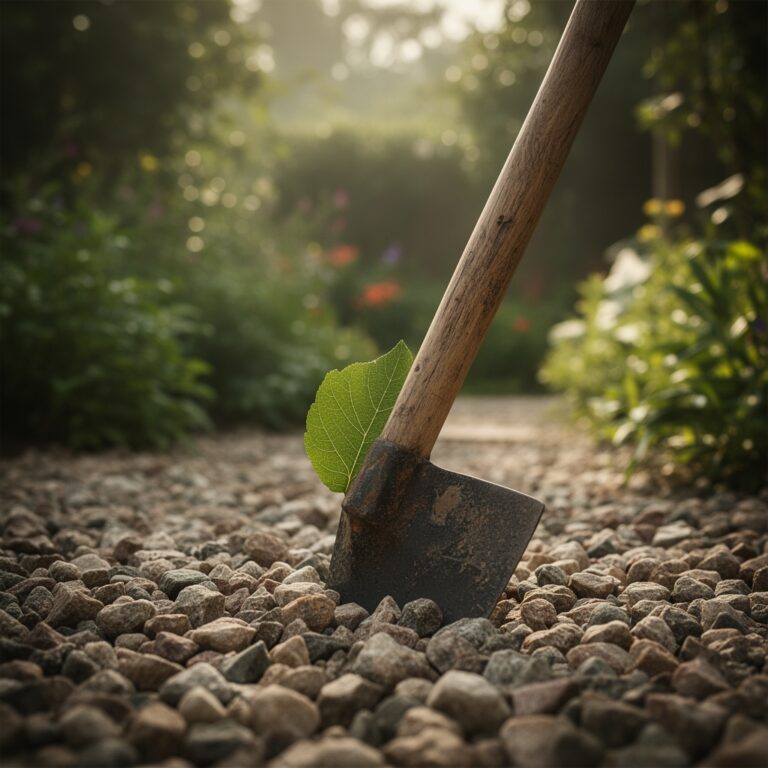
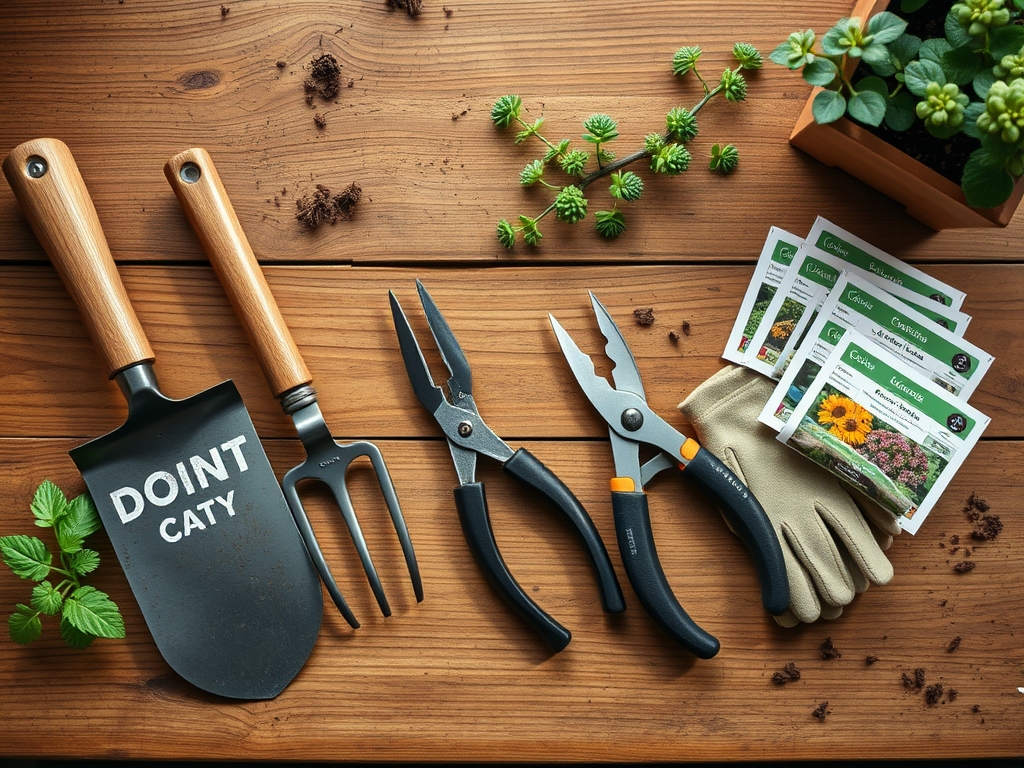
Use a soil moisture meter daily to check the tension at a depth of 4 inches. If the meter reads below a "4" on a 1-10 scale, irrigate immediately. Utilize a hori-hori knife for precise weeding and to slice through compacted root zones during mid-season refreshes. For woody perennials on the ladder, use bypass pruners to make clean, slanted cuts that shed water and heal quickly. Sterilize your tools with 70 percent isopropyl alcohol between plants to prevent the mechanical transmission of pathogens.
The Yield:
For those growing herbs or flowers, harvest timing is a matter of chemistry. Harvest herbs just before they flower, when the concentration of essential oils in the glandular trichomes is at its peak. This usually occurs in the early morning after the dew has evaporated but before the sun reaches its zenith.
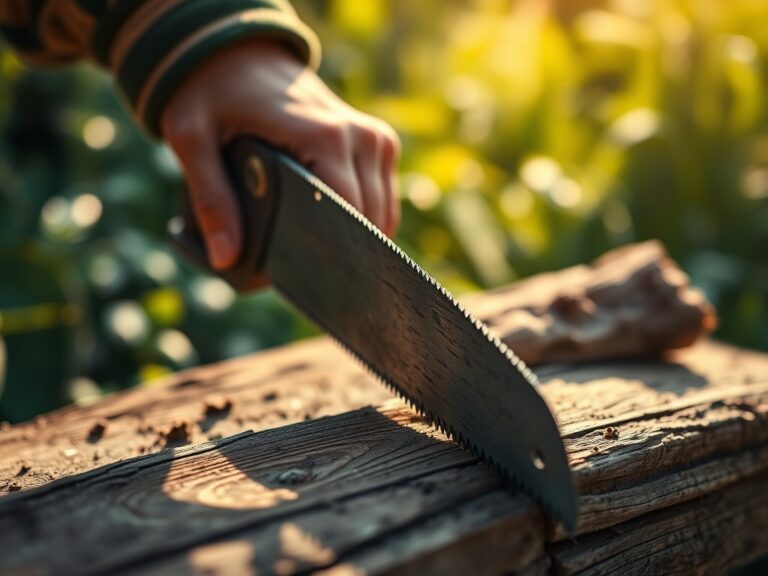
Use sharp snips to cut the stem just above a node. To maintain "day-one" freshness, immediately submerge the cut ends in 40-degree Fahrenheit water and store in a cool, dark location. This slows the rate of respiration and prevents the rapid breakdown of sugars and volatile compounds. For flowers, harvest when the buds are "in the crack," meaning the color is visible but the petals have not yet fully reflexed.
FAQ:
What is the best wood for a DIY plant ladder?
Cedar and redwood are superior choices due to their natural resistance to rot and insects. If using pressure-treated lumber, ensure it is rated for food contact to avoid leaching copper or arsenic into the rhizosphere.
How do I prevent my plant ladder from tipping?
Secure the apex of the ladder to a wall or fence using galvanized steel brackets. Ensure the base is level and placed on a compacted surface. The center of gravity must remain low to offset the weight of wet soil.
Can I use regular garden soil in the ladder pots?
No. Garden soil is too dense and lacks the porosity required for container drainage. It will compact, leading to anaerobic conditions and root rot. Use a high-quality "soilless" potting mix with a high Cation Exchange Capacity.
How often should I fertilize plants on a ladder?
Apply a balanced, water-soluble fertilizer every 14 to 21 days during the active growing season. Monitor the electrical conductivity (EC) of the runoff to ensure you are not building up toxic levels of mineral salts in the pots.