8 Handling Steps for Repotting a Heavy Elephant Ear
Damp peat moss and the sharp, metallic scent of wet clay signal the start of a necessary transition for a root-bound Colocasia or Alocasia. When the turgor pressure in the massive petioles begins to flag despite consistent hydration, the plant has likely exhausted its current substrate. Mastering the steps for repotting an elephant ear requires more than a larger vessel; it demands an understanding of the rhizosphere and the physical mechanics of moving a specimen that may weigh fifty pounds or more. Success depends on maintaining the structural integrity of the corm while refreshing the nutrient profile to support massive leaf expansion.
Materials
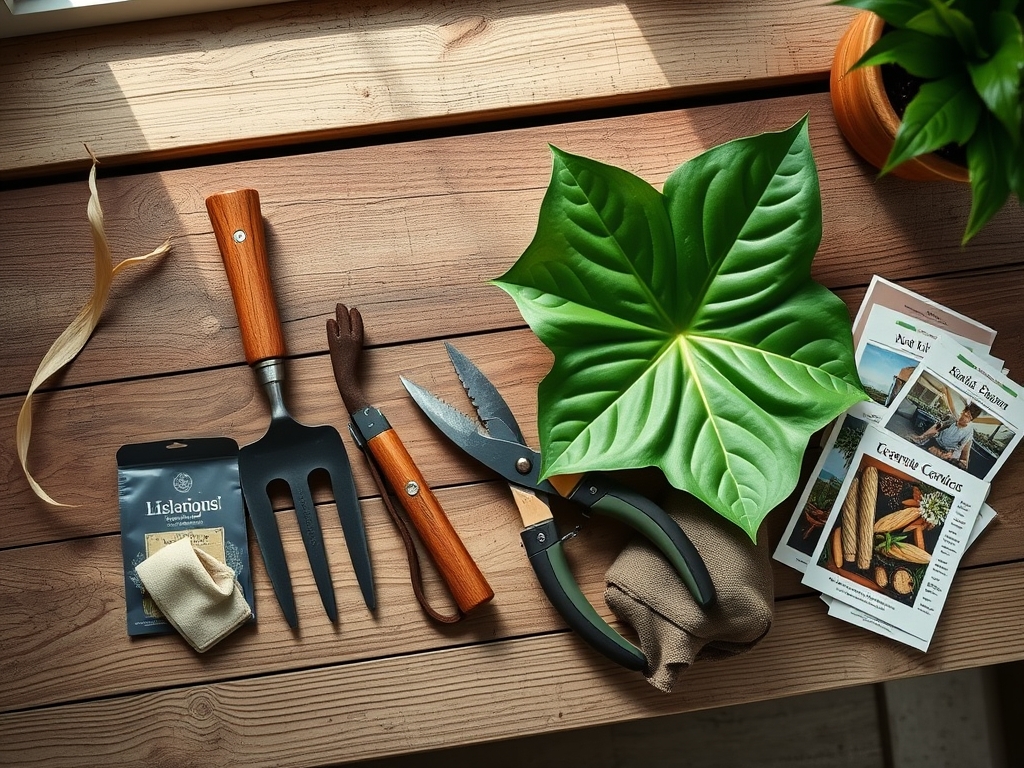
The substrate must be a friable loam with high organic matter content to facilitate a high **Cation Exchange Capacity (CEC)**. Aim for a soil **pH between 5.5 and 6.5**. Standard potting mixes often lack the structural density required to anchor a heavy elephant ear; therefore, a custom blend is preferred. Combine **two parts aged compost, one part perlite for aeration, and one part pine bark fines**.
Incorporate a slow-release granular fertilizer with an NPK ratio of 20-10-20. Elephant ears are heavy feeders that prioritize nitrogen for leaf surface area and potassium for cellular wall strength and water regulation. Avoid high-phosphorus "bloom booster" formulas, as excessive phosphorus can lead to micronutrient lock-out in a container environment. Ensure the new container is only 2 to 4 inches wider than the current one to prevent anaerobic pockets in unused soil.
Timing
Timing is dictated by the hardiness zone and the plant's metabolic rate. In USDA Zones 8 through 11, elephant ears can be repotted in early spring once soil temperatures consistently exceed 65 degrees Fahrenheit. For gardeners in cooler zones who overwinter tubers indoors, the ideal window is just as the first "spike" of new growth emerges from the corm.
This period marks the transition from dormancy to the vegetative stage. During this window, the plant's auxin levels are peaking, which facilitates rapid root regeneration. Do not repot during the height of summer heat, as the increased transpiration rate puts excessive stress on a disturbed root system. Likewise, avoid late autumn repotting; the plant is entering senescence and will not have the metabolic energy to establish itself in new substrate before the photoperiod shortens.
Phases
Sowing and Preparation
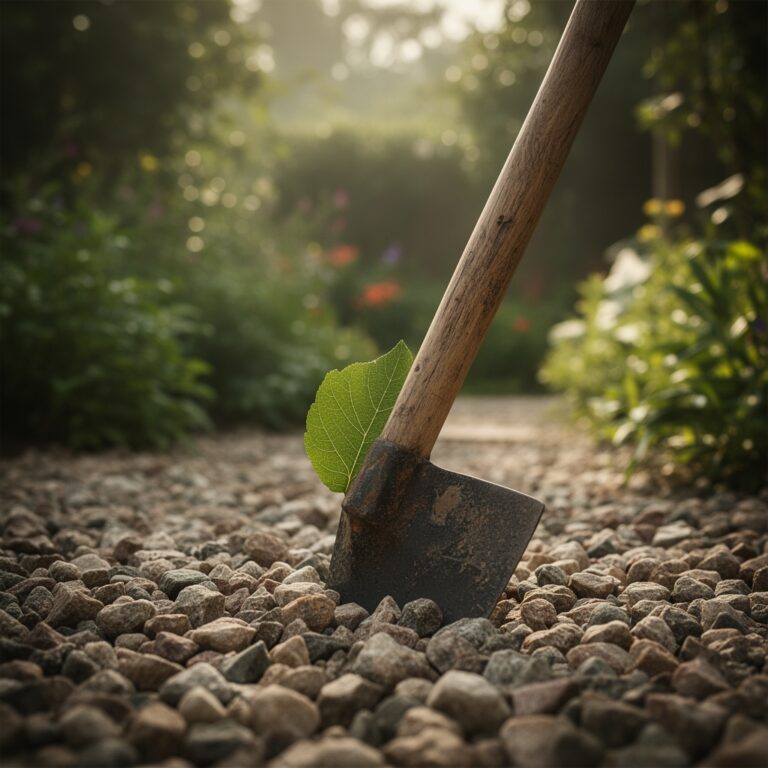
Before the move, hydrate the plant thoroughly 24 hours in advance to ensure maximum turgor pressure in the stalks. This makes the plant less brittle. Lay a tarp on a flat surface. If the plant is extremely heavy, you may need a second person to support the foliage while you manipulate the pot. Use a hori-hori knife to slice along the inner perimeter of the container to break the suction of the root mass against the plastic or ceramic walls.
Pro-Tip: Pre-moistening the substrate ensures that the root hairs do not suffer from immediate desiccation. This preserves the mycorrhizal symbiosis already present in the root ball, allowing these beneficial fungi to continue assisting in nutrient uptake during the transition.
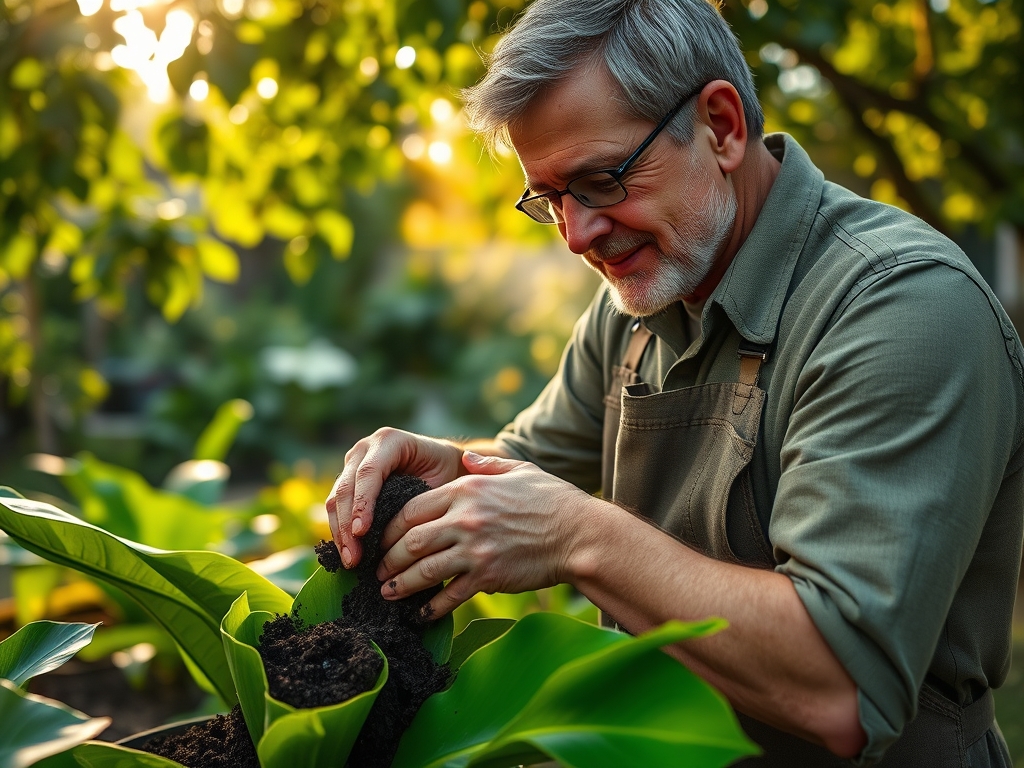
Transplanting
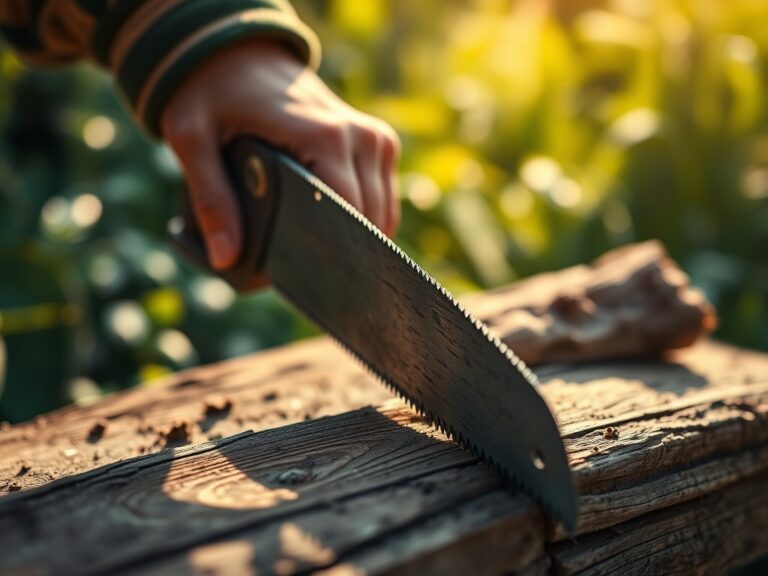
Grasp the plant at the base of the petioles, near the soil line, and slide the root ball out. Inspect the roots for any signs of decay or circling. Use bypass pruners to trim away dead or mushy roots, which should be firm and white. If the plant is severely root-bound, make three or four shallow vertical cuts into the root mass to encourage outward growth. Place the corm in the new pot so that the previous soil line is maintained; burying the stems too deep can lead to petiole rot.
Pro-Tip: Do not over-compress the new soil. Compaction reduces the macropore space necessary for oxygen to reach the roots. Oxygen is the primary driver of root respiration; without it, the plant cannot synthesize the ATP required to transport minerals against a concentration gradient.
Establishing
Fill the gaps with the prepared friable loam, tapping the pot gently to settle the medium. Water the plant until liquid drains freely from the bottom. This "settling water" is critical for eliminating large air pockets that can cause root dieback. Place the specimen in a location with filtered light for 5 to 7 days to recover from transplant shock before returning it to its full-sun or high-light position.
Pro-Tip: During the first week, the plant may exhibit slight drooping. This is a result of temporary hydraulic resistance as the roots re-establish contact with the soil. Avoid the urge to over-fertilize during this week; wait for the first sign of a new leaf "spear" before applying supplemental liquid nutrients.
The Clinic
- Symptom: Interveinal Chlorosis. The leaves turn yellow while the veins remain green.
- Solution: This indicates a Magnesium or Iron deficiency. Check the soil pH; if it is above 7.0, the plant cannot move these ions. Apply a chelated iron supplement or Epsom salts (magnesium sulfate).
- Symptom: Marginal Necrosis. The edges of the leaves turn brown and crispy.
- Solution: This is often "salt burn" from fertilizer buildup or underwatering. Flush the pot with three times its volume in fresh water to leach out excess salts.
- Symptom: Soft, Odorous Corm. The base of the plant feels mushy.
- Solution: This is fungal or bacterial rot caused by poor drainage. Remove the plant, excise the necrotic tissue with a sterile blade, and repot in a mix with higher perlite content.
Maintenance
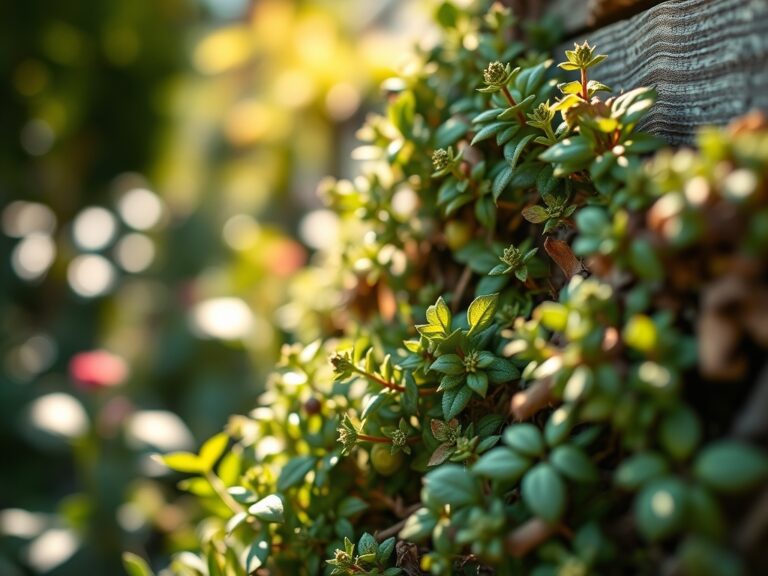
Maintain a strict irrigation schedule. Elephant ears require approximately 1.5 inches of water per week, delivered directly to the root zone. Use a soil moisture meter to ensure the substrate remains "damp but not saturated" at a depth of 4 inches. Clean the massive leaf blades once a month with a damp cloth to remove dust; this maximizes the photosynthetic rate by ensuring the stomata are not obstructed. Use bypass pruners to remove any yellowing lower leaves, cutting them within two inches of the main trunk to maintain a clean appearance and prevent fungal pathogens from colonizing decaying tissue.
The Yield
While most elephant ears are grown for ornamental foliage, some varieties like Colocasia esculenta produce edible tubers. If harvesting for consumption, wait until the end of the growing season when the foliage begins to yellow. This indicates that the plant has moved its carbohydrate reserves from the leaves down into the corm. Dig the tubers carefully to avoid bruising. For "day-one" freshness, brush off the soil but do not wash them until you are ready to use them; moisture on the skin can trigger premature decay during storage.
FAQ
How do I know when to repot my elephant ear?
Observe the drainage holes; if roots are protruding or if the plant requires daily watering to prevent wilting, the root-to-soil ratio is skewed. Repotting is necessary when the root mass has displaced more than 20 percent of the substrate.
What is the best soil for elephant ears?
Use a high-porosity mix with a pH of 5.5 to 6.5. A blend of peat, compost, and perlite provides the necessary cation exchange capacity and drainage to support rapid vegetative growth without risking root rot or nutrient lockout.
Can I repot an elephant ear in the winter?
It is not recommended. The plant is typically in a state of dormancy or reduced metabolic activity. Disturbing the roots during this phase can lead to rot, as the plant lacks the energy to repair damaged tissues.
Why are the bottom leaves of my elephant ear dying?
This is often a natural process called senescence. As the plant produces new, larger leaves, it redirects nitrogen and other mobile nutrients from the oldest leaves to the new growth. If it happens excessively, check for nitrogen deficiency.