7 Engineering Steps to Reinforce a Retaining Wall
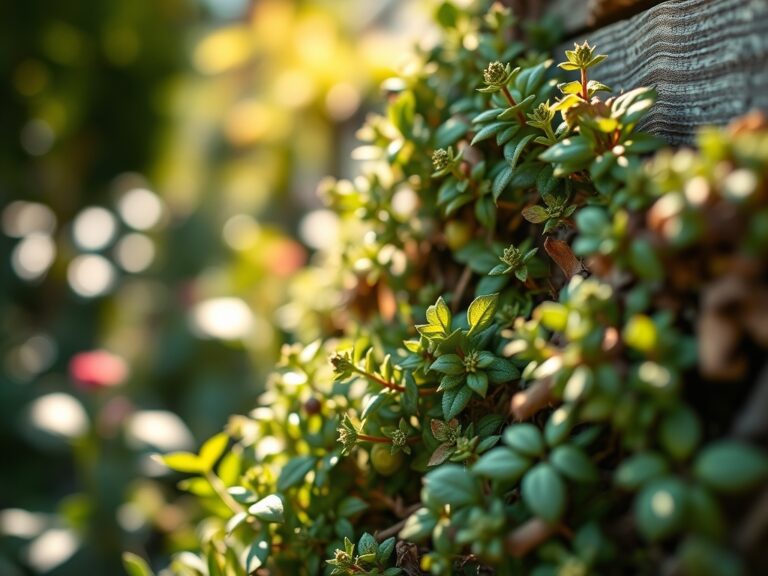
Wet soil carries a heavy scent of anaerobic decomposition when drainage fails. This sulfurous odor signals that hydrostatic pressure is mounting against your landscape. If the turgor of your plants begins to fail due to root rot near the base of a slope; or if the masonry shows hairline fractures; you must act. Implementing the correct steps to reinforce a retaining wall requires an understanding of soil mechanics and hydraulic pressure. Failure to stabilize the earth results in catastrophic structural collapse and the loss of the surrounding rhizosphere.
Materials:

The foundation of any reinforcement project begins with the substrate. You require a **friable loam** for the planting zones above the wall to ensure proper oxygenation of roots. This soil should maintain a **pH between 6.2 and 6.8** to optimize the Cation Exchange Capacity (CEC). For the structural backfill, use **3/4-inch crushed angular stone** to facilitate rapid drainage.
When re-establishing vegetation to prevent surface erosion, incorporate a slow-release granular fertilizer with an NPK ratio of 10-20-10. The high phosphorus content encourages rapid root elongation. Avoid high nitrogen levels during the reinforcement phase; excessive vegetative growth increases wind resistance and top-heavy weight before the root systems can anchor the soil.
Timing:
Reinforcement must occur during periods of low hydraulic load. In Hardiness Zones 4 through 7, the ideal window is late summer or early autumn, at least six weeks before the first hard frost. This timing aligns with the plant's transition from the vegetative stage to the reproductive and dormancy preparation stages. By working when the soil is at its lowest moisture content, you reduce the risk of soil slumping during excavation.
The "Biological Clock" of the surrounding flora is critical. Avoid heavy structural work during the spring flush when sap flow is at its peak and bark is easily damaged. Instead, wait for the period of senescence or mid-summer semi-dormancy. This ensures that any root pruning required for wall access does not result in fatal moisture loss through transpiration.
Phases:

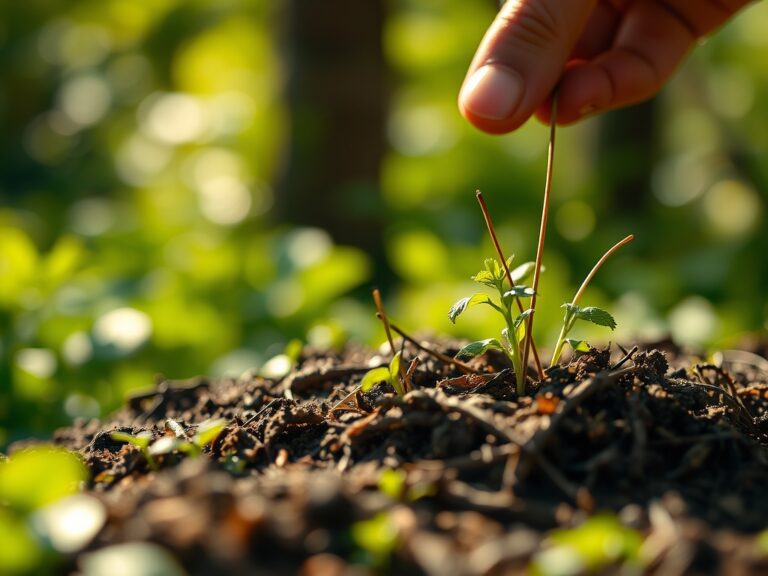
Sowing the Stabilization Zone
Begin by clearing the failure zone. If you are using bio-engineering to assist the masonry, sow deep-rooted grasses or legumes. Ensure seeds are placed at a depth of 0.25 inches in a prepared seedbed.
Pro-Tip: Utilize mycorrhizal inoculants during sowing. The symbiotic relationship between fungi and roots increases the surface area of the root system by up to 100 times; this creates a biological mesh that physically binds soil particles together.
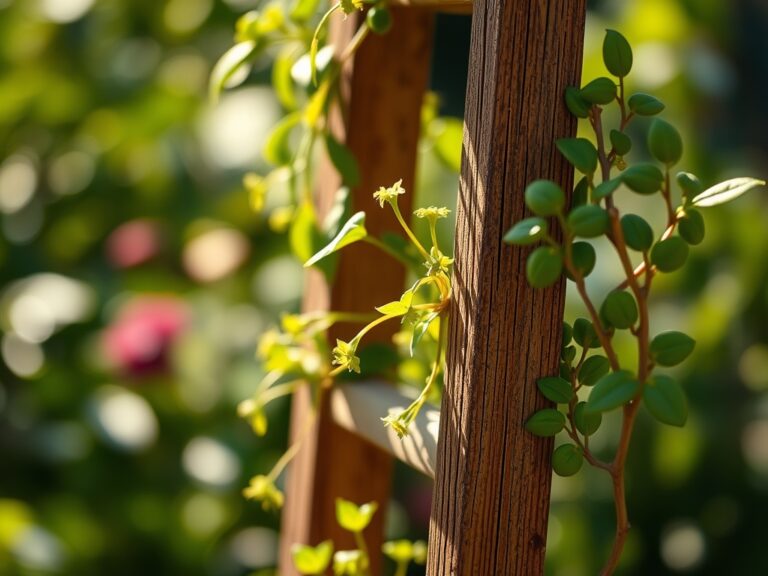
Transplanting Anchor Species
When installing woody shrubs to provide long-term slope stability, dig holes twice the width of the root ball. Position the plants so the root flare is exactly at the soil surface. Backfill with a mix of native soil and the specified friable loam.
Pro-Tip: When transplanting, avoid pruning the terminal buds of the central leaders. Maintaining apical dominance ensures the production of auxins that travel downward to stimulate vigorous root growth; this is essential for anchoring the wall's upper terrace.
Establishing the Drainage Layer
The most critical of the steps to reinforce a retaining wall is the installation of a 4-inch perforated HDPE drain pipe at the base of the wall. This pipe must be encased in a geotextile sleeve to prevent siltation. Surround the pipe with 12 inches of clean gravel.
Pro-Tip: Use a non-woven geotextile fabric between the gravel and the soil. This prevents "fines" from migrating into the drainage stone; this maintains the high hydraulic conductivity required to prevent the buildup of pore water pressure.
The Clinic:
Monitor the surrounding vegetation for physiological disorders that indicate wall stress or soil issues.
- Symptom: Interveinal chlorosis in new growth.
- Solution: This indicates a micronutrient lockout, often due to high alkalinity from leaching concrete. Apply chelated iron and adjust the pH to 6.5.
- Symptom: Marginal leaf scorch on uphill plants.
- Solution: This suggests "drought stress" caused by excessive drainage or root severance during wall repair. Increase irrigation to 2 inches per week until the root system recovers.
- Symptom: Lean or "creeping" of the wall face.
- Solution: This is a mechanical failure. Install deadman anchors every 6 to 8 feet, extending at least 4 feet back into the undisturbed hillside.
Fix-It: For Nitrogen chlorosis (yellowing of older leaves), apply a 5-5-5 liquid seaweed extract to provide immediate bioavailability without triggering a massive growth surge that might destabilize the fresh backfill.
Maintenance:
Precision is required for the first two growing seasons after reinforcement. Use a soil moisture meter to ensure the root zone stays between 20% and 40% volumetric water content. Deliver 1.5 inches of water per week at the drip line using a soaker hose to avoid soil erosion.
Keep a hori-hori knife sharpened for removing deep-rooted weeds that might penetrate the drainage fabric. Use bypass pruners to maintain a low profile for any shrubs on the wall; this reduces the "lever effect" during high wind events. Check the drainage outlets after every rainfall exceeding 0.5 inches to ensure no blockages exist.
The Yield:
If the reinforced area includes fruiting species like Vaccinium or Ribes, harvest when the fruit reaches full color and yields slightly to pressure. For maximum "day-one" freshness, harvest at dawn when turgor pressure is highest. Place the yield immediately in a shaded, ventilated container to dissipate field heat. Proper reinforcement ensures these plants receive the consistent moisture and structural stability required for high brix levels in the fruit.
FAQ:
How do I stop a retaining wall from leaning?
Install deadman anchors or soil nails. These horizontal supports extend deep into the hillside and use the weight of the earth to pull the wall back toward the slope. Ensure they are spaced every 6 vertical feet.
What is the best material for backfilling?
Use 3/4-inch crushed angular stone. Unlike rounded pea gravel, angular stone interlocks to provide structural stability while maintaining maximum voids for water to flow freely to the drainage system.
Can plants help reinforce a wall?
Yes. Use species with fibrous root systems or deep taproots. These roots act as biological rebar; they increase the shear strength of the soil and reduce the hydraulic pressure by absorbing excess groundwater.
Why is my retaining wall cracking?
Cracks usually result from hydrostatic pressure. When water cannot escape from behind the wall, it exerts thousands of pounds of force. Improving the drainage layer and clearing the weep holes is the primary solution.
How deep should the drainage pipe be?
The pipe should sit at the base of the wall, slightly above the footing. It must be sloped at a minimum of 1 percent grade to ensure gravity carries the water away to a safe discharge point.