5 Quick Steps to Build a Gravel Terrace
The scent of damp, disturbed earth signals the beginning of any structural landscape intervention. When the soil is at field capacity, its structural integrity is most evident to the touch; it should crumble under slight pressure but retain its shape, indicating a healthy balance of pore space and mineral content. Mastering the steps to build a gravel terrace requires more than aesthetic intent. It demands a rigorous understanding of slope stabilization and the hydrological impact on the local rhizosphere.
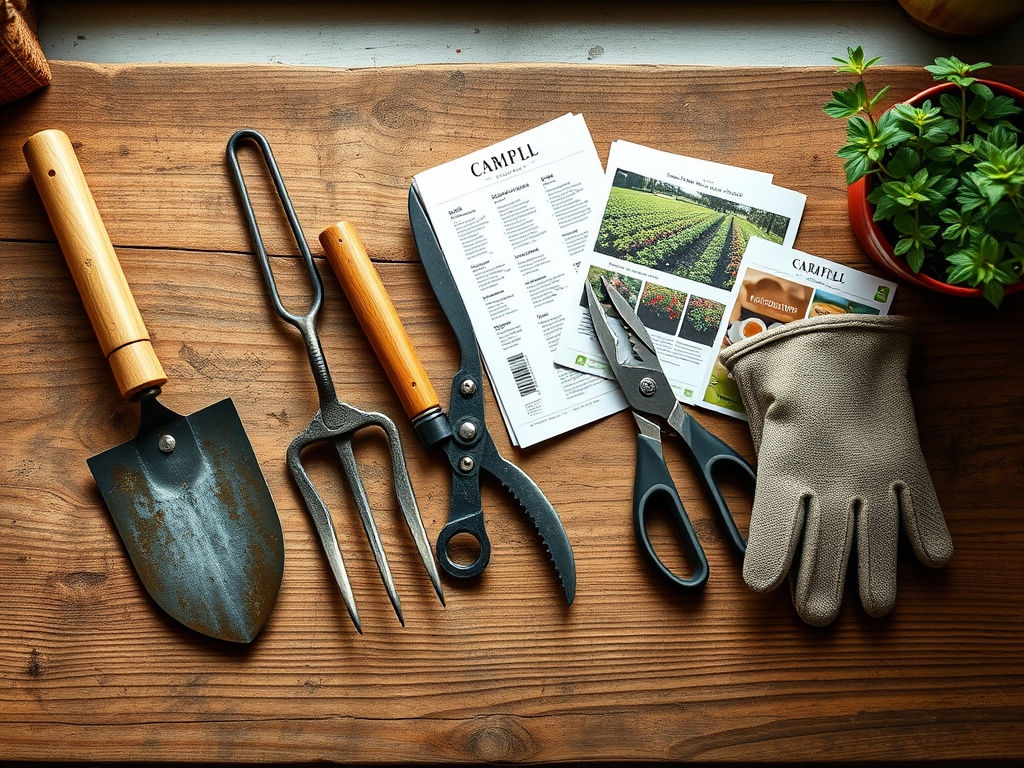
Materials:
A gravel terrace serves as both a drainage solution and a planting bed. The ideal substrate for the planting pockets within the terrace is a **friable loam** consisting of 40 percent sand, 40 percent silt, and 20 percent clay. This ratio ensures a high **Cation Exchange Capacity (CEC)**, allowing the soil to hold onto essential nutrients like ammonium and potassium.
Target a soil pH between 6.2 and 6.8 to maximize nutrient bioavailability. Before installation, incorporate a slow release organic fertilizer with an NPK ratio of 5-10-5. The high phosphorus content supports early root development and cellular ATP production. For the structural components, use angular crushed stone rather than rounded river rock. Angular gravel provides mechanical interlocking, which prevents shifting under foot traffic or heavy precipitation. You will also require non woven geotextile fabric with a weight of at least 4 ounces per square yard to separate the subsoil from the gravel layer while maintaining hydraulic conductivity.
Timing:
Timing is governed by the USDA Hardiness Zones and the local frost free window. In Zones 5 through 7, construction should commence in early spring once the soil temperature reaches a consistent 50 degrees Fahrenheit. This allows the soil to settle before the peak vegetative growth phase begins.
Understanding the biological clock of your intended plantings is vital. Most Mediterranean species often used in gravel terraces transition from vegetative growth to reproductive stages based on the photoperiod. Aim to complete the terrace at least six weeks before the summer solstice. This window ensures that any transplanted specimens can establish a robust root system before the increase in day length triggers flowering and higher transpiration demands.
Phases:

Sowing and Site Preparation
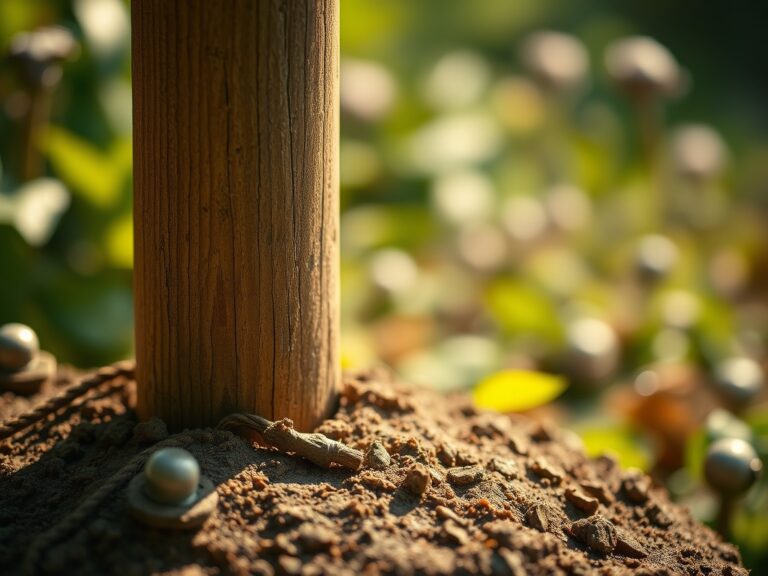
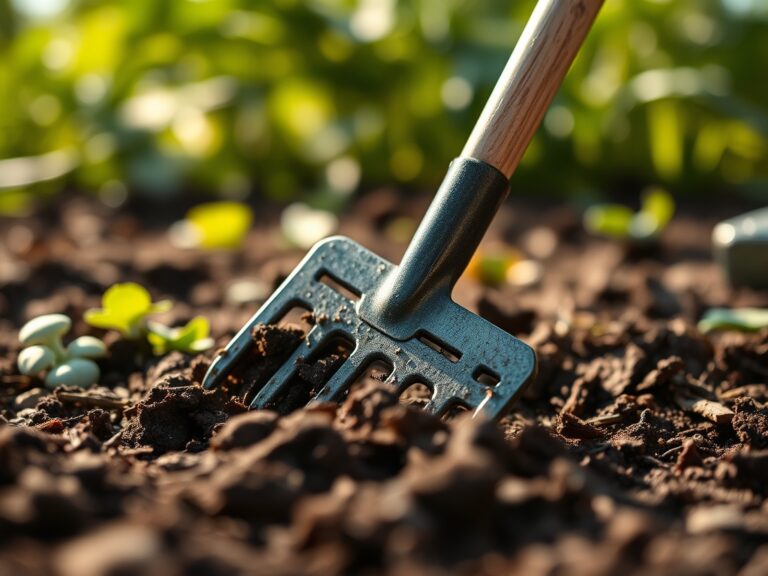
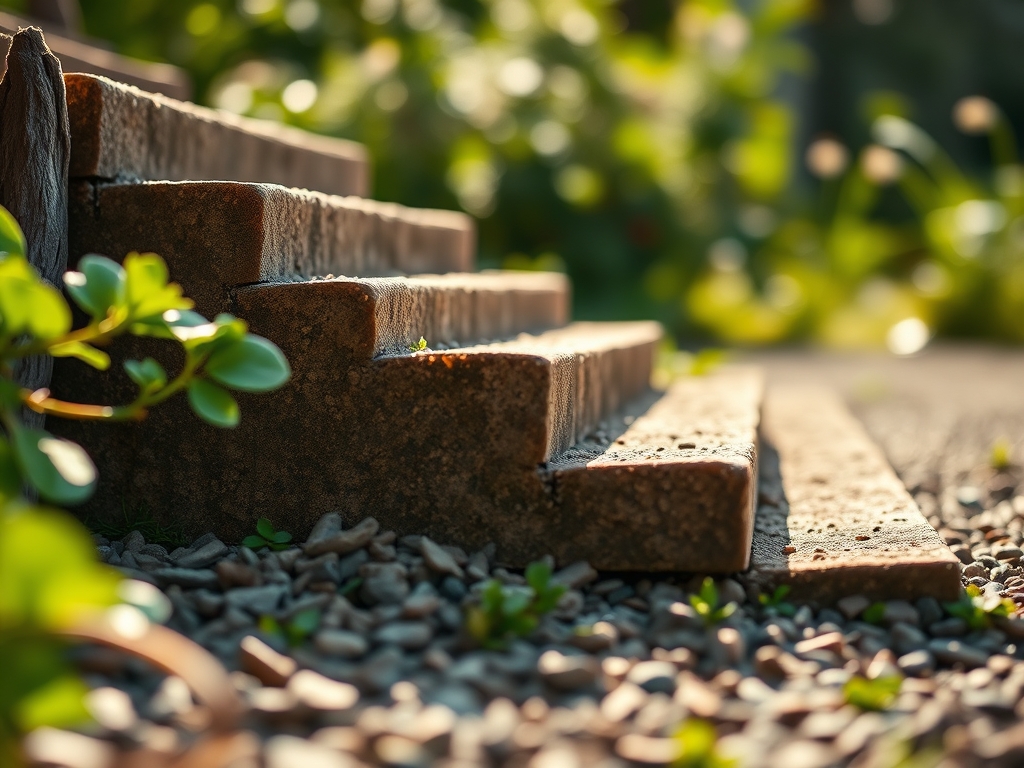
Excavate the slope in a series of "cut and fill" steps. Each level must be perfectly horizontal to prevent water runoff and erosion. Use a laser level to ensure accuracy within 0.25 inches across the span. Compact the subsoil to 90 percent Proctur density to prevent future subsidence.
Pro-Tip: Proper compaction prevents the collapse of macro-pores in the subsoil. This is essential because excessive settling can shear delicate root hairs through a process called mechanical impedance; maintaining structural stability ensures the rhizosphere remains oxygenated.
Transplanting
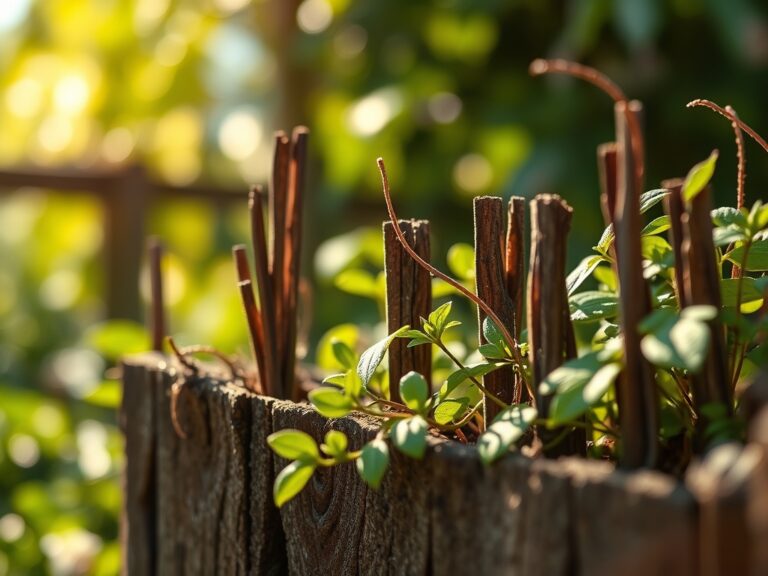
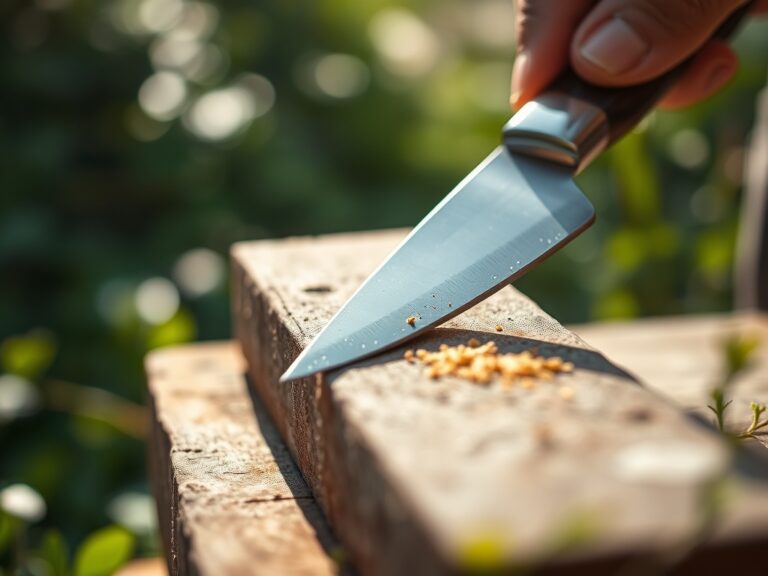
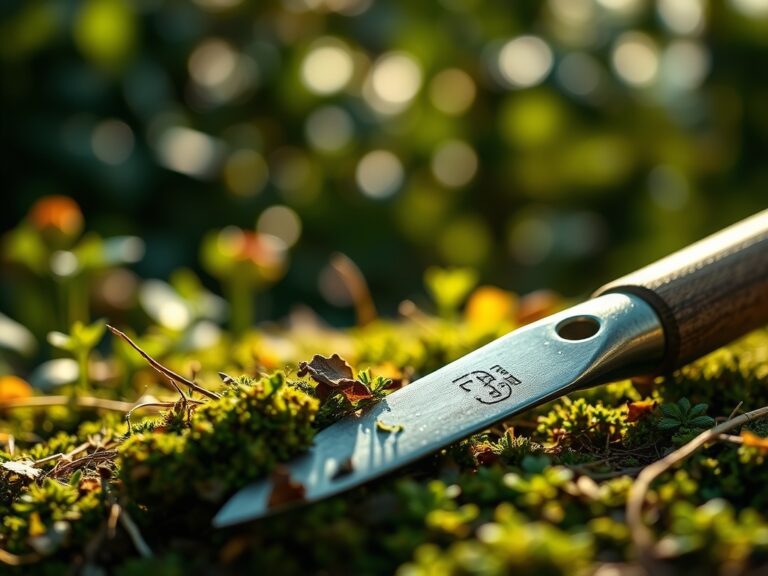
When placing plants into the gravel matrix, dig a hole twice the width of the root ball. Use a hori-hori knife to score the sides of the root ball if the plant is pot bound. This disrupts circular root growth and encourages lateral expansion into the new substrate. Backfill with the friable loam specified earlier, then top with a 2 to 3 inch layer of gravel.
Pro-Tip: This gravel mulch suppresses auxin suppression issues caused by weed competition. By blocking light from reaching the soil surface, you prevent the germination of weed seeds that would otherwise compete for nitrogen and water.
Establishing
During the first 21 days, the focus is on maintaining turgor pressure. Even drought tolerant plants require consistent moisture during the establishment phase. Monitor the soil moisture at a depth of 4 inches using a digital meter.
Pro-Tip: Maintaining consistent moisture levels encourages mycorrhizal symbiosis. These beneficial fungi attach to the root system and effectively increase the surface area for water and phosphorus absorption; a dry soil profile during the first month can kill these sensitive fungal spores.
The Clinic:
Physiological disorders often manifest quickly in the high drainage environment of a gravel terrace.
- Symptom: Interveinal chlorosis on young leaves.
Solution: This indicates an Iron deficiency, often caused by a pH above 7.5.
Fix-It: Apply chelated iron and lower the pH using elemental sulfur at a rate of 5 pounds per 1,000 square feet. - Symptom: Leaf margins turning brown and "crispy" despite watering.
Solution: This is likely salt accumulation from synthetic fertilizers.
Fix-It: Flush the area with 3 inches of water to leach excess salts below the root zone. - Symptom: Stunted growth with purple tinting on the underside of leaves.
Solution: Phosphorus deficiency, common in cold, wet soils.
Fix-It: Apply a water soluble 0-20-0 fertilizer to provide immediate orthophosphate ions. - Symptom: General yellowing of older leaves (Nitrogen chlorosis).
Solution: The plant is scavenging nitrogen from old growth to support new terminals.
Fix-It: Side dress with blood meal or a high nitrogen organic meal at a 10-0-0 ratio.
Maintenance:
Precision maintenance is the difference between a thriving ecosystem and a failing one. Provide 1.5 inches of water per week at the drip line during the first growing season. Use a soil moisture meter to verify that the water is penetrating at least 8 inches deep.
In late winter, use bypass pruners to remove dead biomass before the new spring surge. This prevents the accumulation of organic debris in the gravel, which would otherwise break down into a fine silt and clog the drainage layers. If you notice "heaving" after a freeze-thaw cycle, use a hand tamper to gently firm the plants back into the soil. Use your hori-hori knife to remove any deep rooted perennial weeds that manage to penetrate the geotextile.
The Yield:
For those growing lavender or culinary herbs in their terrace, harvest timing is critical for essential oil concentration. Harvest just as the first flowers on the spike begin to open. This is when the plant's secondary metabolites are at their peak.
Use sharp snips to cut the stems in the early morning, specifically after the dew has evaporated but before the heat of the day causes transpirational stress. To maintain day-one freshness, place the stems immediately into a cool, shaded environment. Do not wash the herbs until they are ready for use; excess moisture on the foliage encourages senescence and fungal decay.
FAQ:
What is the best gravel size for a terrace?
Use 0.5 to 0.75 inch angular crushed stone. This size provides the best mechanical interlocking for stability while maintaining a high percentage of void space for rapid drainage and gas exchange in the root zone.
How deep should the gravel layer be?
Maintain a depth of 2 to 3 inches. This thickness is sufficient to suppress weed germination and regulate soil temperature fluctuations without inhibiting the emergence of desired self-seeding botanical species or obstructing oxygen diffusion.
Do I need a perforated pipe for drainage?
If the slope exceeds a 10 percent grade or the subsoil is heavy clay, install a 4 inch perforated drain pipe behind the first tier. This prevents hydrostatic pressure from collapsing the terrace walls during heavy rain events.
Can I build a terrace without a retaining wall?
Only if the "rise" of each step is less than 6 inches and the soil is heavily compacted. For heights greater than this, structural timber or stone is required to prevent gravity from pulling the gravel down the slope.