9 Detailed Steps to Build a Tool Care Course
The smell of damp earth after a cold rain signifies a high concentration of geosmin, a chemical byproduct of Actinomycetes bacteria. This olfactory marker indicates a healthy, biologically active rhizosphere where nutrient cycling is at its peak. When the turgor pressure of a leaf remains high, the plant is efficiently transporting water through its xylem. This physiological state is the ideal environment to demonstrate how to prepare a garden for a tool care course. Proper preparation ensures that every demonstration of a sharp blade or a clean cut occurs on plant tissue that can heal rapidly through callus formation. A garden optimized for instruction requires precise soil management and structural integrity to withstand the foot traffic of a technical workshop.
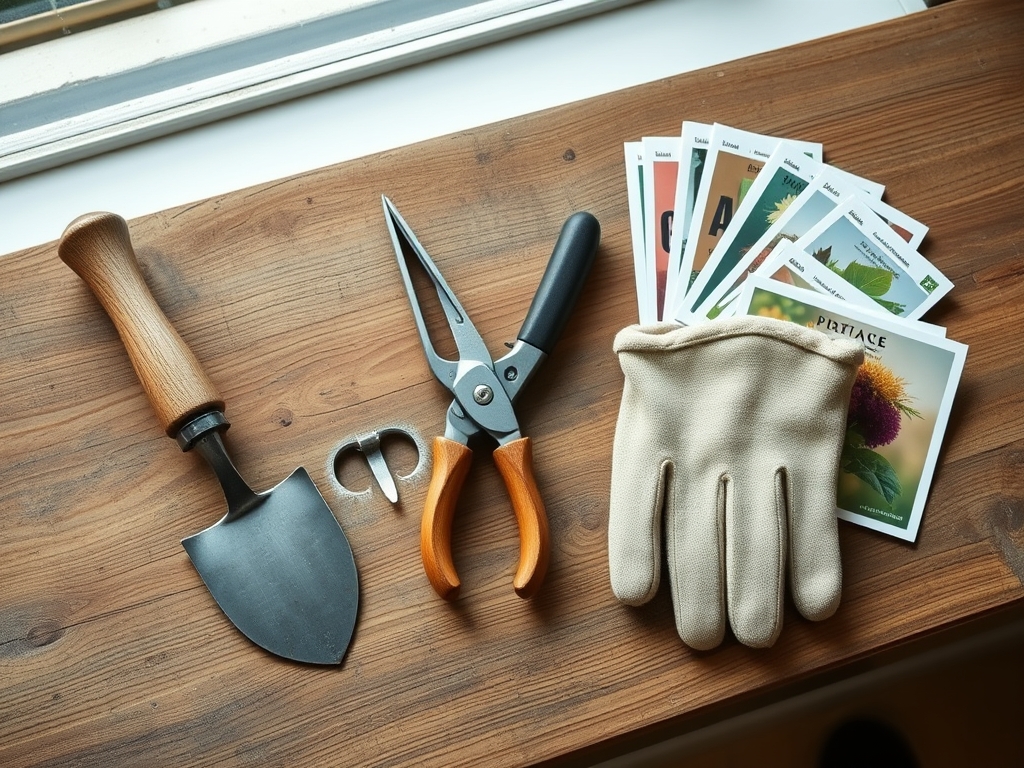
Materials:
The foundation of a high-performance garden is a **friable loam** with a Cation Exchange Capacity (CEC) between **15 and 25 meq/100g**. This texture allows for adequate aeration and water retention. The soil pH must be stabilized between **6.2 and 6.8** to maximize the bioavailability of phosphorus and micronutrients.
For pre-course preparation, utilize fertilizers with specific NPK ratios based on the growth stage. Use a 10-10-10 balanced granular for general maintenance. If the course focuses on woody perennials, a 5-10-10 ratio encourages root development without triggering excessive vegetative flushes. Ensure the substrate contains at least 5 percent organic matter to support the microbial populations necessary for rapid wound healing after pruning demonstrations.
Timing:
Successful execution depends on Hardiness Zone data. In Zones 5 through 7, the window for preparing woody ornamentals opens 4 to 6 weeks before the last spring frost. In Zones 8 and 9, this window shifts to late winter. The biological clock of the plant dictates the timing; you must intervene before the plant transitions from its dormant state to the vegetative stage.
Once the photoperiod increases and soil temperatures reach a consistent 55 degrees Fahrenheit, sap flow accelerates. This is the critical moment for a tool care course. Pruning during this transition allows the plant to utilize its stored carbohydrates to seal vascular tissues quickly. Avoid scheduling the course during the reproductive stage (flowering), as the plant diverts energy away from structural repair to fruit and seed production.
Phases:

Sowing
Begin with cover crops like winter rye or clover in the demonstration areas. These plants stabilize the soil structure and prevent compaction from students. Sow at a depth of 0.5 inches to ensure high germination rates.
Pro-Tip: Utilize the concept of rhizosphere engineering. Leguminous cover crops engage in a symbiotic relationship with Rhizobium bacteria to fix atmospheric nitrogen; this provides a natural nitrogen source that improves plant resilience before tool impact.
Transplanting
Move sacrificial shrubs or "practice" specimens into the demonstration zone at least one full season before the course. Dig a hole twice the width of the root ball but no deeper than the original container. Backfill with native soil to avoid creating a "bathtub effect" where water stagnates.
Pro-Tip: Focus on auxin suppression. When you prune the apical meristem of a transplant, you remove the source of auxin; this stimulates lateral bud growth and creates a denser, more robust plant for students to study.
Establishing
Maintain consistent soil moisture levels using a soil moisture meter to ensure the root zone stays between 60 and 80 percent of field capacity. Mulch the area with 3 inches of arborist wood chips to regulate soil temperature and suppress weed competition.
Pro-Tip: Encourage mycorrhizal symbiosis by avoiding high-phosphorus fertilizers during the establishment phase. Low phosphorus levels force the plant to partner with fungal networks, which significantly increases the surface area for water absorption and nutrient uptake.
The Clinic:
Physiological disorders can compromise the integrity of the demonstration. Identify and treat these symptoms before the course begins.
Symptom: Interveinal Chlorosis
This appears as yellowing between the leaf veins while the veins remain green.
Solution: This is typically a sign of Iron or Magnesium deficiency. Check the soil pH. If pH is above 7.2, iron becomes insoluble.
Fix-It: Apply chelated iron or magnesium sulfate (Epsom salts) at a rate of 1 tablespoon per gallon of water.
Symptom: Leaf Scorch
Brown, necrotic edges on the foliage.
Solution: This indicates localized dehydration or salt accumulation in the tissue.
Fix-It: Increase irrigation to 2 inches per week and flush the soil with deep watering to leach excess salts from the root zone.
Symptom: Nitrogen Deficiency
Uniform paling or yellowing of older, lower leaves.
Solution: The plant is scavenging nitrogen from old growth to support new meristematic activity.
Fix-It: Apply a high-nitrogen liquid fertilizer with a 20-10-10 NPK ratio for immediate uptake.
Maintenance:
Precision maintenance is required to keep the garden in "demonstration-ready" condition. Provide exactly 1.5 inches of water per week delivered at the drip line. Avoid overhead irrigation to minimize the risk of fungal pathogens on the leaf surface.
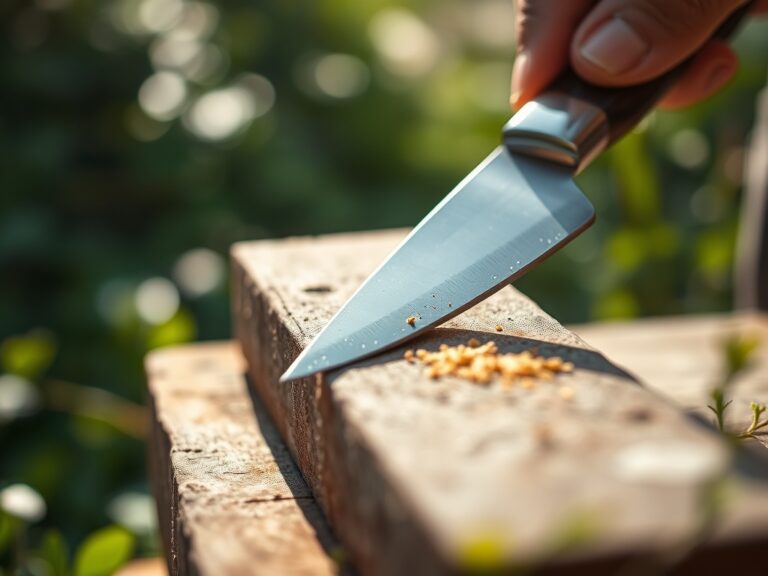
Use a soil moisture meter daily to monitor the top 6 inches of the profile. Keep your bypass pruners and hori-hori knife sterilized with 70 percent isopropyl alcohol between every cut to prevent the spread of tobacco mosaic virus or fire blight. If you encounter thick woody stems, use a folding pruning saw to ensure a clean kerf. Sharp tools reduce the mechanical pressure required for a cut, which minimizes the crushing of the vascular cambium.
The Yield:
For a tool care course involving edibles, harvest timing is calculated by Brix levels (sugar content). Use a refractometer to ensure fruits have reached peak maturity. For woody cuttings, harvest in the early morning when turgor pressure is at its maximum.
Post-harvest handling is critical for "day-one" freshness. Immediately submerge the cut ends of stems in 40-degree Fahrenheit water. This cold shock slows down the rate of senescence and reduces the respiration rate of the tissue. If the course involves grafting, keep the scion wood in a sealed bag at 34 degrees Fahrenheit to maintain dormancy until the moment of the demonstration.
FAQ:
How do I test soil drainage for the course?
Dig a hole 12 inches deep and fill it with water. If it drains in less than 2 hours, the soil is well-drained. If it takes over 24 hours, the site has poor drainage and requires remediation.
What is the best tool for checking soil compaction?
Use a penetrometer or a simple metal rod. If you cannot push the rod 12 inches into the soil with moderate pressure, the bulk density is too high. This compaction restricts root respiration and water infiltration.
Why is tool sterilization necessary in a garden?
Pathogens like Botrytis or Fusarium hitchhike on blades. Sterilizing with 70 percent alcohol prevents cross-contamination between plants. This practice ensures that the wounds created during the tool care course do not become entry points for systemic infections.
When should I stop fertilizing before a course?
Cease high-nitrogen applications 4 weeks prior to the course. This prevents the growth of "succulent" tissue, which is overly soft and prone to tearing. Firm, lignified wood provides a better substrate for demonstrating clean, professional pruning cuts.