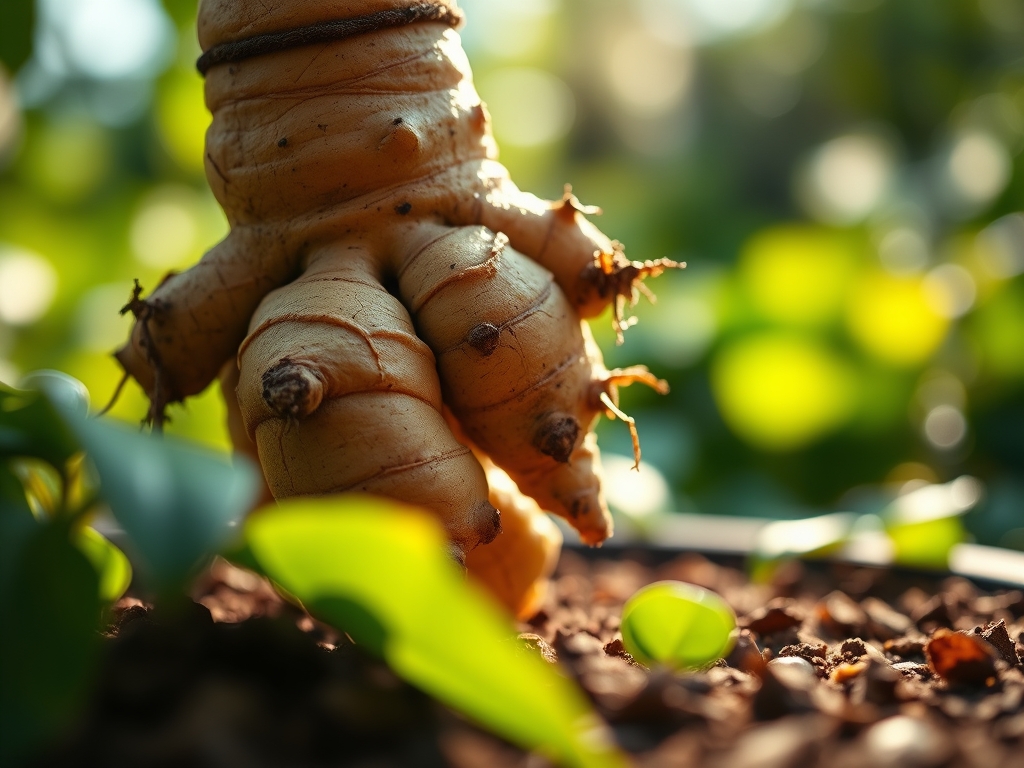
7 Vital Steps to Plant Ginger Root
Crushing a fresh Zingiber officinale leaf releases a sharp, spicy scent that signals high concentrations of gingerol compounds. The plant exhibits high turgor pressure in its stalks when properly hydrated; a healthy specimen feels rigid and cool to the touch. Success in the garden depends on mastering the specific steps to plant ginger root to ensure the rhizome does not succumb to anaerobic rot in the early stages of development. You are managing a tropical perennial that requires high humidity and consistent warmth to thrive. The process begins with selecting a firm, plump rhizome with visible growth buds, often called "eyes." These buds represent the primary meristematic tissue where new shoots will emerge. If the rhizome is shriveled or soft, the vascular system is compromised, and the plant will fail to establish. By following precise horticultural protocols, you can transform a simple grocery store root into a massive, multi-stemmed cluster. This guide provides the technical data required to manage the rhizosphere and maximize the biomass of your harvest through rigorous soil science and botanical discipline.
Materials:
The substrate is the most critical factor for rhizome expansion. Ginger requires a friable loam with a high sand content to facilitate drainage while maintaining enough organic matter to support a high Cation Exchange Capacity (CEC). Aim for a soil pH between 5.5 and 6.5. If the pH rises above 7.0, iron and manganese become less available, leading to interveinal chlorosis.
For fertilization, use a specific NPK ratio of 5-5-5 during the initial planting phase to support root development without overstimulating foliage. As the plant enters its peak vegetative stage, transition to a 10-20-20 ratio. The increased phosphorus and potassium are vital for starch accumulation in the rhizome. Incorporate well-rotted compost to provide a steady release of micronutrients. The physical texture must be loose enough that you can push your finger three inches into the soil without significant resistance; compacted clay will physically constrict the growing ginger, resulting in stunted, woody roots.
Timing:
Ginger is a tropical plant that performs best in USDA Hardiness Zones 9 through 12. In colder climates, it must be grown in containers or treated as an annual. The biological clock of the plant is triggered by soil temperature; do not plant until the substrate consistently remains above 65 degrees Fahrenheit (18 degrees Celsius).
The transition from the vegetative stage to the reproductive stage occurs over a 10 month growing season. In temperate zones, this requires starting the rhizomes indoors in late winter, approximately 6 weeks before the last frost. This "head start" ensures the plant has enough time to complete its growth cycle before the autumn senescence begins. Photoperiod also plays a role; while ginger is traditionally a "short-day" plant for flowering, rhizome production is most aggressive during the long, humid days of mid-summer.
Phases:
Sowing the Rhizome
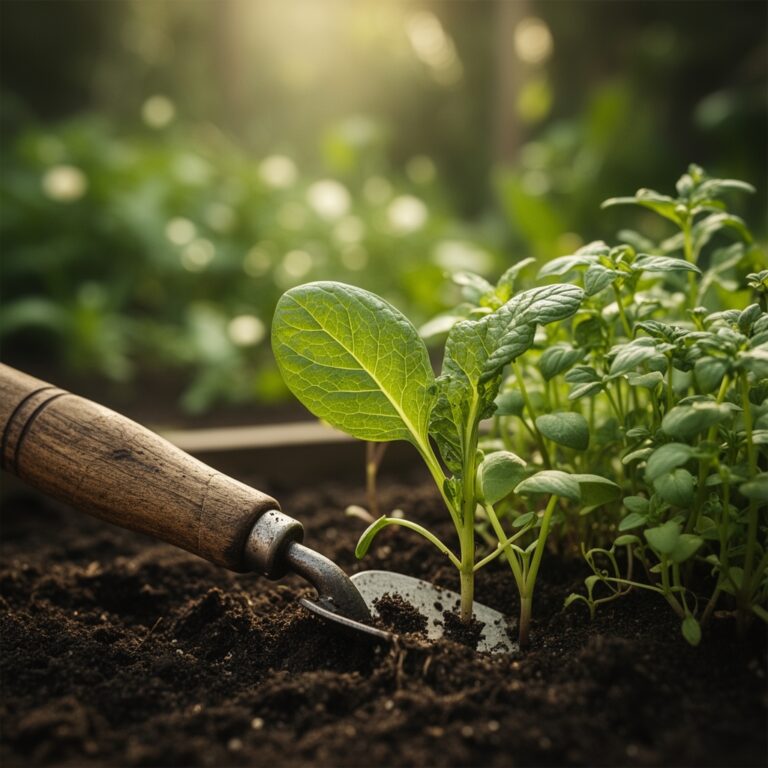
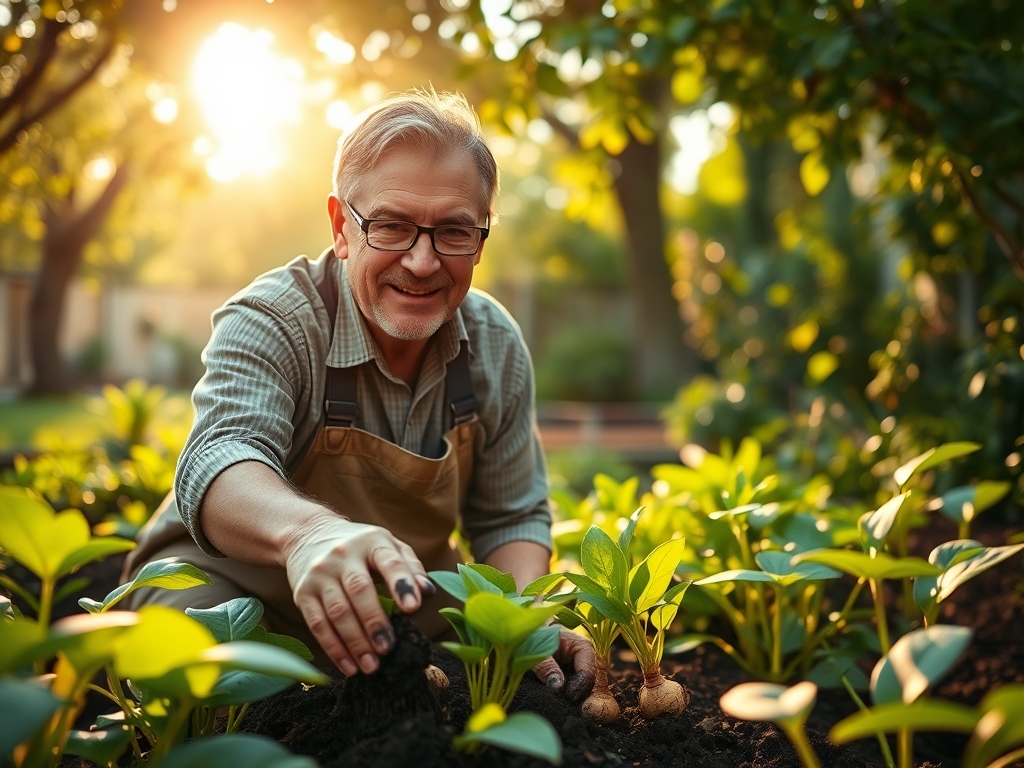
Cut the rhizome into pieces approximately 2 to 3 inches long, ensuring each piece has at least two healthy buds. Allow the cut ends to callus for 24 to 48 hours before planting to prevent fungal pathogens from entering the wound. Bury the pieces 2 to 4 inches deep with the buds facing upward.
Pro-Tip: Proper callusing prevents damping-off pathogens. By allowing the cut surface to suberize (form a corky layer), you create a biological barrier that protects the starch reserves from soil-borne bacteria.
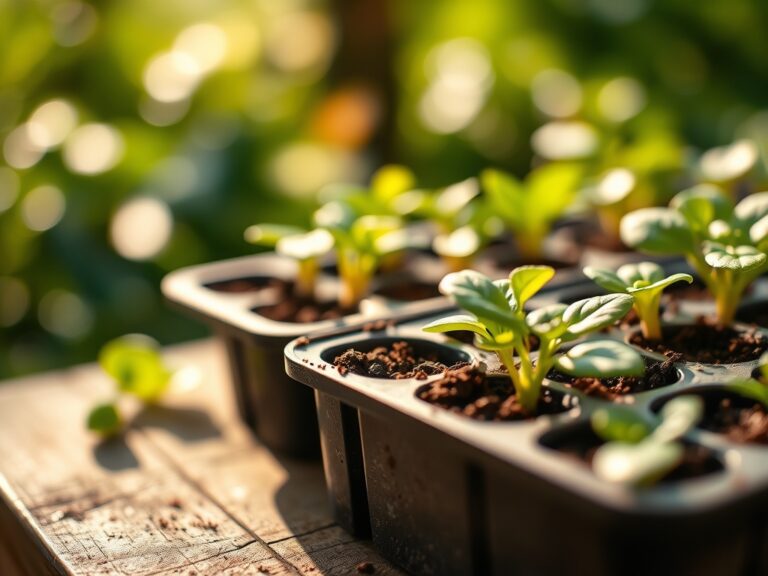
Transplanting and Hardening
If you started your ginger in pots, transplant them once the outdoor night temperatures stay above 55 degrees Fahrenheit. Space the plants 12 inches apart to allow for lateral rhizome expansion. When moving plants outdoors, use a gradual hardening-off process over 7 days to prevent leaf scorch.
Pro-Tip: Gradual exposure prevents photo-inhibition. Sudden high-intensity UV exposure can damage the chlorophyll molecules, stalling the plant's ability to convert sunlight into the sugars needed for rhizome storage.
Establishing the Canopy
As the stalks (pseudostems) reach 12 inches in height, the plant enters its most active growth phase. Maintain high ambient humidity. The leaves should be a deep green; any yellowing indicates a disruption in the nitrogen cycle or water stress.
Pro-Tip: Ginger utilizes auxin suppression to manage growth. By keeping the soil consistently moist, you encourage the plant to distribute auxins evenly, leading to multiple "leads" or growing points on the rhizome rather than a single dominant stalk.
The Clinic:
Symptom: Yellowing of lower leaves (Chlorosis)
Solution: This typically indicates a Nitrogen deficiency. Apply a water-soluble high-nitrogen fertilizer or fish emulsion. Ensure the soil pH has not drifted above 7.0, which locks out nitrogen uptake.
Symptom: Leaf tip burn or browning
Solution: This is a sign of low humidity or salt buildup. Increase misting or mulch the base with straw to retain moisture. If using synthetic fertilizers, flush the soil with pure water to leach excess salts.
Symptom: Soft, mushy rhizome at the soil line
Solution: This is Rhizome Rot (Pythium soft rot). Immediately reduce watering and improve drainage. Remove affected plants to prevent the spread of the fungal spores through the rhizosphere.
Symptom: Slow growth and pale foliage
Solution: Check soil temperature. If the soil is below 60 degrees Fahrenheit, the plant's metabolic rate drops. Use a black plastic mulch to trap solar heat and warm the root zone.
Maintenance:
Precision irrigation is the cornerstone of ginger cultivation. Provide 1.5 inches of water per week, applied directly at the drip line to avoid wetting the foliage, which can encourage fungal growth. Use a soil moisture meter to ensure the root zone remains at "field capacity"—moist but not saturated.
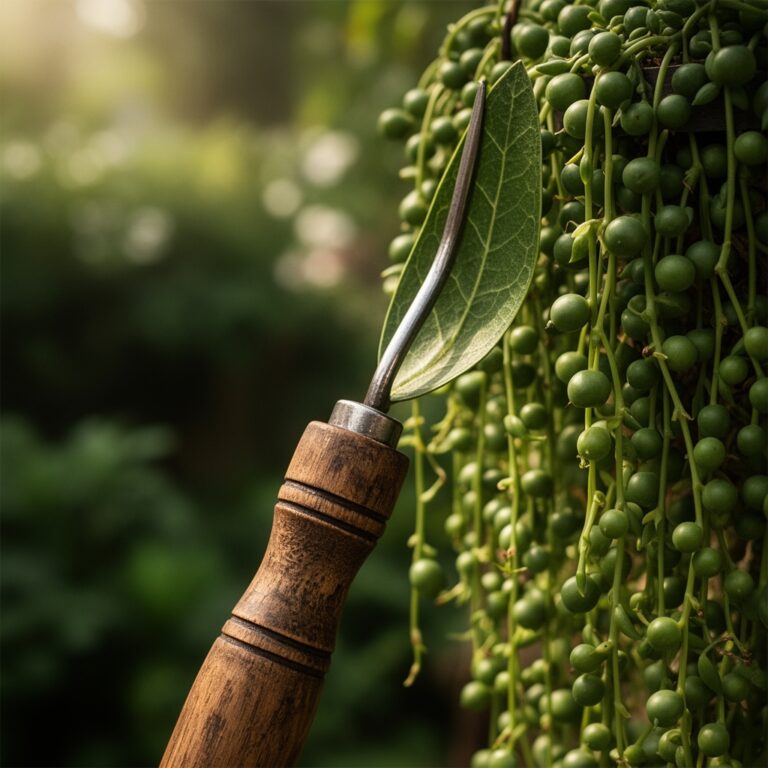
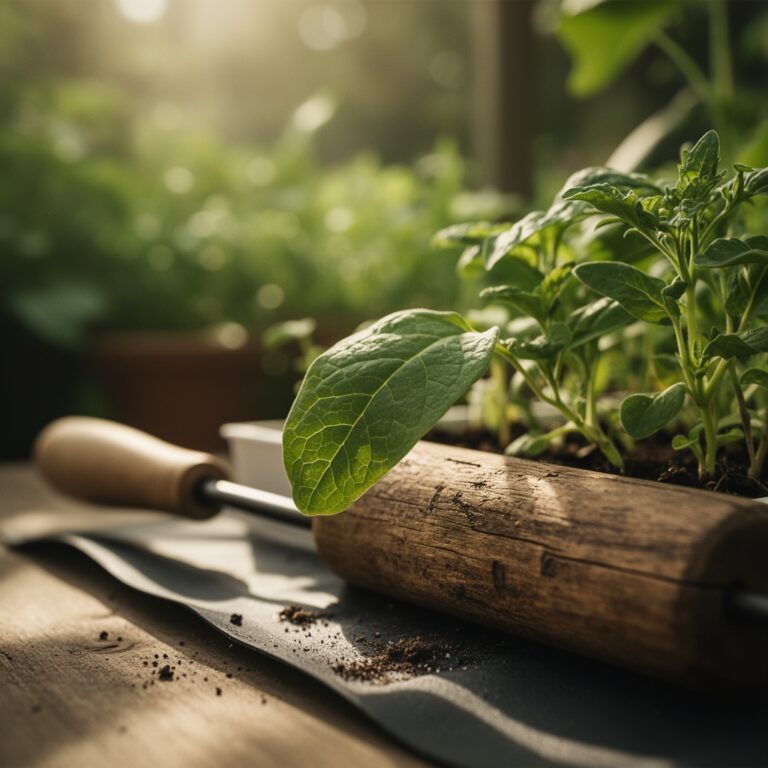
Weeding must be done with care to avoid damaging the shallow rhizomes. Use a hori-hori knife to precision-cut weed roots rather than pulling them, which can disturb the ginger's delicate feeder roots. Every 4 weeks, apply a top-dressing of compost to "hill" the ginger; this protects the expanding rhizomes from sun exposure, which can cause them to become green and bitter. Use bypass pruners to remove any dead or diseased stalks throughout the season to maintain airflow within the canopy.
The Yield:
Harvesting occurs when the leaves begin to yellow and the stalks fall over, a process known as senescence. This usually happens 8 to 10 months after planting. For "baby ginger" with no skin and a mild flavor, you can harvest after 6 months by carefully digging at the edge of the clump with a hand trowel.
For mature ginger, use a garden fork to lift the entire root mass. Shake off the excess soil and trim the stalks to within 1 inch of the rhizome. Do not wash the ginger if you plan to store it long-term; instead, let it air dry in a shaded, well-ventilated area for 3 to 5 days to cure the skin. This curing process thickens the outer layer, preserving "day-one" freshness by reducing moisture loss during refrigeration.
FAQ:
Can I plant ginger from the grocery store?
Yes, provided the rhizome is plump and has visible "eyes" or buds. Soak it in water overnight before planting to remove any growth inhibitors sprayed on the root to prevent sprouting during transport.
How much sun does ginger need?
Ginger thrives in filtered sunlight or partial shade. In its native jungle habitat, it grows under the forest canopy. Intense, direct afternoon sun can scorch the leaves and dehydrate the shallow rhizosphere.
Why is my ginger not sprouting?
The most common cause is low soil temperature. Ginger remains dormant if the soil is below 65 degrees Fahrenheit. Ensure the soil is warm and moist, but not soggy, to trigger the initial metabolic growth.
Can ginger be grown in pots?
Absolutely. Use a pot at least 12 inches deep and 15 inches wide. Ensure the container has excellent drainage holes and use a high-quality potting mix enriched with perlite to maintain the required soil porosity.