8 Flushing Steps for Treating Salt Buildup with Distilled Water
The smell of damp earth after a saturation event signals a reset of the rhizosphere. When turgor pressure drops and leaf margins exhibit necrotic scorching, the soil chemistry has likely reached a critical salinity threshold. High electrical conductivity (EC) in the substrate prevents osmotic uptake; essentially, the plant thirsts while sitting in water. Executing the eight steps for treating salt buildup with distilled water restores the osmotic gradient and allows the roots to re-establish nutrient transport.
Materials:

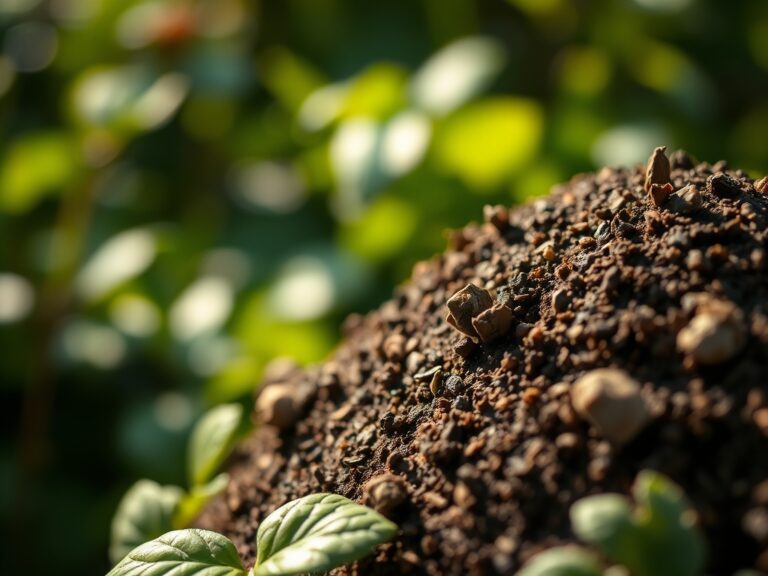
Effective remediation requires specific inputs to manage the Cation Exchange Capacity (CEC). For most ornamental and vegetable crops, you must maintain a soil pH between **6.0 and 7.0**. The ideal substrate is a friable loam consisting of **40 percent sand, 40 percent silt, and 20 percent clay**. You will need five gallons of distilled water per cubic foot of soil to ensure a total flush of sodium and chloride ions. Avoid fertilizers with high salt indices during this process. After the flush, prepare a low-index NPK starter such as a **5-10-5 ratio** to replenish mobile nutrients without spiking the EC levels again.
Timing:
Timing is dictated by the Hardiness Zone and the plant's biological clock. In Zones 5 through 8, flushing should occur before the first frost date or during the transition from the vegetative to the reproductive stage. Performing a flush during the peak of the photoperiod ensures the plant has the metabolic energy to recover from the temporary anaerobic conditions of saturated soil. Never flush when the ambient temperature is below 55 degrees Fahrenheit, as metabolic rates slow and root rot becomes a primary risk.
Phases:

Sowing and Preparation
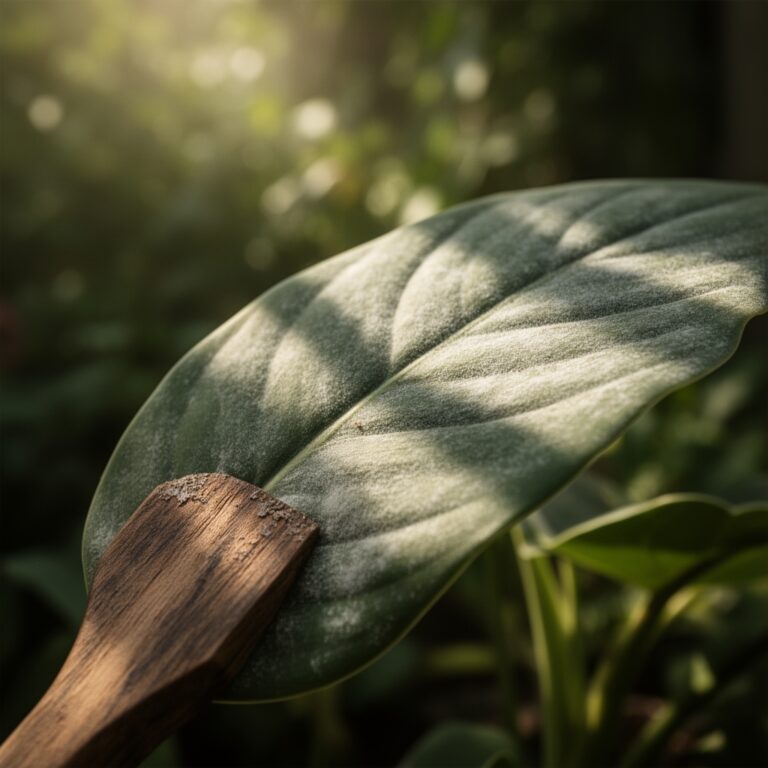
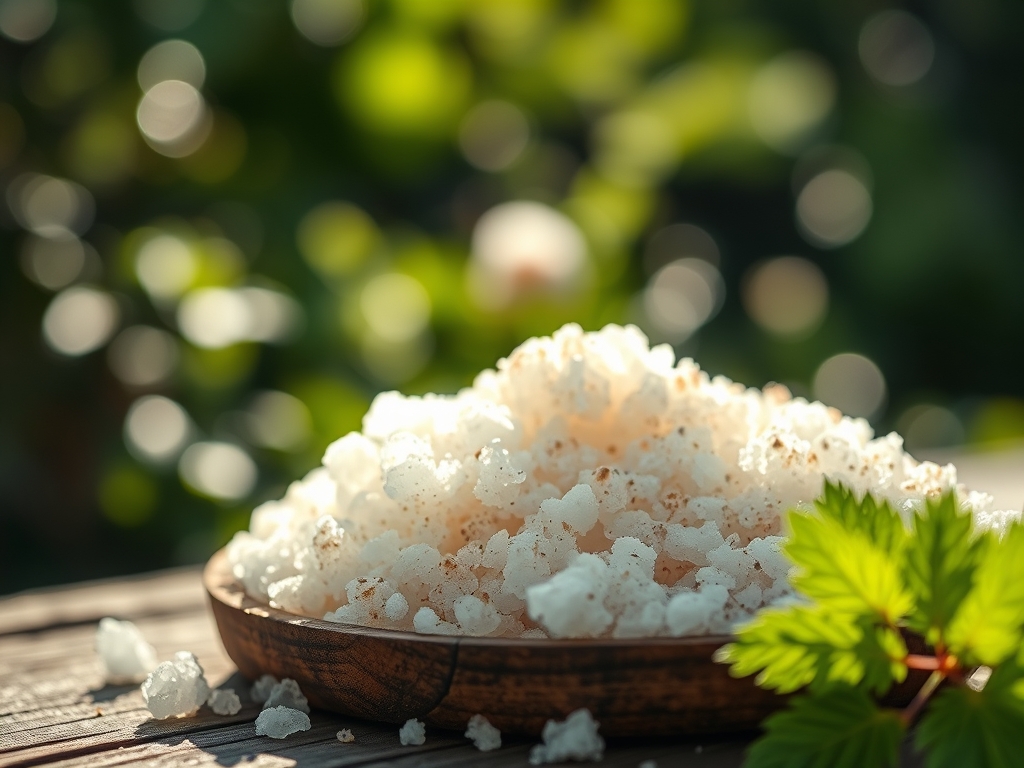
Before treating the soil, remove any visible white crust from the surface using a hori-hori knife. This crust is a concentrated layer of evaporated mineral salts. Clearing this prevents the flush from simply pushing those concentrated salts deeper into the root zone. Ensure the drainage holes are unobstructed to allow for a rapid exit of the leachate.
Pro-Tip: Removing the surface crust prevents "salt slugs." If left in place, the initial water contact dissolves the crust into a highly concentrated brine that can cause immediate root plasmolysis.
Transplanting and Saturation
Begin the first of the steps for treating salt buildup with distilled water by slowly pouring a volume of water equal to the pot's capacity. Distilled water is essential because it lacks dissolved solids, creating a "chemical vacuum" that pulls ions out of the soil particles. Allow the container to drain completely for 20 minutes before the next application.
Pro-Tip: Distilled water leverages the principle of diffusion. Because the water has zero ppm (parts per million) of dissolved solids, it aggressively attracts the high-concentration salts held within the soil's micropores.
Establishing and Re-Nutrient Loading
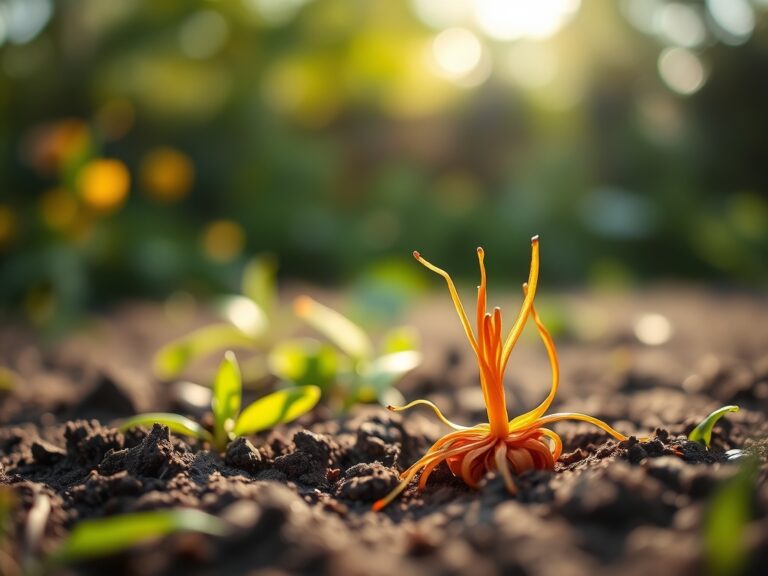
Once the final flush is complete, the soil will be stripped of both harmful salts and beneficial nutrients. After 48 hours, once the soil reaches field capacity, apply a diluted liquid fertilizer. This prevents nutrient deficiency during the recovery phase. Monitor the plant for signs of new growth at the apical meristem.
Pro-Tip: Re-fertilizing after a flush is critical because nitrogen and potassium are highly mobile. Without immediate replacement, the plant will undergo premature senescence due to a lack of available macronutrients.
The Clinic:
Physiological disorders often mimic salt stress, but specific markers clarify the diagnosis.
- Symptom: Interveinal Chlorosis (Yellowing between leaf veins).
- Solution: This indicates a Magnesium deficiency often caused by high Calcium salt competition. Apply 1 tablespoon of Epsom salts per gallon of water.
- Symptom: Marginal Leaf Burn (Brown, crispy leaf edges).
- Solution: This is the primary sign of salt toxicity. Execute the full distilled water flush immediately.
- Symptom: Stunted Root Growth (Short, brown, or mushy roots).
- Solution: Check for high EC levels. If the soil moisture meter reads in the "danger" zone, oxygenate the rhizosphere by poking small holes in the soil after the flush.
Fix-It: For Nitrogen chlorosis (general paling of the entire plant), apply a 10-0-0 blood meal or liquid fish emulsion. Nitrogen is the first element lost during a heavy water flush.
Maintenance:
Post-remediation maintenance requires precision. Provide 1.5 inches of water per week at the drip line to prevent future salt accumulation. Use a soil moisture meter daily to ensure the substrate stays between 40 and 60 percent moisture capacity. Use bypass pruners to remove any foliage that suffered more than 50 percent necrosis during the salt spike. This redirects the plant's energy toward new, healthy tissue production. Avoid "sip watering," which involves giving small amounts of water frequently; this practice encourages salt to stay in the upper soil layers rather than leaching through.
The Yield:
For fruiting plants, harvest occurs when the fruit reaches its cultivar-specific color and the abscission layer begins to weaken. For leafy greens, harvest in the early morning when turgor pressure is at its maximum. To maintain "day-one" freshness, submerge the stems in 40-degree Fahrenheit water immediately after cutting. This halts the metabolic process of senescence and preserves the sugars and volatile oils within the plant tissues.
FAQ:
How often should I flush my soil with distilled water?
Perform a flush every three to four months if using synthetic fertilizers or tap water with high mineral content. If you notice white crusting on the soil surface or pot rims, flush immediately to prevent root desiccation.
Can I use tap water instead of distilled water?
Tap water often contains chlorine, fluoride, and carbonates that contribute to salt buildup. Distilled water is the gold standard because its zero-TDS (Total Dissolved Solids) rating allows it to absorb and carry away the maximum amount of accumulated salts.
What are the first signs of salt buildup in plants?
Look for darker than normal foliage followed by wilting despite moist soil. If the leaf tips turn brown and brittle while the rest of the plant remains green, the salt concentration in the rhizosphere has likely exceeded safe limits.
Will flushing my soil kill beneficial microbes?
A single flush with distilled water will not eradicate the microbial colony. However, it may temporarily reduce populations. Always follow a flush with a diluted organic compost tea to re-inoculate the rhizosphere with beneficial bacteria and mycorrhizal fungi.