6 Protection Steps to Prepare a DIY Seedling Cloche
The scent of damp, anaerobic decomposition signals a soil that lacks aeration, while the snap of a leaf with high turgor pressure indicates a cellular structure primed for growth. Success in the early season depends entirely on thermal regulation and moisture retention. Learning how to prepare a DIY plant cloche is the primary defense against the erratic temperature fluctuations of early spring. Seedlings are vulnerable to desiccation when cold winds strip moisture from their stomata faster than the immature root systems can replenish it. By creating a localized microclimate, you stabilize the rhizosphere and prevent the crystallization of intracellular fluids during a late frost. This guide provides the technical framework to construct and manage these protective barriers to ensure your starts reach the vegetative stage without stunted development or thermal shock.
Materials:
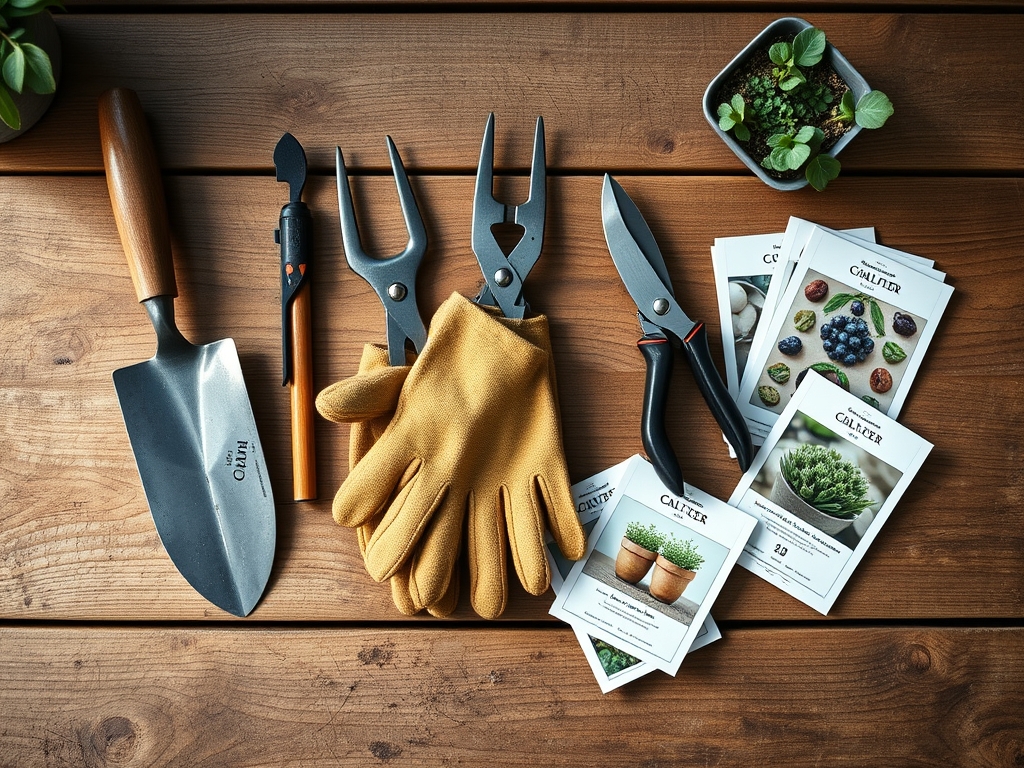
The foundation of a successful cloche system is the substrate it covers. You require a **friable loam** with a **Cation Exchange Capacity (CEC) above 15** to ensure nutrient availability. The soil pH must be calibrated between **6.2 and 6.8** for optimal phosphorus solubility. Before placing the cloche, incorporate a balanced organic fertilizer with an **NPK ratio of 5-5-5** to provide a steady supply of nitrogen, phosphate, and potash. For heavy feeders, a **10-5-5 ratio** may be necessary if the soil shows signs of nitrogen depletion. The cloche itself should be constructed from **high-density polyethylene (HDPE)** or clear glass to allow maximum light transmission while maintaining a thermal seal. You will also need **12-gauge galvanized wire** for anchoring and **3-inch bark mulch** to insulate the soil surface surrounding the base.
Timing:
Hardiness Zones 3 through 7 require the most aggressive cloche utilization. In these regions, the window for deployment begins 4 to 6 weeks before the average last frost date. You must monitor the soil temperature using a probe; do not transplant until the soil consistently registers 55 degrees Fahrenheit (13 degrees Celsius) at a depth of 4 inches. The biological clock of the plant is governed by the photoperiod and thermal accumulation. Transitioning from the vegetative to the reproductive stage requires specific Heat Units. If a seedling is exposed to temperatures below 40 degrees Fahrenheit, it may enter a state of semi-dormancy or premature senescence, which permanently reduces the final yield. Cloches allow you to "cheat" the calendar by raising the internal ambient temperature by 5 to 10 degrees during daylight hours.
Phases:

Sowing and Site Selection
Direct-sown seeds under a cloche benefit from increased humidity, which softens the seed coat and accelerates germination. Ensure the site receives at least 6 hours of direct solar radiation. If the cloche is too opaque, the seedlings will exhibit etiolation, a condition where the stems become weak and elongated as they stretch toward a light source.
Pro-Tip: Maintaining high humidity during germination prevents the "helmet head" phenomenon, where the seed coat fails to shed. This is due to auxin distribution; high moisture levels ensure the cotyledons can expand with enough force to break the seed casing.
Transplanting
When moving starts from a greenhouse to the field, the cloche acts as a hardening-off chamber. Dig a hole twice the width of the root ball. Ensure the rhizosphere is saturated before placing the cloche over the plant. Firm the soil to eliminate air pockets that can cause root desiccation.
Pro-Tip: Use a mycorrhizal inoculant during transplanting. These fungi form a symbiotic relationship with the roots, effectively increasing the surface area for water absorption and phosphorus uptake, which is critical when the plant is under the stress of a new environment.
Establishing and Venting
As the plant grows, the risk of overheating increases. If internal temperatures exceed 85 degrees Fahrenheit, the plant may suffer from heat stress, leading to a loss of turgor. You must vent the cloche by propping up one side or removing the cap during peak sun hours.
Pro-Tip: Venting is essential to manage transpiration rates. If the air inside the cloche becomes saturated with water vapor, the plant cannot transpire, which halts the upward movement of calcium and other minerals through the xylem.
The Clinic:
Physiological disorders often mimic pathogen attacks but are usually rooted in environmental or nutritional imbalances.
Symptom: Interveinal chlorosis on young leaves.
Solution: This indicates an Iron deficiency, often caused by a soil pH above 7.0.
Fix-It: Apply chelated iron or lower the pH using elemental sulfur to reach the 6.5 target.
Symptom: Purpling of the underside of leaves and stunted growth.
Solution: This is a classic Phosphorus deficiency, frequently seen in cold soils.
Fix-It: Increase the internal temperature of the cloche. Phosphorus becomes chemically "locked" and unavailable to the plant when soil temperatures drop below 50 degrees Fahrenheit.
Symptom: Marginal leaf burn or "tip burn."
Solution: This is caused by localized Calcium deficiency related to erratic watering.
Fix-It: Ensure consistent moisture levels. Use a soil moisture meter to maintain a 15-20% moisture by volume.
Maintenance:
Precision is the difference between a surviving plant and a thriving one. Deliver 1.5 inches of water per week at the drip line. Avoid wetting the foliage, as the high-humidity environment of a cloche is a breeding ground for fungal spores. Use a hori-hori knife to remove weeds within the cloche perimeter immediately; weeds compete for the limited nitrogen and water within the microclimate. Every fourteen days, check the soil compaction. If the surface has capped, use a hand cultivator to break the crust, which improves oxygen diffusion to the roots. Monitor the internal temperature daily with a digital hygrometer to ensure the humidity stays between 60% and 70%. If you notice signs of overcrowding, use bypass pruners to remove lower, non-productive leaves to improve airflow.
The Yield:
For edible crops, the harvest window is determined by the accumulation of Growing Degree Days (GDD). Harvesting should occur in the early morning when the plant's turgor pressure is at its peak. Use a sharp, sterilized blade to make clean cuts, preventing the crushing of vascular tissues. For flowers, harvest when the buds are in the "colored cracker" stage for maximum vase life. To maintain "day-one" freshness, immediately submerge the cut stems in 40-degree Fahrenheit water to remove field heat and slow the rate of respiration. This process, known as precooling, extends the shelf life of the produce by preserving the sugars and acids within the plant tissues.
FAQ:
How do I prevent my DIY cloche from blowing away?
Secure the base with 12-gauge galvanized wire staples driven at least 6 inches into the soil. For lightweight plastic cloches, add a 2-inch layer of heavy gravel or bricks around the external bottom rim to provide additional ballast against high winds.
When should I permanently remove the cloche?
Remove the cloche when the overnight low temperatures consistently remain above 50 degrees Fahrenheit (10 degrees Celsius) and the plant's foliage begins to touch the interior walls. At this stage, the risk of fungal infection outweighs the benefits of thermal protection.
Can I use a cloche for sun protection in summer?
Yes, but you must swap clear covers for 30% shade cloth. This reduces the solar load and prevents leaf scald while maintaining airflow. High summer temperatures under unvented plastic will cause rapid cellular collapse and death within hours.
What is the best way to clean a reusable cloche?
Scrub the interior and exterior with a 10% bleach solution or oxygenated percarbonate. This kills overwintering fungal spores and bacterial pathogens. Ensure the material is completely dry before storage to prevent the degradation of the UV-resistant coating on the plastic.