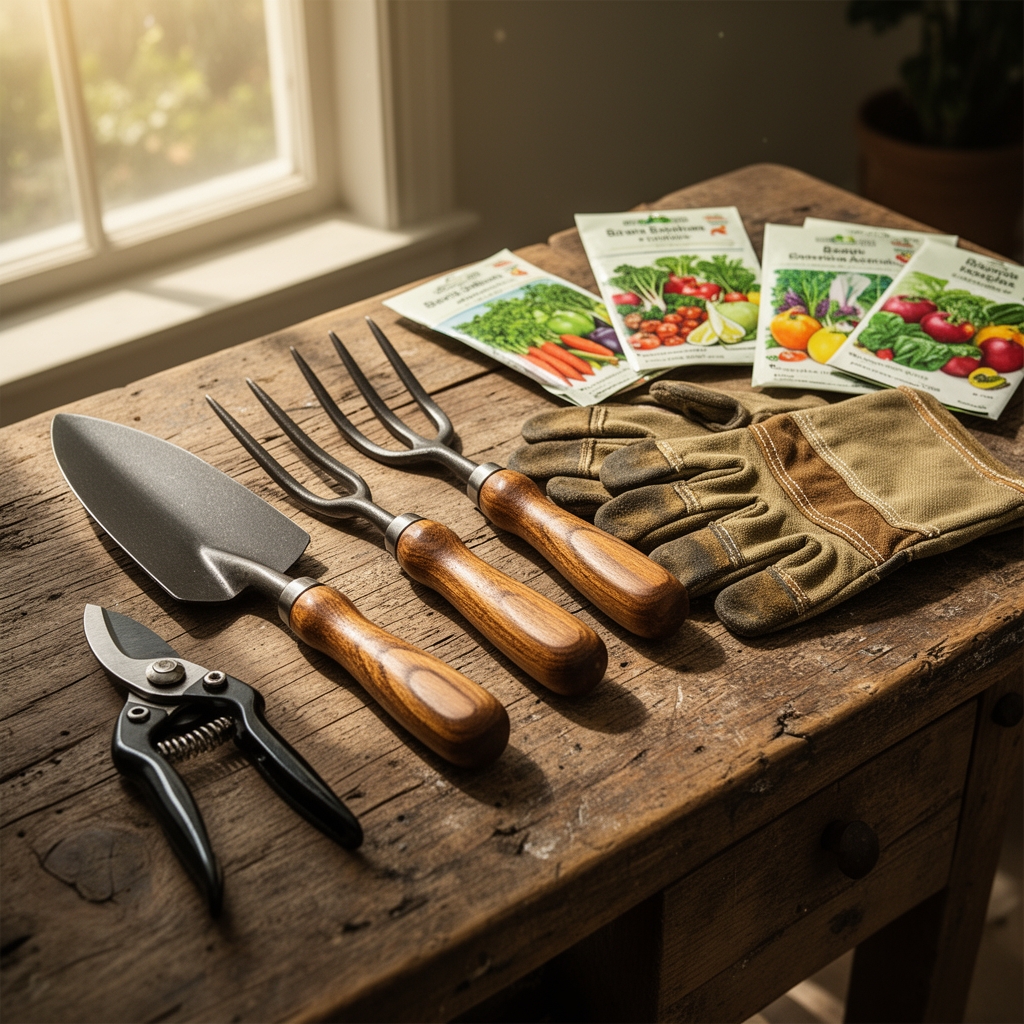
7 Best Vegetable Garden Tool Maintenance Kits for Performance
The blade on your favorite spading fork catches on the soil, dragging instead of slicing through the bed. Rust flecks pepper the steel where you stored it damp last October. Your pruning shears no longer close flush, leaving ragged stem cuts that invite disease. These failures trace back to neglect, not tool quality. The best vegetable garden tool maintenance kits address corrosion, edge degradation, and mechanical wear through systematic cleaning, sharpening, and protective treatments that extend tool life by a decade or more.
Materials
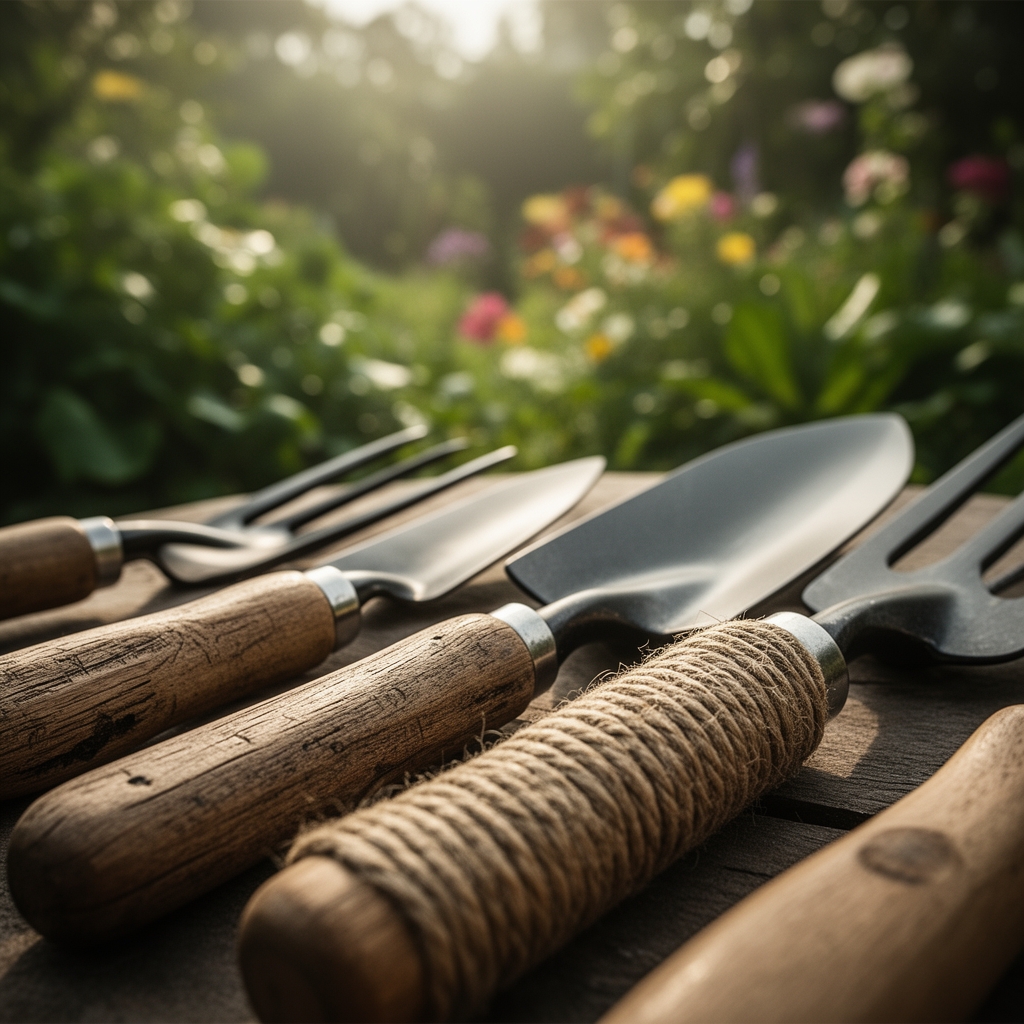
A complete kit combines abrasives, lubricants, and preservatives matched to ferrous and non-ferrous metals. Start with a 10-inch mill bastard file rated 200–300 teeth per inch for carbon steel blades. Add 220-grit silicon carbide wet/dry sandpaper for removing oxidation without gouging tempered edges. Include a dedicated wire brush with 0.012-inch diameter brass bristles to scrub soil aggregates from tines without scratching protective coatings.
For lubrication, select food-grade mineral oil with a viscosity of 150–200 cSt at 40°C. This prevents rancidity on blades that contact edible crops. Avoid petroleum distillates, which interfere with microbial activity in compost and soil. A penetrating oil like tri-flow or a blend of mineral spirits and linseed oil (3:1 ratio) breaks down resin and sap on pruning tools.
Protective treatments require boiled linseed oil for wooden handles and a lanolin-based paste for metal surfaces. Lanolin forms a hydrophobic barrier without the volatile organic compounds found in spray lacquers. A sharpening stone of 1000-grit aluminum oxide provides a fine edge on hoes and shovels, while a dedicated 6-inch diamond file suits serrated pruning saw teeth.
Include pH-neutral bar soap (pH 7.0) for washing tools before storage. Alkaline soaps (pH >8) accelerate oxidation on high-carbon steel. A small brass brush removes debris from sharpening stones, preventing glazing that reduces cutting efficiency.
Timing
Maintenance schedules align with hardiness zones and seasonal tool demand. In zones 3–5, conduct a comprehensive overhaul in late October after final harvests and before first hard freeze (typically 28°F for 4+ hours). This prevents moisture from freezing in pivot points and cracking wooden handles as cellulose contracts.
Zones 6–8 benefit from a mid-season inspection in late June, when high humidity and frequent irrigation accelerate rust formation. Coastal gardens in zones 9–10 require monthly checks due to salt aerosol deposition, which attracts moisture and catalyzes electrochemical corrosion on steel.
Spring preparation begins 3 weeks before last frost date. Sharpen hoes, cultivators, and spades when soil temperatures reach 45°F, signaling the start of bed preparation. Edge tools perform best with a 20–25 degree bevel angle for clay soils, 30–35 degrees for sandy loam.
Phases

Initial Cleaning
Remove soil immediately after use. Dried aggregates bond to metal through clay particle adhesion and require 40% more force to dislodge after 24 hours. Scrape bulk material with a wooden spatula, then scrub with the brass wire brush under cold running water. Hot water sets protein-based residues from decomposing organic matter.
Inspect pivot points on pruners and loppers for sap accumulation. Dissolve resin with mineral spirits on a cotton cloth, working the blades through full range of motion 10–15 times. This distributes solvent into the spring mechanism and hinge.
Pro-Tip: Submerge heavily soiled tools in a 5-gallon bucket with 1 cup of white vinegar (5% acetic acid) and water for 30 minutes. The mild acid chelates iron oxides without etching tempered steel.
Sharpening and Calibration
Secure the tool in a vise at a comfortable working height. File in one direction only, pushing away from the body at the existing bevel angle. Count strokes per section (typically 8–12 for a standard hoe blade) to ensure even material removal across the edge.
Test sharpness by slicing printer paper held vertically. A properly honed edge cuts cleanly without tearing fibers. Deburr the reverse side with 2–3 light file passes to remove the wire edge that forms during sharpening.
Adjust pruner blade tension by tightening the central bolt until resistance begins, then backing off one-quarter turn. Over-tightening creates friction that damages the auxin-conducting tissues of stems, leading to callus formation failures.
Pro-Tip: Mark the optimal bevel angle on the tool handle with a permanent marker. This reference eliminates guesswork during field sharpening.
Protection and Storage
Coat all metal surfaces with a thin film of lanolin paste immediately after drying. Apply with a cotton cloth in circular motions, ensuring complete coverage in crevices and under bolts. Excess paste attracts dust but does not harm cutting performance.
Treat wooden handles with boiled linseed oil every 6 months. Apply 3 coats, allowing 24 hours between applications for polymerization. The oil penetrates 2–3 mm into ash or hickory, replacing moisture and preventing checking.
Hang tools on pegboards or wall-mounted racks with the working edges facing away from traffic. This prevents accidental damage and allows air circulation around damp surfaces. Store small tools in a bucket filled with sharp sand mixed with mineral oil (1 quart oil per 5 gallons sand). The abrasive cleans and protects simultaneously.
Pro-Tip: Place silica gel packets (indicating type) in closed storage areas. Replace when the crystals turn from blue to pink, signaling 60% humidity saturation.
Troubleshooting
Symptom: Rust pitting on carbon steel blades deeper than 0.5 mm.
Solution: Remove compromised metal with 80-grit sandpaper until bright steel appears. Apply cold bluing compound (selenium dioxide solution) to create a magnetite layer, then coat with lanolin. Pits exceeding 1 mm depth compromise structural integrity; replace the tool.
Symptom: Wooden handles develop vertical cracks longer than 2 inches.
Solution: Drill a 1/16-inch hole at each crack terminus to stop propagation. Fill cracks with marine-grade epoxy mixed with sawdust from the same wood species. Clamp for 12 hours, then sand flush. Seal with 3 coats of boiled linseed oil.
Symptom: Pruning shears produce ragged cuts with torn cambium tissue.
Solution: Blades are misaligned or excessively dull. Disassemble the tool, clean all components with isopropyl alcohol, and inspect the cutting edge under 10x magnification. Chips or rolls larger than 0.1 mm require professional regrinding to restore the hollow-ground bevel.
Symptom: Shovels and spades deflect in compacted soil at 45-degree penetration.
Solution: The edge has lost its acute angle or work-hardened from impact. Reheat the edge to 400°F using a propane torch (indicated by faint straw color), then quench in room-temperature oil. Resharpen at 25 degrees.
Symptom: Fiberglass handles develop surface cracks exposing glass fibers.
Solution: This indicates UV degradation of the resin matrix. Sand the affected area with 220-grit paper, clean with acetone, and apply two-part epoxy resin. Cure for 48 hours, then wrap with athletic tape for 6 inches above and below the repair.
Maintenance
Clean tools within 2 hours of use when working with high-clay soils (>35% clay fraction). These soils bond aggressively to steel through electrostatic attraction. Apply 0.5 oz of mineral oil to pivot points and springs every 20 hours of active use. This equals approximately 3 weeks of daily gardening.
Sharpen hoes and cultivators after 8–10 hours of cutting through root mats or weedy ground. A sharp edge reduces operator fatigue by 30% and improves weed control through clean severing of taproots below the soil crown. Check wooden handles monthly for grain separation or loosening at the ferrule. Tighten by soaking the connection point in linseed oil overnight, allowing the wood fibers to swell and grip the tang.
Inspect pruning tool springs for loss of tension each season. A functional spring closes the blades fully in under 0.5 seconds. Replace springs showing corrosion or permanent deformation. Store tools in a climate-controlled space maintaining 40–50% relative humidity. Higher humidity accelerates corrosion; lower humidity desiccates wooden components.
FAQ
How often should I oil my garden tools?
Apply mineral oil after each use when working in wet soil or during periods of high humidity (>70%). In dry climates, oil every 3–4 uses or whenever metal surfaces feel rough to touch.
Can I use motor oil instead of mineral oil?
No. Motor oil contains detergents and friction modifiers that persist on tool surfaces and contaminate soil. These additives inhibit mycorrhizal fungi colonization and alter cation exchange capacity in rhizosphere soil.
What grit sharpening stone works best for garden tools?
Use 1000-grit aluminum oxide for general maintenance on hoes, spades, and cultivators. Switch to 400-grit for repairing damaged edges or removing chips deeper than 0.5 mm.
How do I prevent wooden handles from cracking?
Maintain the wood's natural moisture content by applying boiled linseed oil every 6 months. Store tools indoors where temperature fluctuations remain below 20°F per 24-hour period. Avoid leaving handles in direct sunlight.
Should I sterilize pruning tools between cuts?
Yes, when moving between plants to prevent pathogen transmission. Dip blades in 70% isopropyl alcohol or a 10% bleach solution for 30 seconds. Rinse with water and dry immediately to prevent corrosive damage from chlorine.