8 Tips to Use a Level for Precise Hardscape Alignment
The scent of damp, disturbed earth signals the start of a structural intervention where physics meets botany. When the turgor pressure in your surrounding perennials is at its peak during the cool morning hours, the soil is most stable for heavy lifting. Precise geometry is the foundation of a functional landscape. Using a level for garden design ensures that hydrostatic pressure does not compromise retaining walls or cause localized flooding in the rhizosphere. Without a true horizontal plane, water runoff follows the path of least resistance; this often leads to anaerobic soil conditions and root rot in low-lying segments. A master horticulturist views the level not just as a tool for aesthetics, but as a hydraulic regulator. By controlling the pitch of a patio or the height of a raised bed to within a fraction of a degree, you dictate the moisture availability for every plant in the vicinity. Misalignment by even one percent can shift a gallon of water per square foot during a heavy rain event, potentially drowning sensitive root systems or eroding essential topsoil.
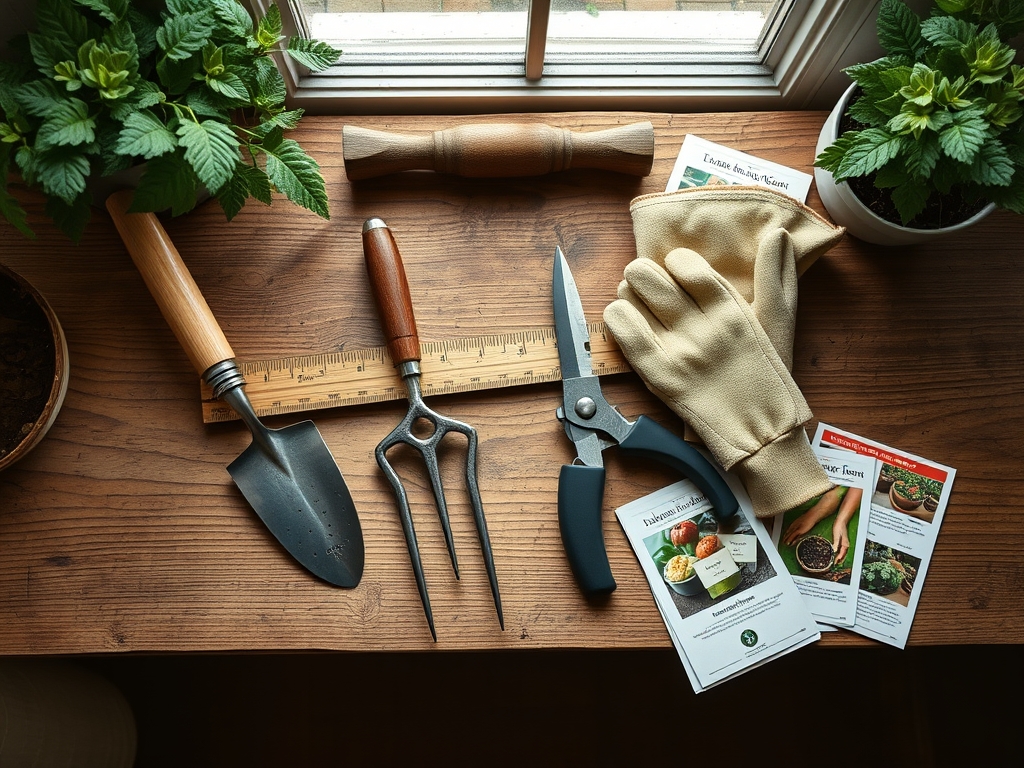
Materials:
Before setting your first stone, analyze the substrate. The ideal base for hardscape alignment is a highly compacted, non-organic material such as crushed limestone or 3/4-inch minus gravel. This base must support the weight of the structure without shifting. For the surrounding planting zones, aim for a friable loam with a **pH between 6.2 and 6.8**. This acidity level ensures maximum bioavailability of macronutrients. Incorporate a slow-release fertilizer with an **NPK ratio of 5-10-5** into the backfill of any retaining walls. High phosphorus levels encourage rapid root colonization, which provides biological stabilization for the hardscape. The Soil Cation Exchange Capacity (CEC) should ideally fall between **15 and 25 meq/100g** to ensure the soil can retain the ions necessary for plant health after the disruption of construction. Avoid using heavy clays as a leveling base; their high shrink-swell capacity will heave your stones during freeze-thaw cycles.
Timing:
Hardscape installation and precise leveling should occur during the dormant season or early spring, specifically in Hardiness Zones 4 through 8. You must complete heavy grading before the first frost date to prevent working with frozen clods that create air pockets. In the spring, wait until the soil moisture has dropped enough that a handful of earth crumbles when squeezed; working saturated soil destroys its structure and leads to compaction. This timing aligns with the "Biological Clock" of most temperate perennials. By installing hardscapes during the transition from senescence to the early vegetative stage, you minimize the impact on the plants' metabolic demands. Aim for a window where soil temperatures are consistently above 45 degrees Fahrenheit but before the surge of auxin production that triggers rapid spring growth.
Phases:

Sowing the Foundation
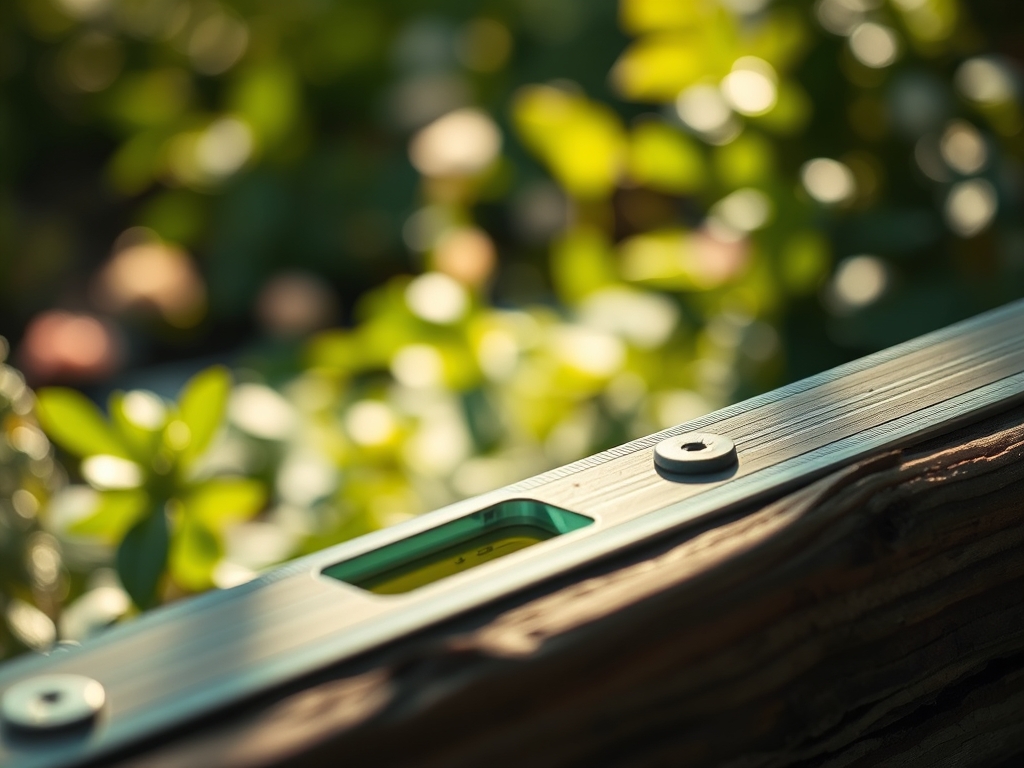
Excavate the area to a depth of 6 to 8 inches below the finished grade. Use a 4-foot spirit level or a laser level to establish a benchmark. If the area is larger than 10 feet, run a tight string line with a line level to maintain consistency. Ensure a 2 percent slope away from building foundations to prevent water accumulation.
Pro-Tip: Proper drainage prevents the "bathtub effect" where water-logged soil triggers anaerobic respiration in roots; this prevents the buildup of toxic ethanol and lactic acid within the plant tissue.
Transplanting and Leveling
As you set pavers or wall blocks, use a rubber mallet to settle each unit into the bedding sand. Check for level across the length and width of every stone. For garden steps, a slight forward pitch of 1/8 inch per foot is necessary to prevent ice buildup in winter.
Pro-Tip: Maintaining a level grade prevents uneven light distribution; this ensures that emerging seedlings do not experience excessive phototropism, which leads to weak, "leggy" stems as they lean toward the light.
Establishing the Border
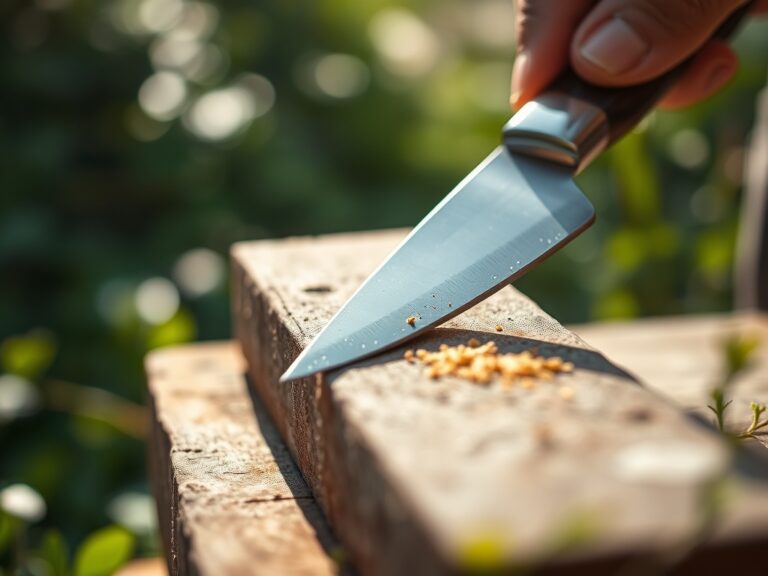
Once the hardscape is level, backfill the margins with the prepared friable loam. Use a hori-hori knife to slice through any circling roots of container-grown plants before placing them against the new edge. Tamp the soil firmly to remove large air pockets but avoid over-compaction.
Pro-Tip: Integrating mycorrhizal fungi into the backfill establishes a symbiotic network; these fungi extend the reach of the root system, increasing phosphorus uptake and drought resistance by up to 30 percent.
The Clinic:
Physiological disorders often arise from poor leveling and drainage issues.
-
Symptom: Interveinal chlorosis on new growth.
-
Solution: This often indicates an iron deficiency caused by high pH levels in the concrete runoff. Apply chelated iron and check the level of the patio to ensure runoff is directed toward a drain, not the garden bed.
-
Symptom: Marginal leaf necrosis or "burning."
-
Solution: This suggests salt accumulation or potassium deficiency. Ensure the hardscape base allows for deep leaching of salts. If Potassium (K) is low, supplement with sulfate of potash.
-
Symptom: Sudden wilting despite moist soil.
-
Solution: This is a sign of Phytophthora root rot due to poor drainage. Re-level the area to eliminate standing water and improve soil porosity with organic matter.
-
Fix-It for Nitrogen Chlorosis: If older leaves turn pale yellow, the plant lacks Nitrogen. Apply a quick-release high-N fertilizer (20-0-0) to restore chlorophyll production and turgor.
Maintenance:
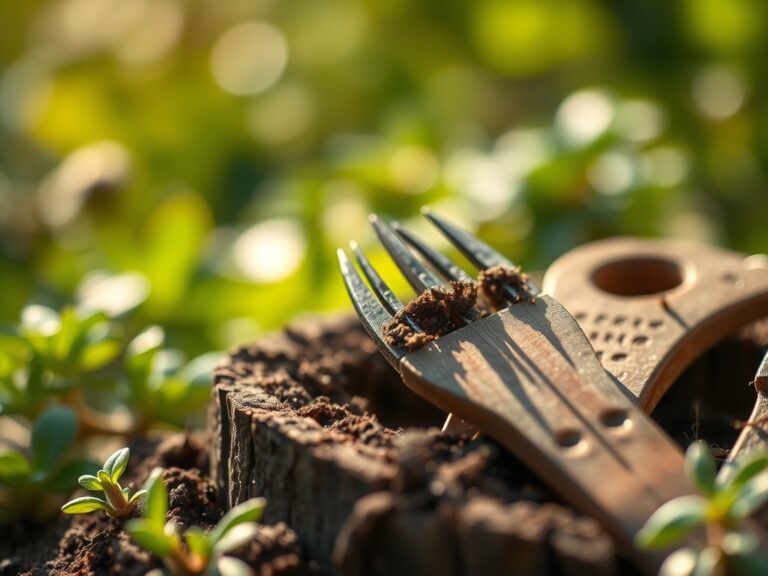
A level garden requires ongoing monitoring. Use a soil moisture meter weekly to check the hydration levels at the base of your hardscape. Most established perennials require 1.5 inches of water per week delivered at the drip line. Use bypass pruners to remove any branches that rest on the stone surfaces; this prevents the transfer of fungal pathogens from the hardscape to the foliage. Every spring, re-check the level of your retaining walls. If shifting has occurred, it may indicate a failure in the drainage system or excessive hydrostatic pressure from the soil. Use a hori-hori knife to weed the crevices between pavers before the root systems can penetrate the base layer and disrupt the level.
The Yield:
If your leveled area includes raised vegetable beds, harvest timing is critical for nutrient density. Harvest leafy greens when they reach their "baby" stage for maximum tenderness. For fruiting crops like tomatoes, wait for the "breaker stage" when the fruit is 50 percent colored. This ensures the fruit has reached its full size but allows it to finish ripening off the vine, protecting it from pests. Handle all produce with care to avoid bruising the epidermis; this maintains the protective cuticle and extends post-harvest shelf life. Store harvested goods at 40 to 50 degrees Fahrenheit with high humidity to maintain "day-one" freshness and cellular turgor.
FAQ:
Why is a 2 percent slope necessary for garden patios?
A 2 percent slope ensures that gravity pulls water away from structures. This prevents hydrostatic pressure from damaging foundations and keeps the surrounding rhizosphere from becoming saturated, which would otherwise lead to root senescence and fungal infections.
Can I use a standard carpenter's level for large gardens?
For spans over 10 feet, a carpenter's level is insufficient due to cumulative error. Use a laser level or a water level to ensure accuracy across long distances. This precision prevents "low spots" that collect salts and pathogens.
How does soil pH affect my hardscape?
Highly acidic soils can degrade concrete and limestone over time. Maintaining a pH of 6.5 is ideal for both plant nutrient uptake and the structural integrity of your garden materials. Use lime or sulfur to calibrate the soil as needed.
What is the best way to prevent pavers from shifting?
Compaction is the key. Use a plate compactor on the gravel base in 2-inch lifts. This creates a high-density foundation that resists the vertical movement caused by the expansion of freezing water molecules in the soil.