7 Best Deep Plant Drip Trays for Excess Irrigation
The smell of damp earth signals a healthy rhizosphere, but stagnant water trapped at the root zone leads to rapid cellular collapse. When a plant maintains high turgor pressure, its leaves stand rigid; however, over-irrigation without proper drainage causes anaerobic conditions that suffocate the root system. Selecting the Best plant drip trays is not merely an aesthetic choice but a critical engineering requirement for managing the hydraulic load of a container garden. A deep reservoir tray allows for the complete gravitational pull of excess salts and water away from the root ball, preventing the "wet feet" syndrome that triggers root rot. For high-performance cultivation, a tray must provide at least two inches of vertical clearance to ensure that the pot base never sits in standing effluent. This separation is vital for maintaining the oxygen-to-water ratio necessary for nutrient uptake. In high-porosity substrates, drainage occurs rapidly; without a deep-well tray to capture this runoff, the structural integrity of the growing environment is compromised.
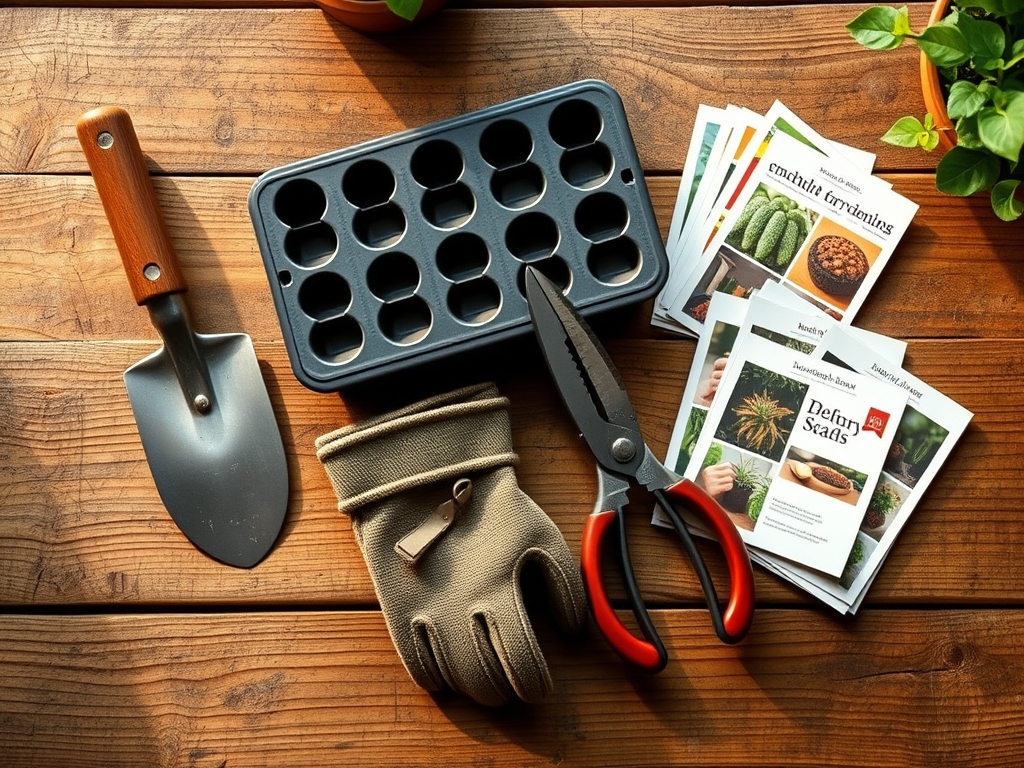
Materials:
Successful container gardening begins with a **friable loam** substrate characterized by a balanced distribution of sand, silt, and clay. This physical texture ensures a high Cation Exchange Capacity (CEC), allowing the soil to retain essential nutrients like ammonium and potassium. For most vegetative crops, the ideal soil pH sits between **6.2 and 6.8**. When selecting materials for your pots and trays, consider the NPK requirements of your specific cultivars. A standard **10-10-10 NPK ratio** provides a baseline for general growth, but heavy feeders may require a **20-10-20** water-soluble fertilizer during peak development. The drip tray must be constructed of high-density polyethylene (HDPE) or heavy-duty terracotta to withstand the chemical leaching of these concentrated salts. Inferior plastics will degrade when exposed to the acidic runoff typical of peat-based mixes, which often have a starting pH as low as **4.5** before buffering.
Timing:
The biological clock of a plant is governed by the photoperiod and ambient temperature. In Hardiness Zones 5 through 7, the window for transitioning from indoor germination to outdoor establishment is narrow; usually occurring between the last frost in May and the first heat spike in late June. As plants move from the vegetative stage to the reproductive stage, their water consumption increases by as much as 40 percent. Monitoring the soil moisture meter becomes critical during this phase. The transition is triggered by hormonal shifts, specifically the ratio of auxins to gibberellins. Deep drip trays are most essential during this high-volume irrigation period, as the plant requires frequent flushing to prevent the buildup of mineral salts that can lead to nutrient lockout.
Phases:
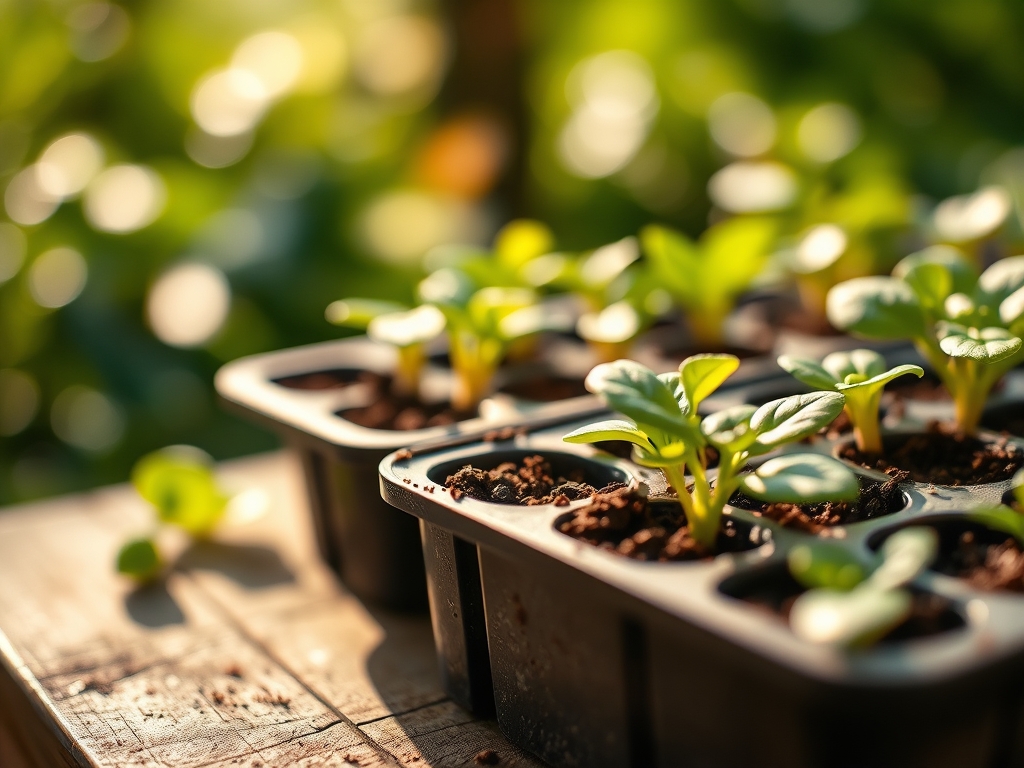
Sowing
Begin with a sterile seed-starting mix. Maintain a consistent temperature of 70 to 75 degrees Fahrenheit to ensure rapid germination. Use a shallow tray for bottom-watering to prevent the displacement of fine seeds.
Pro-Tip: Bottom-watering utilizes capillary action to hydrate the substrate without disturbing the surface. This prevents damping-off, a fungal condition caused by excessive surface moisture that kills emerging seedlings at the soil line.
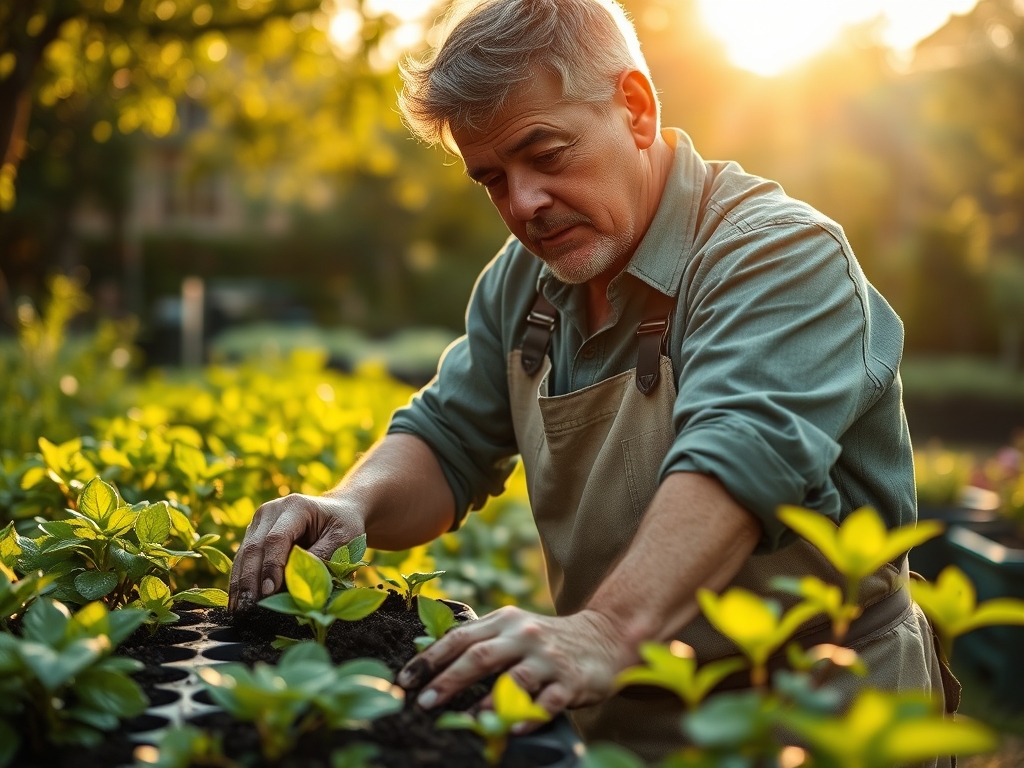
Transplanting
When the first set of true leaves appears, move the seedling to a larger vessel. Ensure the new container has adequate drainage holes that align with the channels in your Best plant drip trays. Apply a transplant shock reducer containing Vitamin B1 or seaweed extract.
Pro-Tip: Mycorrhizal symbiosis is established during this phase. Adding beneficial fungi to the transplant hole increases the root surface area by up to 1,000 times, enhancing the plant's ability to absorb phosphorus and water.
Establishing
Once the root system reaches the walls of the container, the plant enters a period of rapid biomass accumulation. Maintain a strict irrigation schedule, providing 1.5 inches of water per week. Ensure the drip tray is emptied within 30 minutes of irrigation to prevent re-absorption of leached salts.
Pro-Tip: Maintaining high turgor pressure through consistent hydration is essential for phototropism. Without sufficient internal pressure, the plant cannot orient its leaves toward the light source, reducing photosynthetic efficiency.
The Clinic:
Physiological disorders often mimic nutrient deficiencies. It is vital to diagnose the root cause before applying chemical corrections.
Symptom: Interveinal chlorosis on older leaves.
Solution: This indicates a Magnesium deficiency. Magnesium is a mobile element; the plant moves it to new growth when soil levels are low. Apply 1 tablespoon of Epsom salts per gallon of water.
Symptom: Blossom end rot in fruiting crops.
Solution: This is a Calcium transport issue, often caused by inconsistent watering rather than a lack of Calcium in the soil. Use your soil moisture meter to ensure the substrate never drops below 20 percent moisture content.
Symptom: Leaf tip burn.
Solution: This is usually a sign of salt accumulation in the rhizosphere. Flush the pot with three times its volume in fresh water, allowing the excess to collect in the deep drip tray for removal.
Fix-It: Nitrogen Chlorosis
If the entire plant turns a pale lime green, it lacks Nitrogen. Apply a high-Nitrogen fertilizer with an NPK of 30-10-10 to quickly restore chlorophyll production and vegetative vigor.
Maintenance:
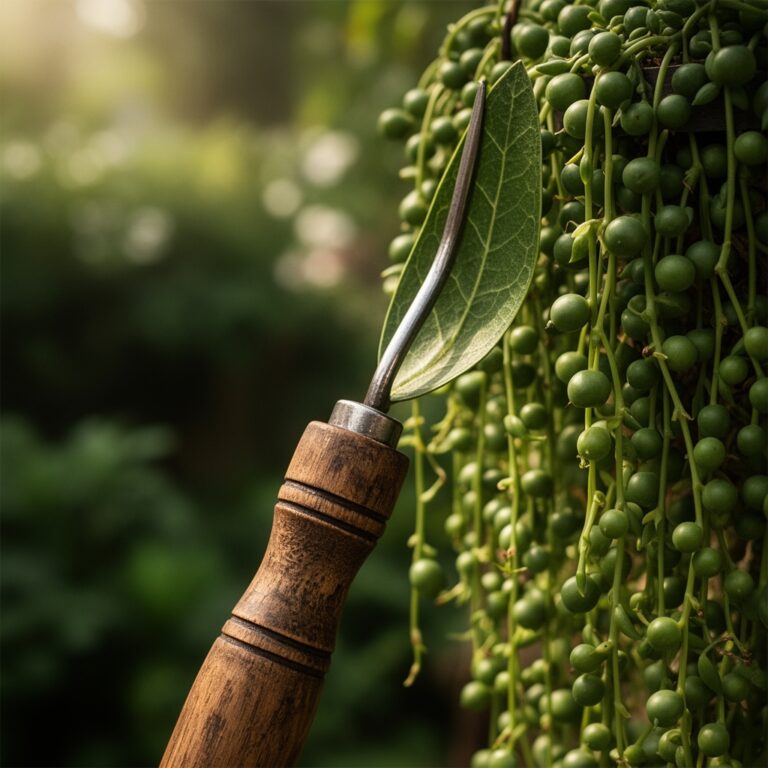
Precision is the hallmark of a master horticulturist. Use a hori-hori knife to check for root-bound conditions by slicing along the inner edge of the pot every six months. For woody perennials, use bypass pruners to remove any dead or crossing branches, which improves airflow and reduces the risk of fungal pathogens. Irrigation must be targeted; apply water directly to the soil at the drip line rather than wetting the foliage. In a standard 12-inch pot, this equates to approximately 0.5 gallons of water per irrigation cycle during the summer months. Regularly scrub your drip trays with a 10 percent bleach solution to eliminate algae and mineral crusting.
The Yield:
Harvesting is a race against senescence. For leafy greens, harvest in the early morning when turgor pressure is at its peak; this ensures the crispest texture. For fruiting bodies, wait until the abscission layer has fully formed at the base of the fruit stem. Use a sharp blade to make a clean cut, avoiding any tearing of the plant tissue. To maintain "day-one" freshness, immediately submerge the cut ends in 40-degree Fahrenheit water to slow the metabolic rate and preserve sugars.
FAQ:
How deep should a plant drip tray be?
A professional-grade tray should be at least 2 to 3 inches deep. This depth prevents overflow during heavy irrigation and ensures the pot base remains above the collected effluent to prevent root rot.
Can I leave water in the drip tray?
No. Standing water creates an anaerobic environment and reintroduces leached salts into the soil. Empty the tray within 30 to 60 minutes after watering to maintain a healthy oxygen-to-water ratio in the rhizosphere.
What is the best material for drip trays?
High-density polyethylene (HDPE) is the industry standard. It is chemically inert, UV-resistant, and capable of supporting the weight of large containers without cracking or leaching harmful bisphenols into the drainage water.
How do I clean mineral deposits from trays?
Use a solution of one part white vinegar to four parts water. The acetic acid dissolves calcium and magnesium carbonates. Scrub with a stiff brush, rinse thoroughly, and dry before returning the pot to the tray.