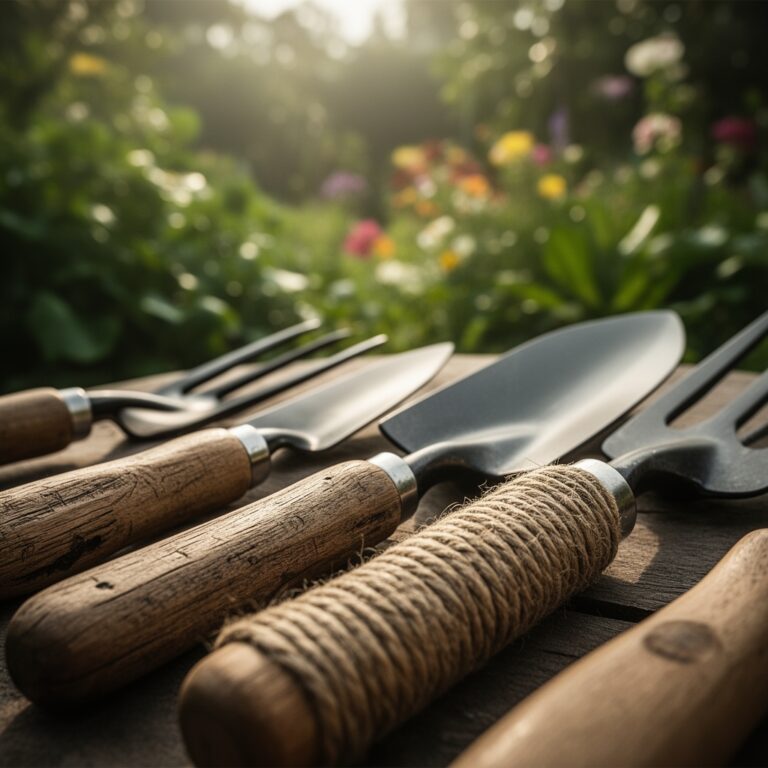
6 Setup Steps to Prepare a Living Vegetable Wall
The smell of damp sphagnum and fresh compost signals the beginning of a vertical food system that will produce 4 to 6 pounds of greens per square foot annually. Learning how to prepare a garden for a living vegetable wall requires understanding structural load, drainage mechanics, and rootzone engineering before a single seedling enters the frame. A well-prepared installation resists nutrient leaching, supports dense planting ratios, and delivers harvests within 35 days of transplant.
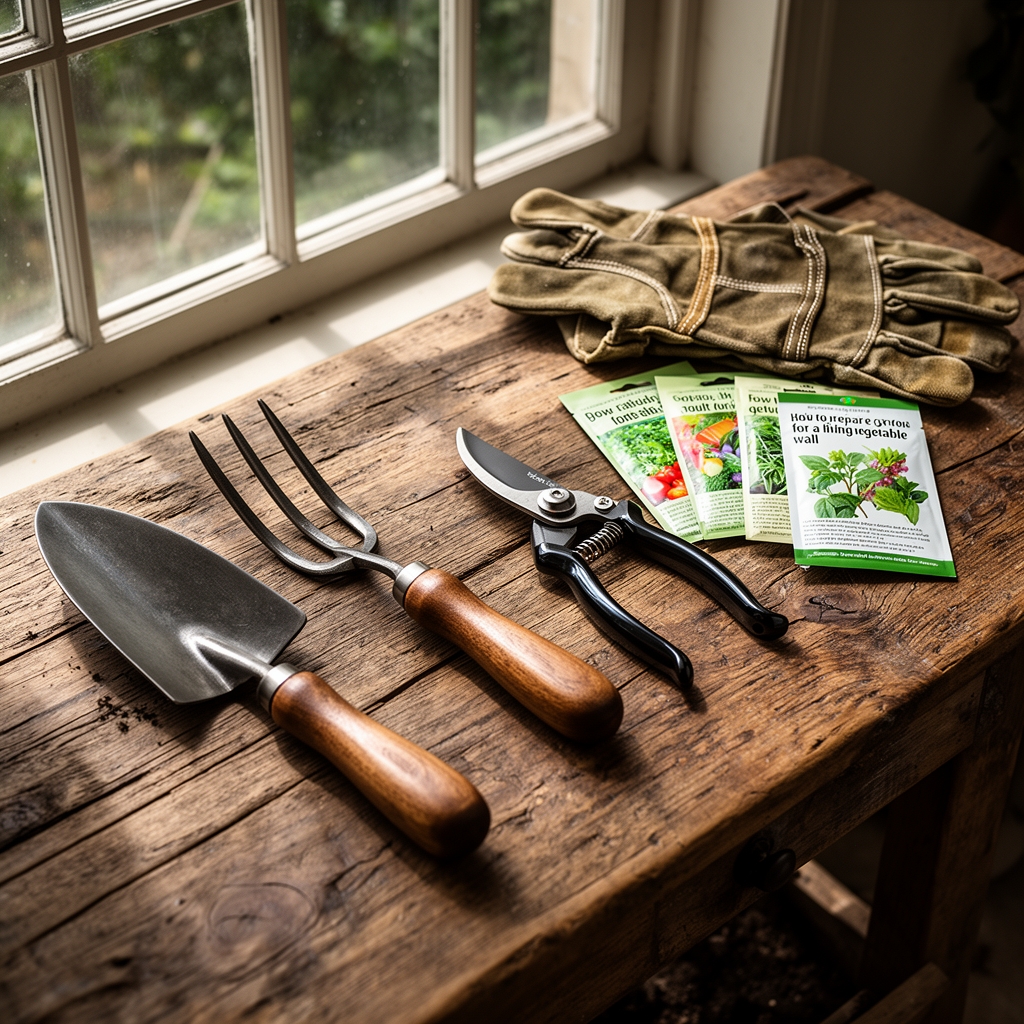
Materials
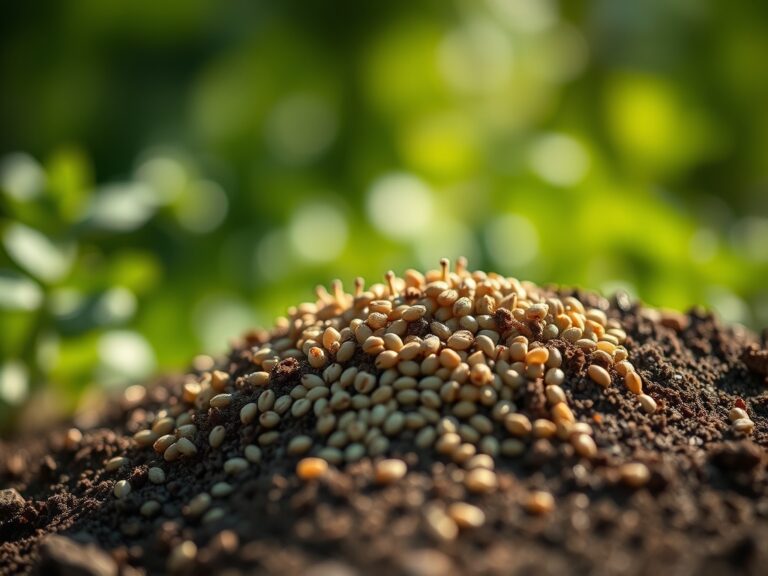
The substrate must balance water retention with aeration. Mix 40% coconut coir, 30% perlite, 20% worm castings, and 10% biochar by volume. This blend achieves a cation exchange capacity of 18 to 22 meq/100g, sufficient for leafy crops in confined root zones.
Amend with a 4-4-4 organic meal at 2 tablespoons per gallon of substrate. The equal nitrogen, phosphorus, and potassium ratio prevents excess vegetative stretch while supporting steady root colonization. Add mycorrhizal fungi inoculant at manufacturer rates, typically 1 teaspoon per plant pocket.
Target a substrate pH of 6.2 to 6.8. Test with a digital meter after hydration. Adjust downward with elemental sulfur at 1 ounce per cubic foot if initial readings exceed 7.0. Raise pH with dolomitic lime at 2 ounces per cubic foot if below 6.0.
Select a wall frame constructed from rot-resistant cedar or powder-coated steel. Plastic pocket systems degrade under UV within 18 months. Ensure the structure supports 12 pounds per square foot when saturated, factoring in substrate, water, and plant biomass.
Install a drip irrigation manifold with pressure-compensating emitters spaced every 6 inches vertically. Each emitter should deliver 0.5 gallons per hour. Integrate a timer capable of multiple daily cycles.
Timing
Initiate wall preparation 6 weeks before the last frost date in hardiness zones 5 through 9. This window allows substrate microbiology to establish before transplanting. In zones 10 and 11, prepare year-round but avoid installation during periods of sustained temperatures above 95°F.
Outdoor walls perform best when daytime temperatures stabilize between 60°F and 75°F. Indoor installations require supplemental LED grow lights delivering 400 to 600 micromoles per square meter per second for 14 hours daily.
Frost-sensitive crops such as basil, lettuce, and pak choi require complete protection below 35°F. Cold-hardy options including kale, spinach, and mache tolerate 28°F with row cover reinforcement.
Phases
Sowing
Start seeds in 1-inch rockwool cubes or soil blocks 21 days before wall installation. Maintain germination temperatures at 70°F to 75°F with bottom heat mats. Seedlings require 12 hours of light at 200 micromoles per square meter per second during this phase.
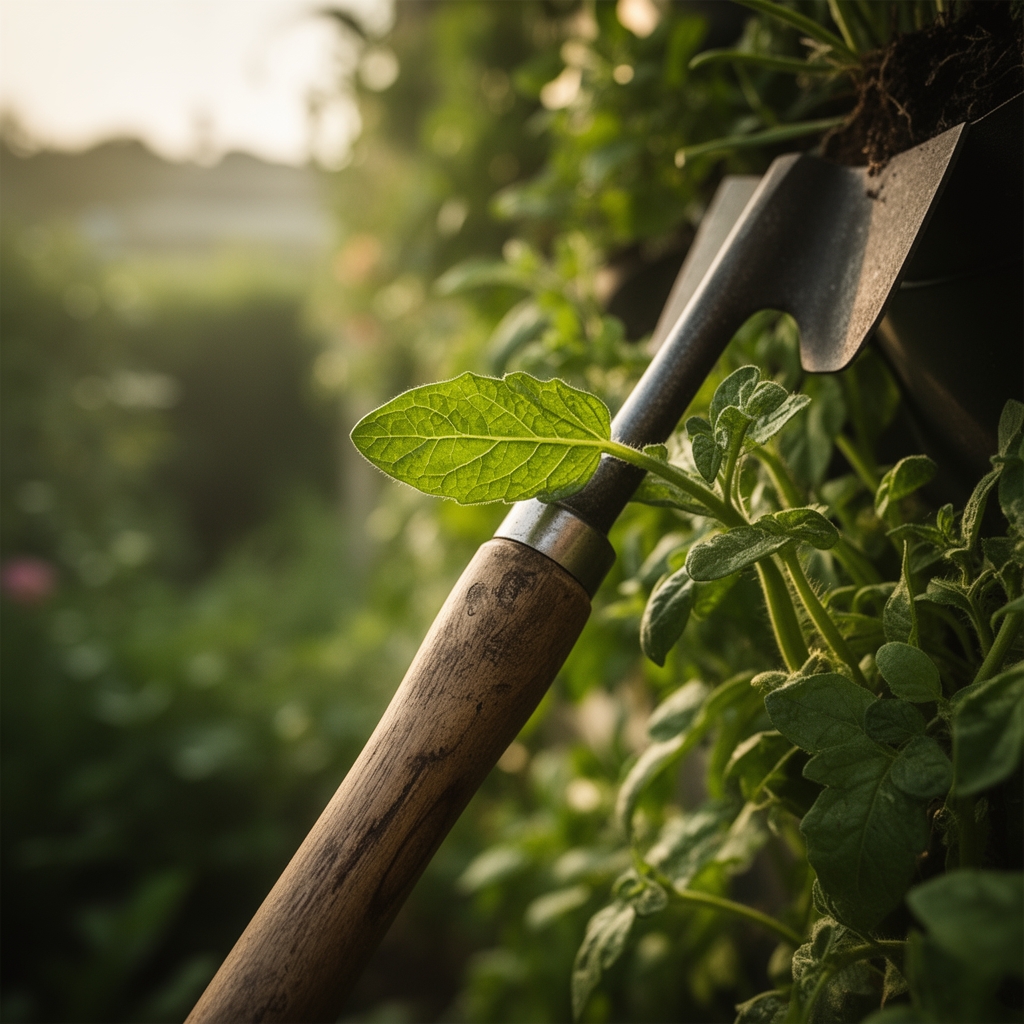
Transplant when true leaves emerge and root systems fill the cube without circling. Roots should appear white with visible hyphal threads if mycorrhizal fungi colonization is successful.
Pro-Tip: Dip rockwool cubes in a kelp solution diluted to 1 tablespoon per gallon for 30 seconds before sowing. Auxin compounds in kelp accelerate lateral root initiation by 18% to 24%.
Transplanting
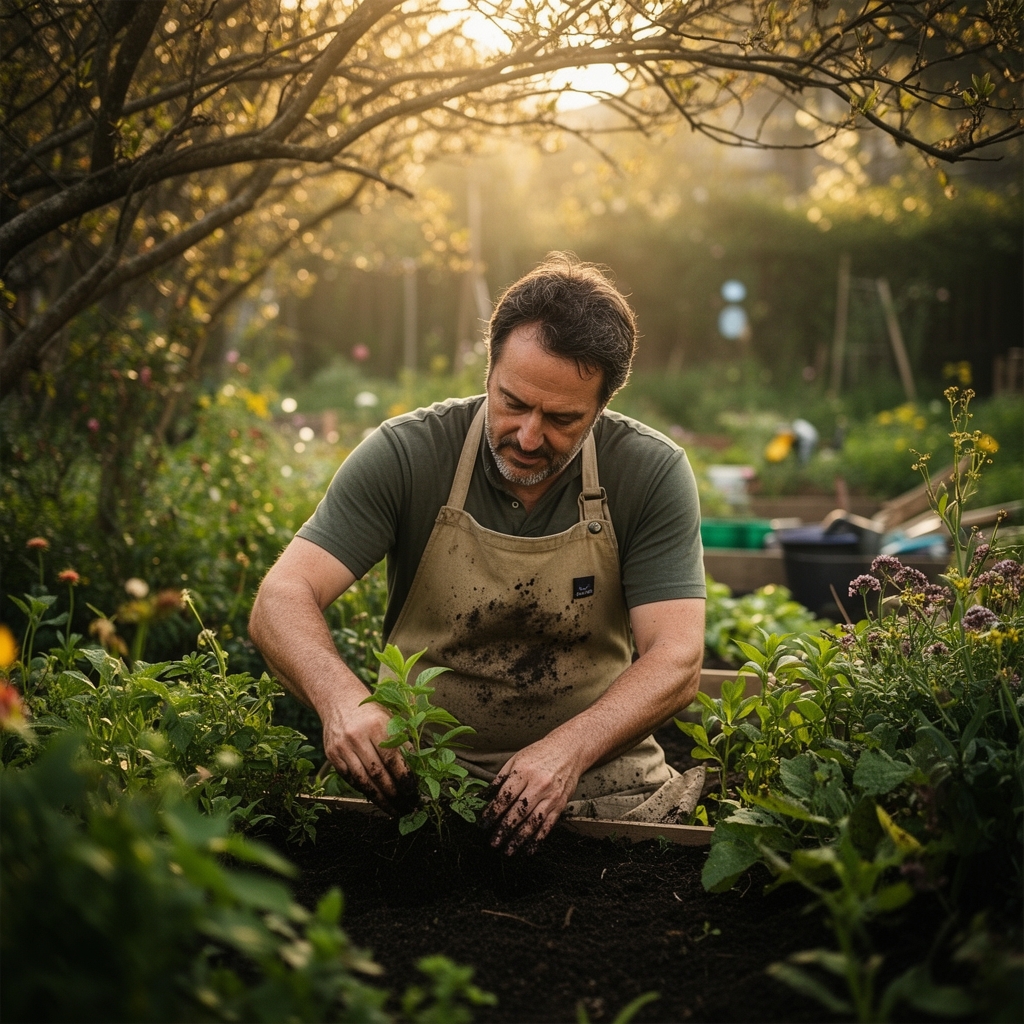
Hydrate the wall substrate 24 hours before transplanting. Drainage should cease within 2 hours, indicating proper moisture retention without waterlogging. Insert seedlings so the root cube sits flush with the substrate surface. Gaps allow desiccation and uneven auxin distribution.
Space plants 6 inches apart for lettuce and arugula, 8 inches for chard and kale. Dense spacing maximizes yield per square foot but requires attentive airflow management.
Pro-Tip: Transplant during overcast conditions or after 4 PM to reduce transplant shock. Photosynthetic demand drops by 30% in low-light conditions, allowing roots to acclimate without moisture stress.
Establishing
Water twice daily for the first 10 days, delivering 0.25 gallons per square foot per cycle. Roots penetrate the substrate fully within this period if moisture remains consistent. Reduce to once daily after establishment.
Monitor for wilt between irrigation cycles. Leaves should remain turgid with slight upward curvature. Downward leaf droop indicates insufficient water or root damage.
Pro-Tip: Apply a foliar spray of fish hydrolysate diluted to 2 tablespoons per gallon at day 7 and day 14 post-transplant. Foliar nitrogen absorption bypasses immature root systems and accelerates canopy closure by 5 days.
Troubleshooting
Symptom: Yellowing lower leaves with green veins.
Solution: Iron deficiency caused by high substrate pH. Drench with chelated iron at 1 teaspoon per gallon. Retest pH and amend with sulfur if above 7.0.
Symptom: Stunted growth with purple leaf undersides.
Solution: Phosphorus deficiency or cold stress. Increase ambient temperature to 65°F minimum. Apply bone meal tea at 3 tablespoons per gallon as a soil drench.
Symptom: White powdery coating on leaf surfaces.
Solution: Powdery mildew from inadequate airflow. Install a 6-inch circulation fan delivering 200 CFM. Spray with a 0.5% potassium bicarbonate solution weekly until resolved.
Symptom: Small holes in leaves with dark frass.
Solution: Caterpillar feeding. Apply Bacillus thuringiensis var. kurstaki at label rates every 7 days for 3 applications.
Symptom: Root tips turn brown and mushy.
Solution: Root rot from overwatering. Reduce irrigation frequency by 50%. Inoculate with Trichoderma harzianum at 1 gram per gallon to outcompete pathogenic fungi.
Maintenance
Deliver 1 inch of water per week, split across 7 to 14 irrigation events depending on ambient temperature and humidity. Measure output by placing a rain gauge at the base of the wall.
Fertilize every 14 days with a liquid 3-1-2 fertilizer diluted to half strength. Higher nitrogen supports continuous leaf production without excessive stem elongation.
Harvest outer leaves when they reach 4 to 6 inches, cutting 0.25 inches above the growth node at a 45-degree angle. This pruning angle prevents water accumulation and bacterial soft rot.
Inspect for aphids weekly. Populations double every 5 days in temperatures above 70°F. Spray with insecticidal soap at 5 tablespoons per gallon, ensuring undersides receive coverage.
FAQ
How deep should the substrate be?
4 to 6 inches of substrate depth supports lettuce, herbs, and greens. Fruiting crops like tomatoes require 8 to 10 inches.
Can I use garden soil?
No. Garden soil compacts in vertical applications, reducing oxygen availability to roots by 60% and causing anaerobic conditions.
How long do plantings last?
Leafy greens produce for 8 to 12 weeks before bolting. Replant pockets individually as harvests decline.
What crops fail in vertical walls?
Root vegetables, melons, and large brassicas exceed structural load limits and require horizontal growing space.
Do I need grow lights indoors?
Yes. Natural window light rarely exceeds 100 micromoles per square meter per second, below the 400 minimum for productive growth.