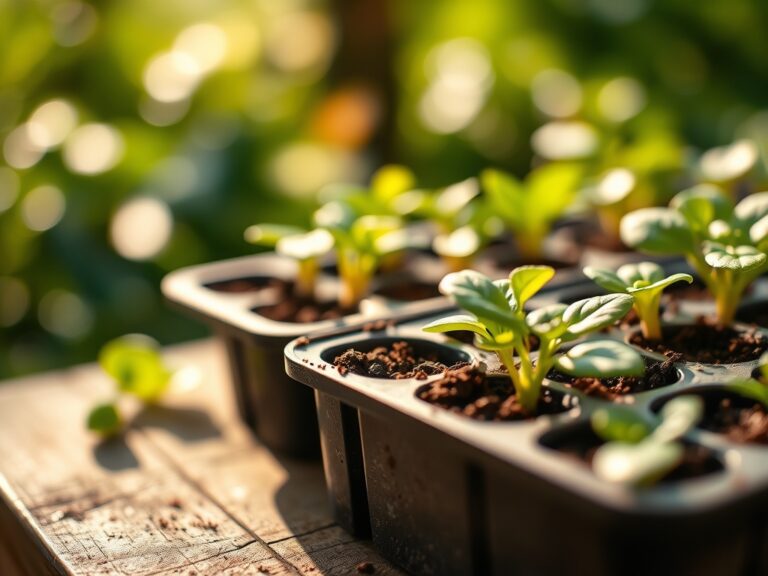
8 Recycling Steps to Prepare an Egg Carton Greenhouse
Cardboard pulp biodegrades into lignin-rich organic matter while seedlings push their first true leaves toward light. Gardeners who master how to prepare a mini greenhouse with egg cartons transform kitchen waste into a controlled germination environment, leveraging the material's natural porosity and cell structure to regulate moisture exchange. The papier-mâché composition of standard egg cartons provides a cation exchange capacity near 15 meq/100g when saturated, comparable to coconut coir substrates.
Materials
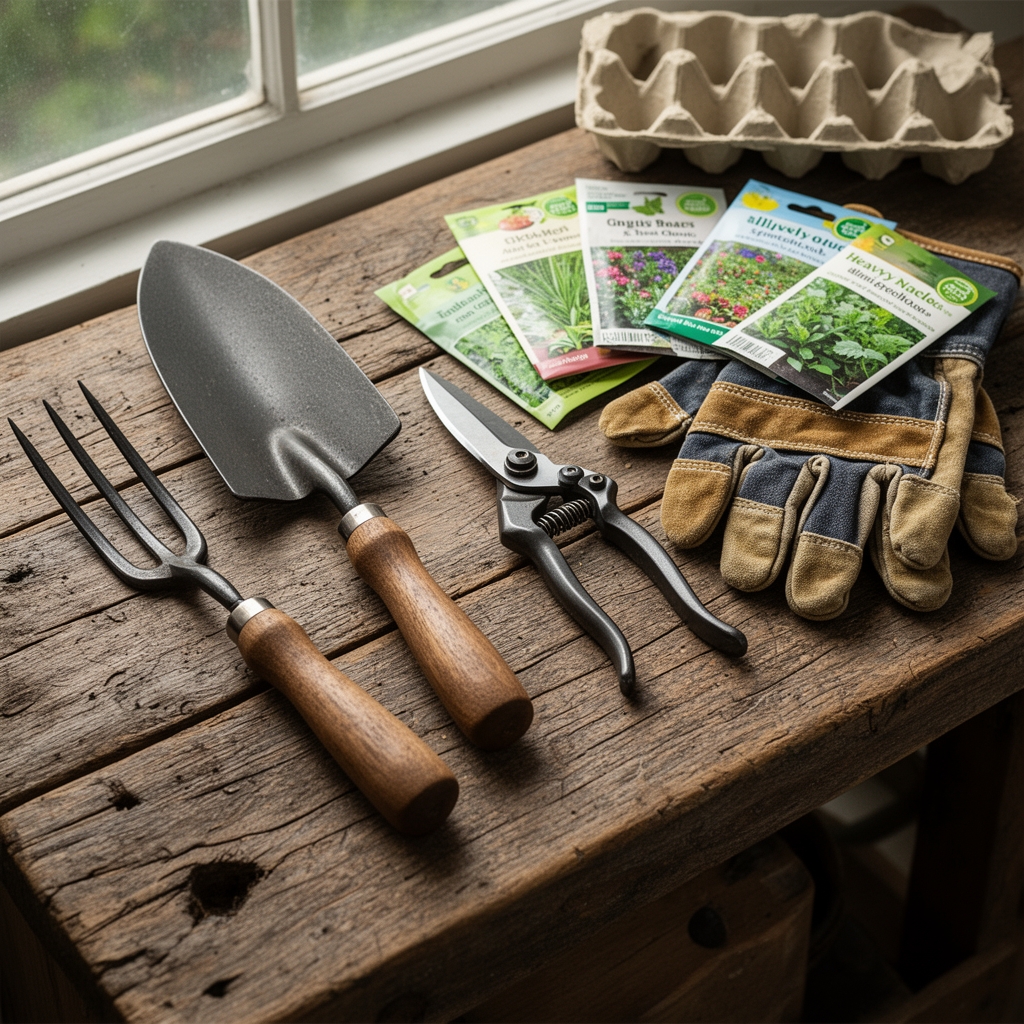
Gather twelve-count cardboard egg cartons, avoiding foam variants that inhibit gas exchange. Source seed-starting mix with a pH of 5.8 to 6.2, formulated with sphagnum peat, perlite, and vermiculite at a 2:1:1 ratio. Incorporate organic kelp meal rated at 1-0.1-2 NPK to supply trace minerals including boron and zinc. Add mycorrhizal fungi inoculant at 200 propagules per gram to colonize root hairs within 14 days of germination. Obtain a clear plastic dome or food-grade polyethylene sheeting with 80% light transmission. Prepare a diluted fish emulsion at 2-3-1 NPK, cutting the manufacturer's concentration to one-quarter strength for seedling applications. Secure a grow light delivering 200 to 400 foot-candles if natural light falls below six hours daily. Use a spray bottle calibrated to deliver 0.5 fluid ounces per trigger pull.
Timing
Gardeners in Hardiness Zones 3 through 5 should start seeds indoors eight to ten weeks before the last spring frost, typically between February 15 and March 1. Zones 6 and 7 permit a six to eight-week window, beginning around March 10. Zones 8 through 10 require only four to six weeks, starting mid-March through early April. Calculate your local frost-free date using a thirty-year mean dataset from the National Weather Service. Brassicas tolerate soil temperatures as low as 40°F for transplanting, while solanaceous crops demand 55°F minimum. Monitor soil temperature with a digital probe at two-inch depth each morning for three consecutive days to confirm stability.
Phases
Sowing
Cut the carton lid completely free using utility shears to create a humidity dome. Pierce three drainage holes in each cell bottom with a toothpick to prevent anaerobic conditions that encourage damping-off pathogens. Fill cells to within 0.25 inches of the rim with pre-moistened seed-starting mix. Press two to three seeds per cell to a depth equal to twice the seed diameter. Lettuce and celery require light for germination, so surface-sow and press gently into contact with the medium. Cover the carton with the inverted lid or polyethylene, securing edges with painter's tape to maintain 90% relative humidity. Position the assembly 6 inches beneath a grow light set to a 16-hour photoperiod.
Pro-Tip: Dust seeds with Trichoderma harzianum at 1 x 10^6 CFU per gram to outcompete Pythium and Rhizoctonia fungi during the critical cotyledon stage.
Transplanting
Remove the humidity dome when 75% of seeds exhibit radicle emergence, typically within 48 to 72 hours for fast germinators like radishes. Thin to one seedling per cell by severing weaker specimens at soil level with sterilized scissors, preserving root integrity of the chosen plant. Begin bottom-watering by placing the carton in a tray with 0.5 inches of water for ten minutes, then draining completely. Apply quarter-strength fish emulsion weekly once true leaves reach 0.5 inches in length. Harden off seedlings over seven days by exposing them to outdoor conditions in graduated increments: two hours on day one, adding ninety minutes daily until they tolerate eight full hours.
Pro-Tip: Transplant at a 15-degree backward lean to encourage adventitious root formation along buried stem tissue, increasing anchorage by 30%.
Establishing
Tear individual cells apart along perforated seams three days before garden transplant to minimize root disturbance. Soak separated cells in water for five minutes to accelerate cardboard breakdown. Dig planting holes 1.5 times the cell depth and width. Place the entire cell into the hole, burying the carton rim 0.5 inches below soil grade. Backfill with native soil amended with compost at a 3:1 ratio. Water with 16 fluid ounces per plant immediately after planting to eliminate air pockets and activate auxin distribution toward root tips. Mulch with 2 inches of shredded leaves in a 6-inch radius, keeping material 3 inches from the stem to prevent collar rot.
Pro-Tip: Introduce Rhizobium bacteria for legumes by mixing 2 grams of inoculant per gallon of planting water, ensuring nodule formation within 21 days.
Troubleshooting
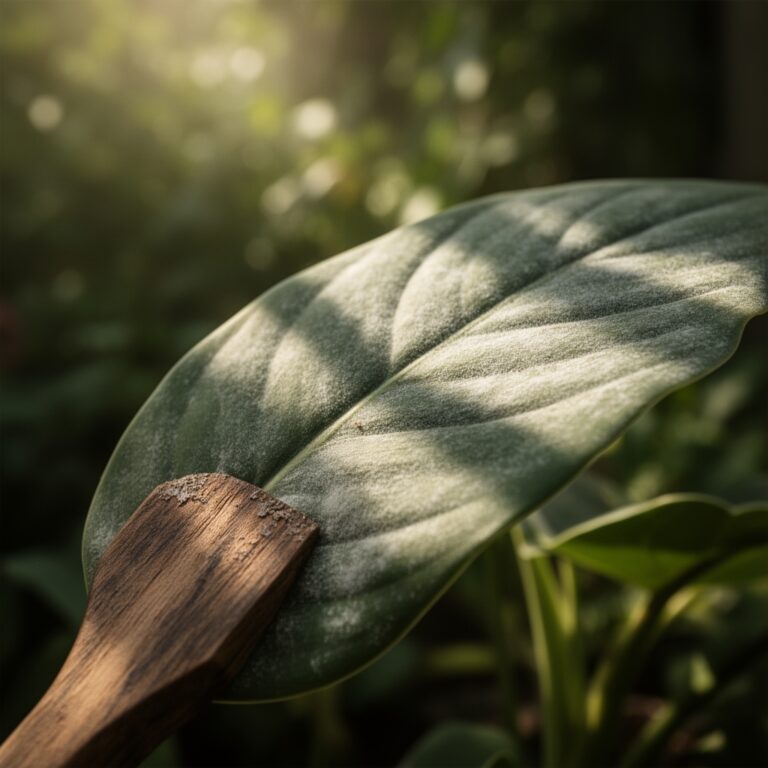
Symptom: White fungal webbing on soil surface. Solution: Reduce watering frequency to allow the top 0.5 inches to dry between applications. Saprophytic mold consumes organic matter but does not parasitize plants. Increase air circulation with a 4-inch fan.
Symptom: Leggy seedlings with elongated internodes exceeding 2 inches. Solution: Lower grow lights to 3 inches above foliage or move cartons to south-facing windows receiving unobstructed light. Leggy growth indicates phytochrome response to far-red wavelengths in low-intensity environments.
Symptom: Yellowing cotyledons with green veins. Solution: Interveinal chlorosis signals iron deficiency in pH above 6.5. Drench with chelated iron at 150 ppm concentration or acidify soil with elemental sulfur at 0.5 pounds per 100 square feet.
Symptom: Damping-off at soil line, with stem constriction and collapse. Solution: Improve drainage by adding 20% perlite to the medium. Water only when surface feels dry to touch at 9 a.m. Apply hydrogen peroxide at 1 teaspoon per cup of water to oxygenate root zones.
Symptom: Aphids clustering on new growth. Solution: Spray with insecticidal soap at 2% concentration, contacting pest bodies directly. Introduce ladybird beetles at 1,500 adults per 500 square feet for biological control.
Maintenance
Irrigate seedlings with 0.25 cups of water per cell every two to three days, adjusting based on evapotranspiration rates measured by substrate weight. Cells should feel heavy but not waterlogged. Rotate cartons 180 degrees every 48 hours to equalize phototropic bending and prevent unilateral stem curvature. Prune any seedlings exceeding 4 inches in height by pinching terminal buds to redirect energy toward lateral branching and root mass accumulation. Fertilize biweekly with diluted liquid kelp at 0-0-1 NPK once four true leaves have fully expanded. Monitor for fungus gnats by placing yellow sticky traps horizontally on the soil surface, replacing when 50% coverage is reached.
FAQ
Can foam cartons substitute for cardboard versions?
No. Polystyrene foam resists decomposition for decades and blocks gas exchange necessary for aerobic root respiration.
How long does cardboard take to decompose in soil?
Carton material breaks down within 45 to 60 days under moist conditions, colonized by saprophytic fungi and cellulose-digesting bacteria.
Which crops perform best in egg carton starts?
Brassicas, lettuce, herbs, and alliums tolerate restricted root volumes. Avoid deep-rooted crops like carrots or large cucurbits.
Do egg cartons alter soil pH over time?
Decomposing cardboard releases lignin that slightly lowers pH by 0.2 to 0.3 units, a negligible shift in buffered garden soils.
Should cartons be sterilized before use?
Unnecessary. Heat sterilization at 180°F for 30 minutes eliminates pathogens but also beneficial microbes. Healthy seedling practices prevent contamination.