6 Steps to Build a Modular Concrete Garden Wall
The smell of damp, anaerobic subsoil signals the start of a structural intervention. When the turgor pressure of your hillside plantings begins to fail due to rapid runoff, you must stabilize the topography. Mastering the steps for building a garden wall with blocks requires more than manual labor; it demands an understanding of soil physics and hydrostatic pressure. A properly engineered modular wall prevents erosion and creates a controlled microclimate where the rhizosphere can thrive without the constant threat of nutrient leaching or root exposure.
Structural integrity begins with the base. You are not merely stacking stone; you are recalibrating the slope to manage water infiltration and gravity. In a high-functioning garden, every vertical shift impacts the Cation Exchange Capacity (CEC) by altering how water moves through the soil profile. A wall provides the containment necessary to build a deep, friable root zone. By following the precise steps for building a garden wall with blocks, you ensure that the soil behind the units remains aerated and chemically balanced for long-term botanical health.
Materials:
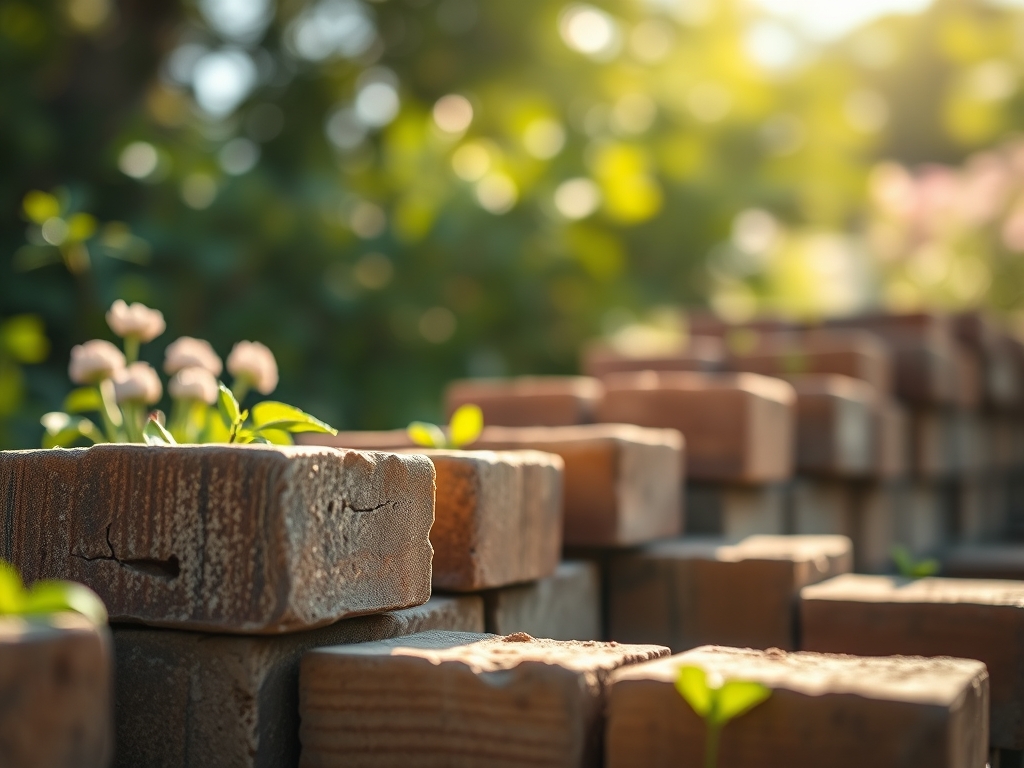
The success of the planting area behind your wall depends on the substrate composition. For a modular system, you require **ASTM C1372** compliant concrete blocks and a leveling base of **0.75-inch crushed angular stone**. Avoid rounded pea gravel; angular stone provides the friction necessary for structural interlocking.
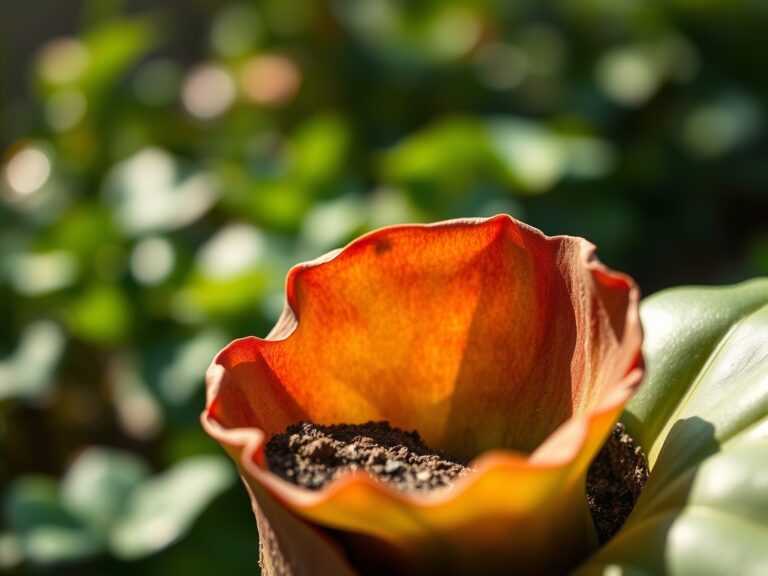
Once the structure is set, the backfill must consist of a friable loam with a pH between 6.0 and 7.0. This range optimizes nutrient availability. To prepare the planting pocket, incorporate organic matter to achieve a 3-1-2 NPK ratio (Nitrogen, Phosphorus, Potassium). This ratio supports the initial vegetative surge. The physical texture should be granular enough to allow for a percolation rate of 1 to 2 inches per hour. High CEC soils, such as those rich in montmorillonite clay or well-aged compost, will better retain the essential cations like Calcium (Ca2+) and Magnesium (Mg2+) required for cellular wall strength in your specimens.
Timing:
Construction and planting must align with your regional Hardiness Zone. In Zones 4 through 6, the window for wall construction opens as soon as the frost line recedes, typically mid-April. In Zones 7 through 10, work should be completed before the extreme heat of July to prevent rapid desiccation of the newly exposed soil.
The biological clock of your garden dictates the schedule. You must complete the hardscaping before the "Grand Period of Growth," which is the transition from the vegetative stage to the reproductive stage. For most perennials, this occurs when the photoperiod exceeds 12 to 14 hours of daylight. Installing the wall during the dormant season or early spring minimizes root disturbance and allows the mycorrhizal networks to re-establish before the plant demands high transpiration rates.
Phases:

Sowing and Site Prep
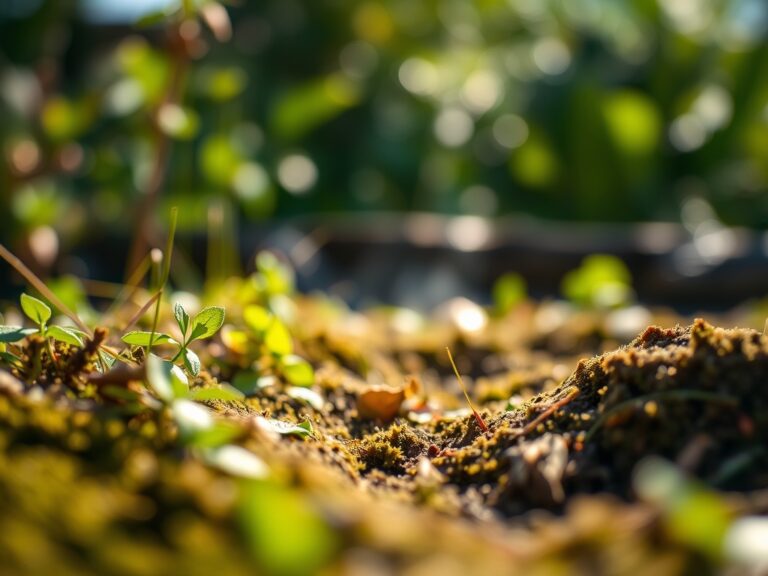
Excavate a trench 24 inches wide and deep enough to bury the first course of blocks entirely plus 6 inches of compacted gravel. This prevents frost heave. Use a plate compactor to ensure the base is immobile.
Pro-Tip: Compaction is vital because it eliminates large air pockets that lead to uneven settling. From a biological perspective, preventing settling protects the mycorrhizal symbiosis in the upper soil layers; sudden shifts in soil structure can tear the delicate fungal hyphae that assist plants in phosphorus uptake.
Transplanting into the New Tier
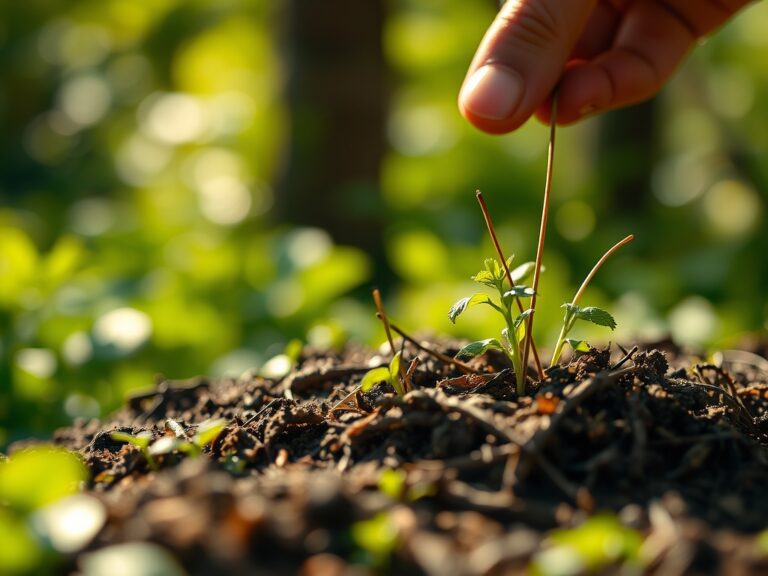
When placing plants behind the wall, dig holes twice the width of the root ball. Ensure the crown of the plant sits exactly at the soil line. Backfill with the prepared friable loam, tamping lightly to remove air pockets without over-compacting.
Pro-Tip: Orient the most foliage-heavy side of the plant toward the primary light source to account for phototropism. This hormonal response, driven by the redistribution of auxins to the shaded side of the stem, ensures the plant grows straight rather than leaning over the wall edge and risking structural shading.
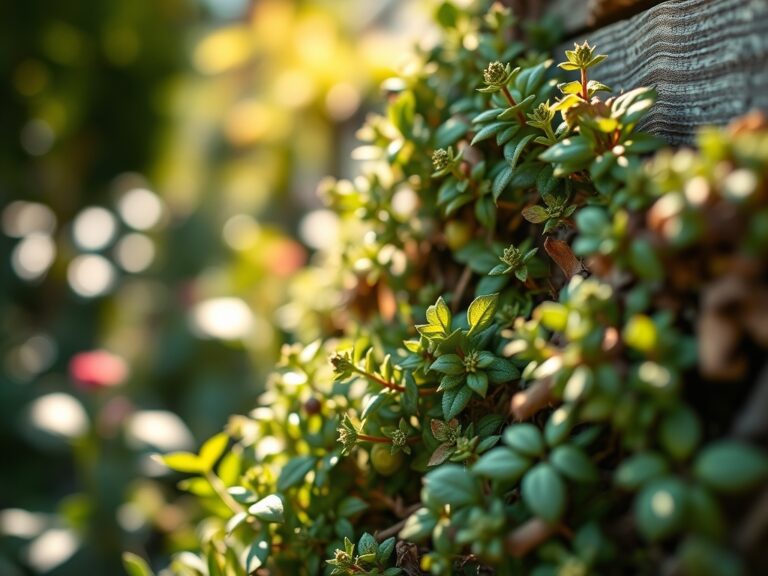
Establishing the Microclimate
Once the blocks are stacked and the coping stones are glued with exterior-grade masonry adhesive, mulch the surface with 3 inches of shredded hardwood. This regulates soil temperature and prevents the concrete blocks from wicking moisture away from the root zone.
Pro-Tip: Maintain consistent moisture during the first 21 days. This prevents auxin suppression, a state where the plant halts upward growth to focus solely on emergency root repair. By keeping the root zone hydrated, you allow the plant to maintain turgor and transition quickly to new vegetative growth.
The Clinic:
Physiological disorders often manifest shortly after a major landscape change. Monitor your plants for these specific indicators of stress.
- Symptom: Interveinal Chlorosis. The leaves turn yellow while the veins remain green.
- Solution: This indicates a Manganese or Iron deficiency, often caused by a pH above 7.5. Apply chelated iron or elemental sulfur to lower the pH to 6.5.
- Symptom: Leaf Margin Necrosis. The edges of the leaves appear burnt or brown.
- Solution: This is frequently a sign of Potassium (K) deficiency or salt accumulation from de-icing agents used on the concrete blocks. Flush the soil with 2 inches of fresh water and apply a high-potassium organic fertilizer.
- Symptom: Epinasty. Leaves curl downward and stems appear twisted.
- Solution: Often caused by ethylene gas buildup in waterlogged soils or drift from broadleaf herbicides. Ensure the drainage pipe behind your wall is not clogged; a 4-inch perforated PVC pipe is mandatory for drainage.
Fix-It for Nitrogen Chlorosis: If the entire leaf turns a pale lime green, the plant is scavenging nitrogen from older tissues to support new growth. Apply a quick-release liquid fertilizer with a 10-0-0 NPK rating to restore chlorophyll production immediately.
Maintenance:
Precision is the hallmark of a master gardener. Use a soil moisture meter to verify that the root zone receives 1.5 inches of water per week at the drip line. Modular blocks can absorb heat, increasing the evaporation rate of the adjacent soil.
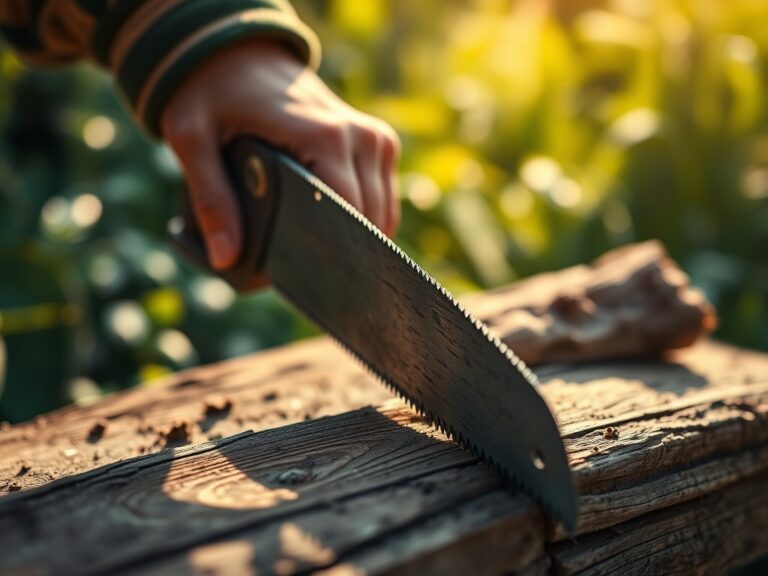
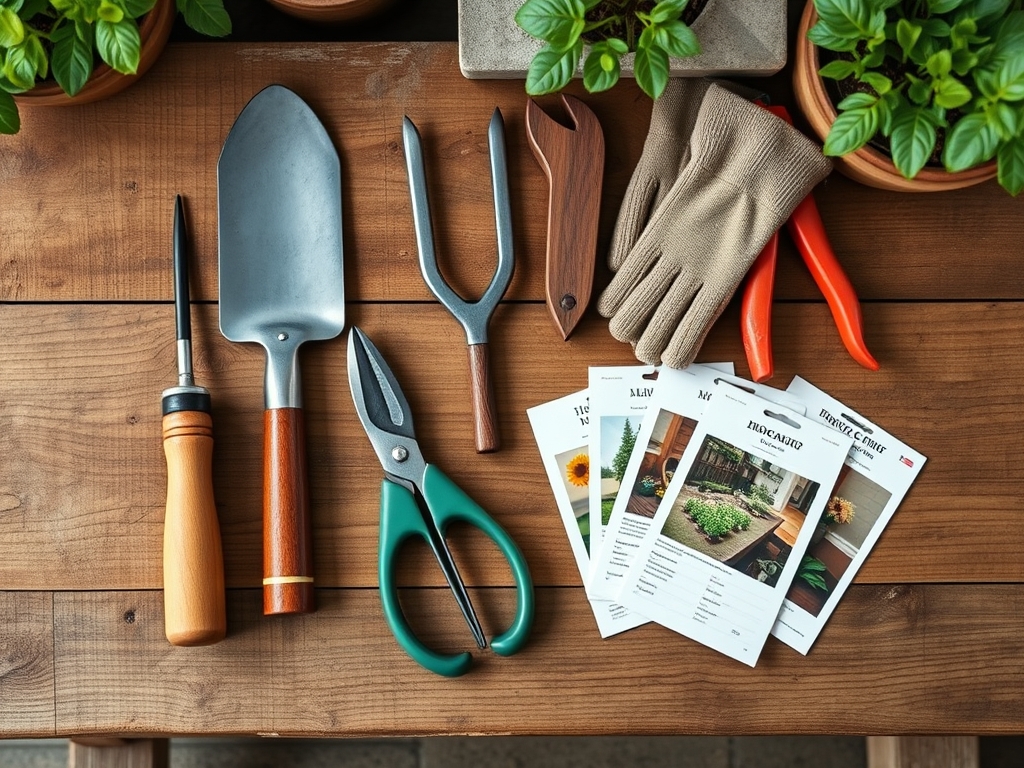
Keep your bypass pruners sharp to ensure clean, surgical cuts that heal quickly. When removing spent blooms or damaged foliage, cut back to a lateral bud or the main stem to prevent dieback. Use a hori-hori knife to extract deep-rooted weeds like dandelions (Taraxacum officinale) without disrupting the structural backfill of the wall. Check the alignment of your blocks annually; a shift of more than 0.5 inches indicates a failure in the drainage layer or excessive hydrostatic pressure.
The Yield:
If your wall contains edible crops or cut flowers, timing the harvest is a matter of cellular chemistry. Harvest leafy greens and herbs in the early morning, before 10:00 AM, when the plants are at maximum turgor. This prevents wilting and preserves the volatile oils.
For woody stems or flowers, use a sharp blade to avoid crushing the xylem vessels. Immediately submerge the cut ends in 110-degree Fahrenheit water to remove air embolisms. This "hardening off" process ensures day-one freshness by maintaining the hydraulic link between the stem and the flower head. Store harvested produce in a high-humidity environment at 40 degrees Fahrenheit to slow the rate of senescence.
FAQ:
How deep should the base for a garden wall be?
Excavate at least 12 inches. This allows for 6 inches of compacted angular stone and ensures the first course of blocks is partially or fully buried. This depth provides the necessary resistance against lateral earth pressure and prevents frost-related shifting.
Do I need a drainage pipe behind a small wall?
Yes. Any wall over 2 feet tall requires a 4-inch perforated drain pipe (weep system) surrounded by clean gravel. This prevents hydrostatic pressure from building up, which can cause the modular blocks to tip or the soil to liquefy.
What is the best block for a DIY garden wall?
Use rear-lip or pinned modular concrete blocks. These systems automatically create the correct "batter" or backward lean. This mechanical interlock is essential for resisting the weight of the soil and maintaining structural alignment over multiple seasons.
Can I build a wall directly on soil?
Never. Soil expands and contracts with moisture and temperature changes. Building on a compacted gravel base provides a stable, non-expansive foundation that allows for drainage and prevents the wall from cracking or sinking into the rhizosphere.
How do I prevent weeds from growing between blocks?
Fill the joints with polymeric sand or ensure the blocks are tightly fitted. For the area directly behind the wall, use a heavy-duty geotextile fabric to separate the drainage gravel from the planting soil, preventing weed seeds from migrating.