6 Steps to Build a Durable Garden Retaining Wall
The smell of damp, anaerobic subsoil signals the start of a structural project that dictates the long-term health of your landscape. When you break the surface tension of the earth, you are managing more than just stone; you are manipulating the hydrostatic pressure and the gas exchange within the rhizosphere. Mastering the steps for building a garden wall requires an understanding of how gravity and water interact with soil density. A wall is not a static object. It is a functional membrane that must support the turgor pressure of the plants behind it while allowing for lateral drainage. Failure to account for these mechanical forces leads to soil compaction and root asphyxiation.
Materials:
The substrate behind your wall determines the success of your botanical collection. You require a **friable loam** with a Cation Exchange Capacity (CEC) between **15 and 25 milliequivalents per 100 grams**. This ensures the soil can hold and exchange essential cations like calcium and magnesium. For a general vegetable or perennial garden, aim for a soil pH of **6.2 to 6.8**.
Your initial nutrient profile should follow specific NPK ratios based on the intended crop. For root development and structural stability in a new bed, use a 5-10-5 ratio. The higher phosphorus content encourages ATP production and cellular division in the root tips. Avoid high nitrogen levels initially; a ratio of 20-10-10 will cause rapid vegetative growth that lacks the cellular density to withstand wind or heavy rain. Ensure your backfill consists of 3/4-inch crushed angular stone to facilitate drainage and prevent the buildup of hydrostatic pressure against the masonry units.
Timing:
In Hardiness Zones 4 through 7, the window for structural garden work opens once the frost line has retreated and the soil moisture levels allow for compaction without clumping. Construction should occur when the soil temperature reaches a consistent 50 degrees Fahrenheit. This timing aligns with the "Biological Clock" of most temperate perennials.
By completing the wall before the spring equinox, you allow the soil to settle before plants enter their peak vegetative stage. As the photoperiod increases, plants transition from dormant states to active respiration. Building during this transition ensures that the root systems of your transplants can establish themselves before the high-transpiration demands of the summer solstice. If you delay until the reproductive stage (flowering), the energy diverted to structural repair in the roots will significantly reduce your yield or bloom quality.
Phases:

Sowing and Base Preparation
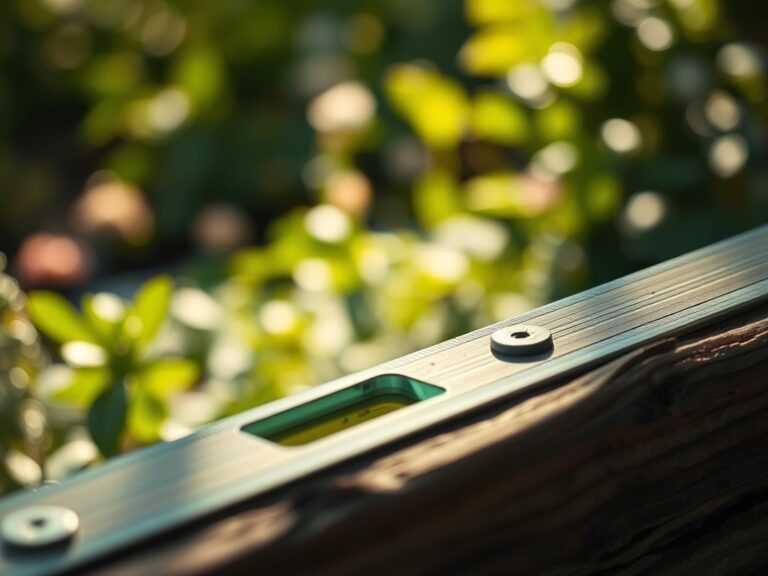
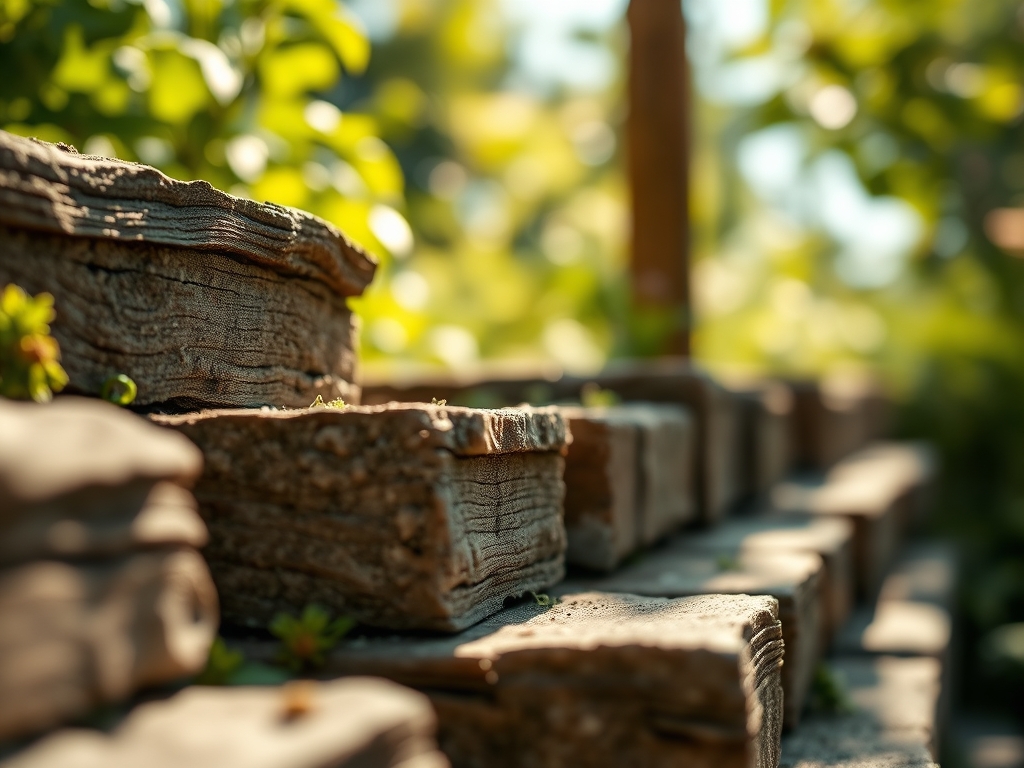
Excavate a trench 12 to 18 inches deep. The base must be composed of compacted gravel, not soil, to prevent heaving during freeze-thaw cycles. Leveling the first course is the most critical step. Use a laser level to ensure a deviation of less than 1/8 inch over ten feet.
Pro-Tip: Always include a perforated drainage pipe (French drain) at the base of the wall. This prevents "wet feet" and root rot by managing the gravitational water that moves through the soil profile. This is essential for maintaining mycorrhizal symbiosis, as these beneficial fungi require aerobic conditions to facilitate nutrient uptake.
Transplanting and Backfilling
As you stack the masonry, backfill with the crushed stone and then your prepared friable loam. When placing plants, ensure the root ball is set at the same depth as its previous container. Avoid "volcano mulching" which can lead to stem rot and opportunistic fungal infections.
Pro-Tip: Use a root-stimulating solution containing Indole-3-butyric acid (IBA). This hormone triggers auxin suppression in the lateral buds and focuses the plant's metabolic energy on root elongation. This ensures the plant anchors quickly into the new soil structure.
Establishing the Root Zone
Once the wall is capped and the plants are in situ, the focus shifts to hydration and gas exchange. The soil behind a wall dries out faster than ground-level beds due to increased surface area exposure and gravity-fed drainage.
Pro-Tip: Monitor the soil with a soil moisture meter at a depth of 6 inches. Maintaining consistent moisture levels prevents the "shrink-swell" cycle of clay particles, which can tear delicate root hairs. This stability supports phototropism, allowing the plant to orient its leaves toward the sun without the stress of hydraulic failure.
The Clinic:
Physiological disorders often manifest when the structural environment of the wall interferes with nutrient availability.
Symptom: Interveinal chlorosis (yellowing between green veins) on new growth.
Solution: This indicates an Iron deficiency, often caused by a pH above 7.0. Apply chelated iron and lower the pH using elemental sulfur.
Symptom: Blossom end rot on fruit or necrotic leaf margins on ornamentals.
Solution: This is a Calcium deficiency. It is rarely a lack of calcium in the soil but rather a failure of the plant to transport it via transpiration. Ensure consistent watering to maintain the flow of nutrients through the xylem.
Symptom: Purple or bronze tinting on the underside of older leaves.
Solution: Phosphorus deficiency. This is common in cold, wet soils where root activity is low. Apply a water-soluble 10-30-10 fertilizer to provide an immediate boost to the rhizosphere.
Fix-It for Nitrogen Chlorosis: If the entire plant is pale green or yellow, it lacks nitrogen. Apply a high-nitrogen organic amendment like blood meal or a synthetic 21-0-0 ammonium sulfate to restore chlorophyll production.
Maintenance:
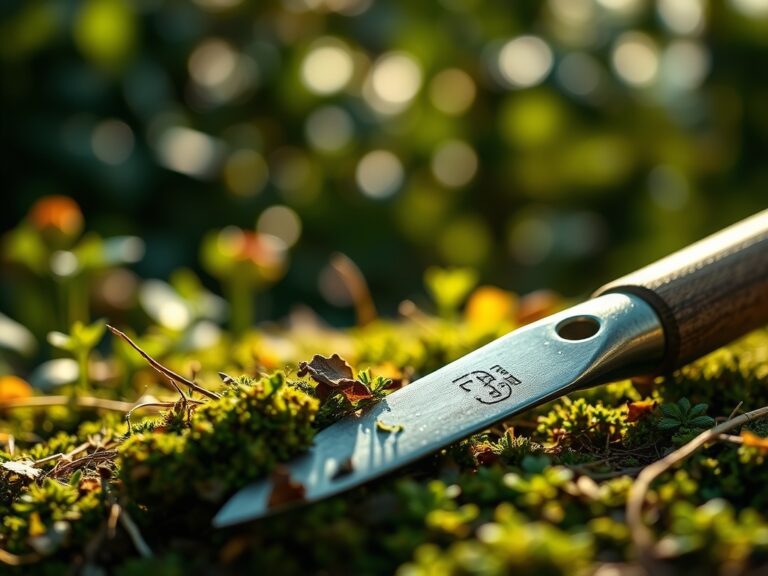
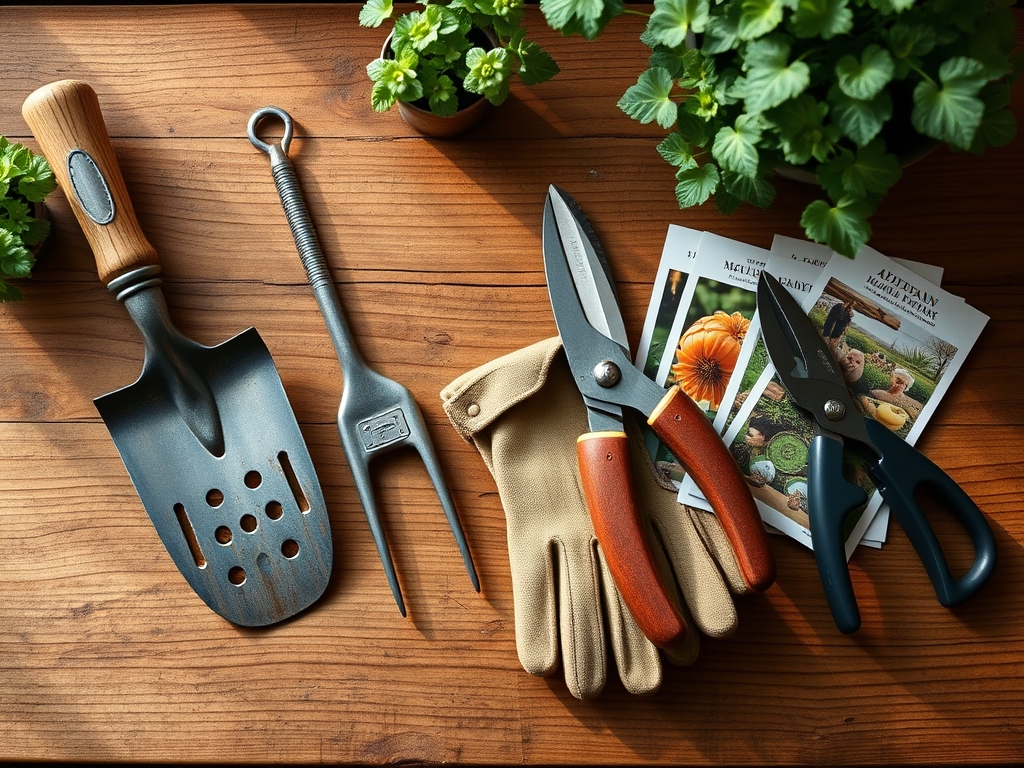
A durable garden wall requires precise hydration. Deliver 1.5 inches of water per week directly at the drip line. Avoid overhead irrigation which increases humidity and invites foliar pathogens. Use a hori-hori knife to remove deep-taproot weeds like dandelions without disturbing the structural integrity of the wall's backfill.
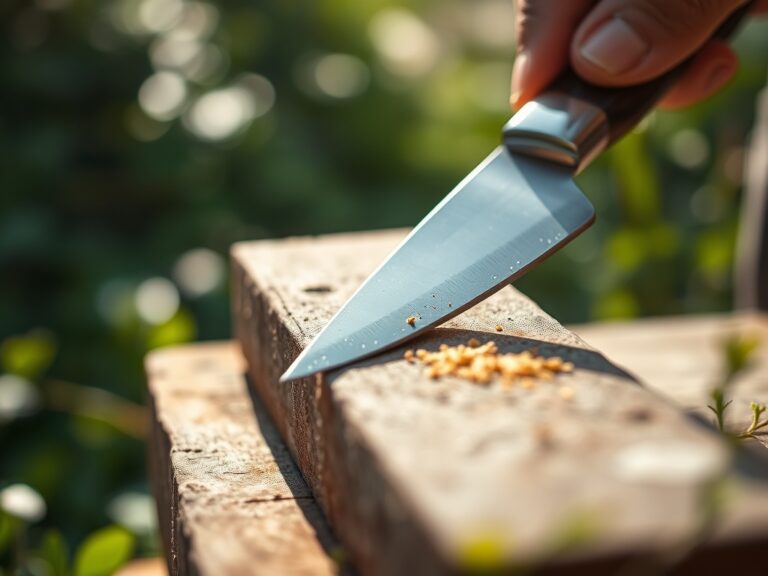
Pruning should be done with sharp bypass pruners to ensure clean cuts that callose quickly. For woody perennials located near the wall edge, prune to encourage outward growth, reducing the weight load on the masonry. Check the wall for "tilting" or "bowing" every spring. A deviation of more than 5 degrees indicates a failure in the drainage system or excessive hydrostatic pressure.
The Yield:
For those growing edibles or cut flowers within the walled structure, harvest timing is dictated by cellular sugar levels and turgor. Harvest leafy greens and herbs in the early morning when turgor pressure is at its peak. This prevents wilting and ensures the longest shelf life.
Use a sharp blade to make a clean diagonal cut, maximizing the surface area for water uptake if the plant is being moved to a vase. For fruiting crops, harvest when the "ground color" changes, indicating the conversion of starches to sugars. Post-harvest, immediately move the yield to a cool, shaded area to slow down the rate of senescence and respiration.
FAQ:
How deep should the foundation be?
For a wall up to 3 feet high, excavate a trench 12 inches deep. Fill with 6 inches of compacted angular stone. This provides a stable, non-shifting base that resists frost heave and ensures long-term structural alignment.
What is the best backfill for drainage?
Use 3/4-inch clean crushed stone. Unlike rounded pea gravel, angular stone locks together to provide structural support while maintaining a high percentage of void space. This allows water to move quickly to the drainage pipe.
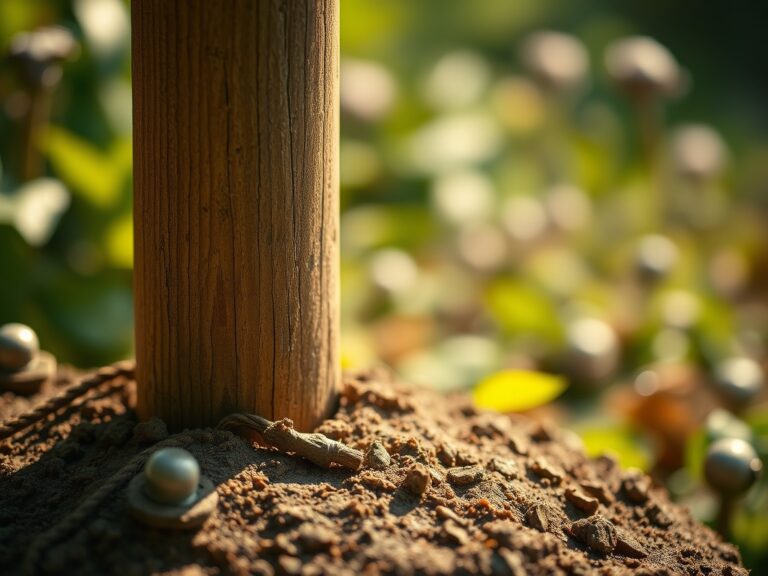
Can I build a wall with pressure-treated wood?
Yes, but use UC4B rated lumber for ground contact. Wood walls are susceptible to fungal decay over time. Ensure a heavy-duty plastic liner separates the wood from the soil to prevent chemical leaching into the rhizosphere.
Why is my wall leaning outward?
Leaning is usually caused by hydrostatic pressure. If water cannot escape through the drainage layer, it builds up behind the wall and pushes the structure forward. This often happens if the drainage pipe is clogged or absent.
How do I prevent weeds between stones?
Use polymeric sand or a high-strength mortar in the joints. For dry-stacked walls, planting "steppable" groundcovers like Thymus serpyllum can outcompete weeds while the root systems help bind the surface soil in the crevices.