8 Simple Steps to Plant Chamomile Seeds
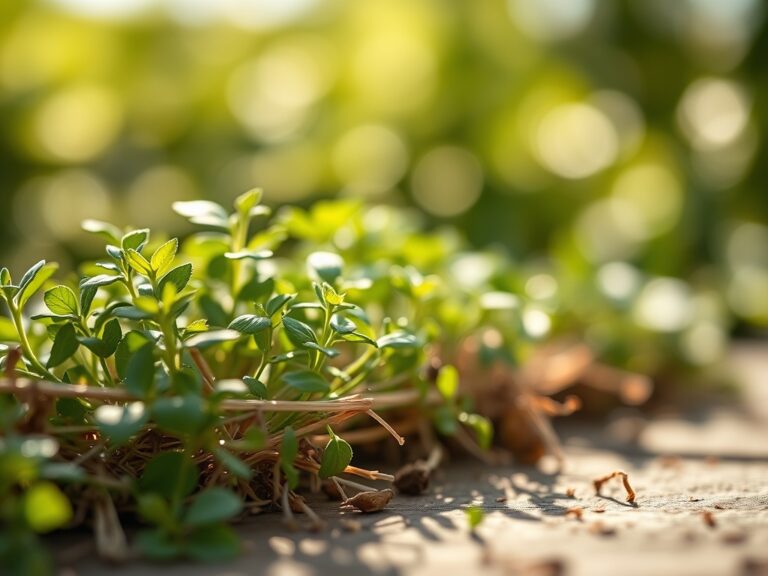
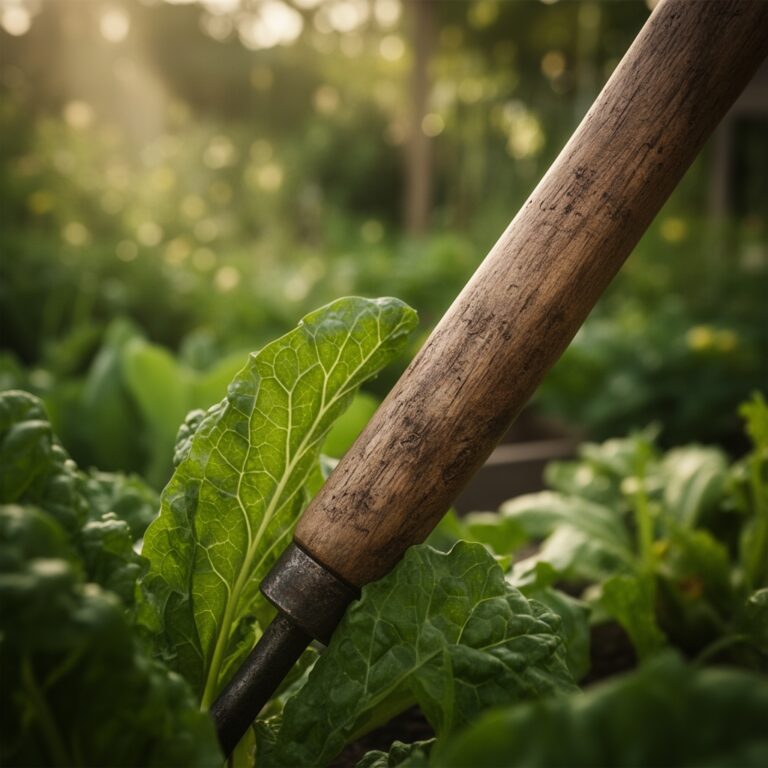
Damp earth releases a sharp, geosmin-rich scent as the soil is prepared for the first sowing. A healthy chamomile leaf exhibits high turgor pressure; it is firm to the touch and resistant to wilting under moderate heat. Mastery of the steps to plant chamomile seeds requires precise timing and an understanding of the botanical requirements of the Matricaria genus. Success depends on maintaining a consistent rhizosphere environment where moisture and light interact to trigger germination within fourteen days of initial contact.
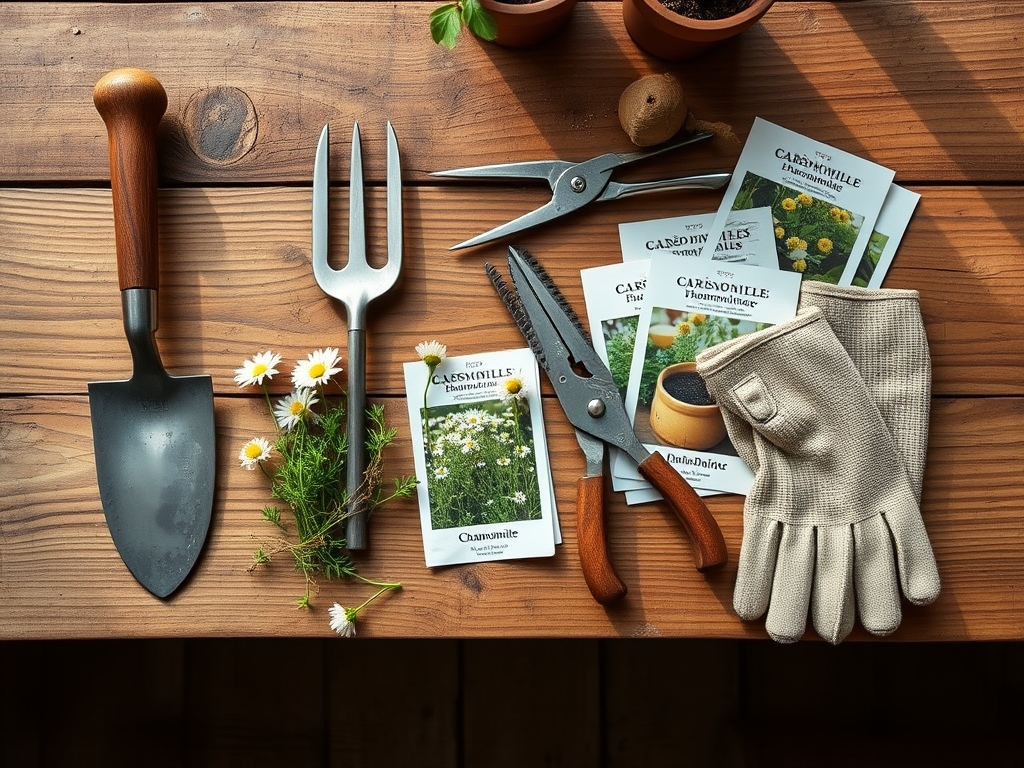
Materials:
Chamomile thrives in a **friable loam** with a gritty texture that prevents compaction. The substrate must facilitate rapid drainage while maintaining enough surface tension to hold moisture. Aim for a soil **pH between 5.6 and 7.5**. For container starts, utilize a sterile seed-starting mix with a low nutrient density to avoid salt burn on emerging radicles.
Once established, the nutritional profile should follow a 5-10-5 NPK ratio. High nitrogen levels encourage excessive vegetative growth at the expense of essential oil production in the flower heads. Incorporate organic matter to improve the Cation Exchange Capacity (CEC), ensuring the soil can retain and exchange calcium, magnesium, and potassium ions. A soil moisture meter is necessary to monitor the volumetric water content, keeping it at a steady 15 to 20 percent during the germination phase.
Timing:
German chamomile (Matricaria chamomilla) and Roman chamomile (Chamaemelum nobile) function on a strict biological clock dictated by the photoperiod. These plants are typically hardy in USDA Zones 4 through 9. Sow seeds indoors six to eight weeks before the last predicted frost date or direct sow once soil temperatures consistently reach 65 degrees Fahrenheit (18 degrees Celsius).
The transition from the vegetative stage to the reproductive stage is triggered by increasing day length. If seeds are planted too late in the season, the plant may experience premature senescence or bolt before developing a robust root system. Early spring planting ensures the plant completes its juvenile phase during the cooler months, allowing for maximum flower production as light intensity increases.
Phases:
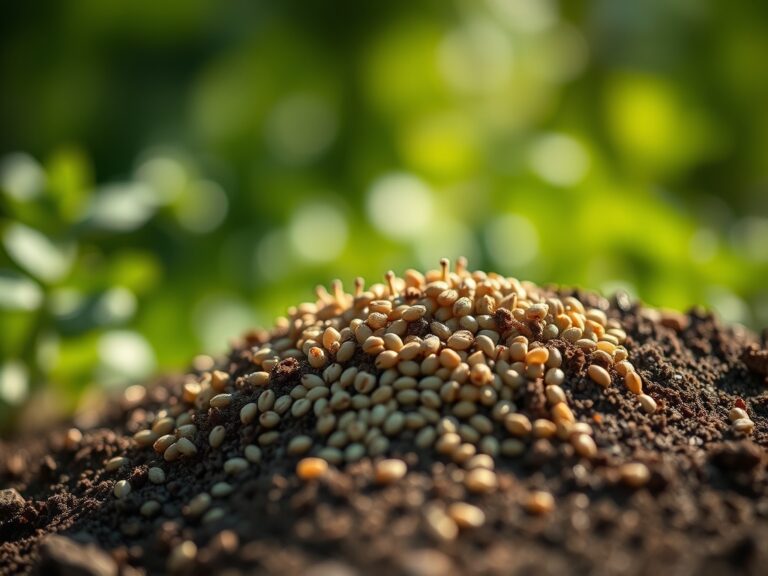
Sowing the Seeds
Chamomile seeds are photoblastic, meaning they require light to break dormancy. Do not bury them. Scatter the seeds across the surface of the moistened substrate and press them lightly to ensure soil contact. Maintain a temperature of 70 degrees Fahrenheit for optimal germination.
Pro-Tip: This method utilizes positive phototropism. By keeping the seeds on the surface, the embryos receive the specific wavelengths of light required to activate the hormonal signals that initiate growth.
Transplanting and Spacing
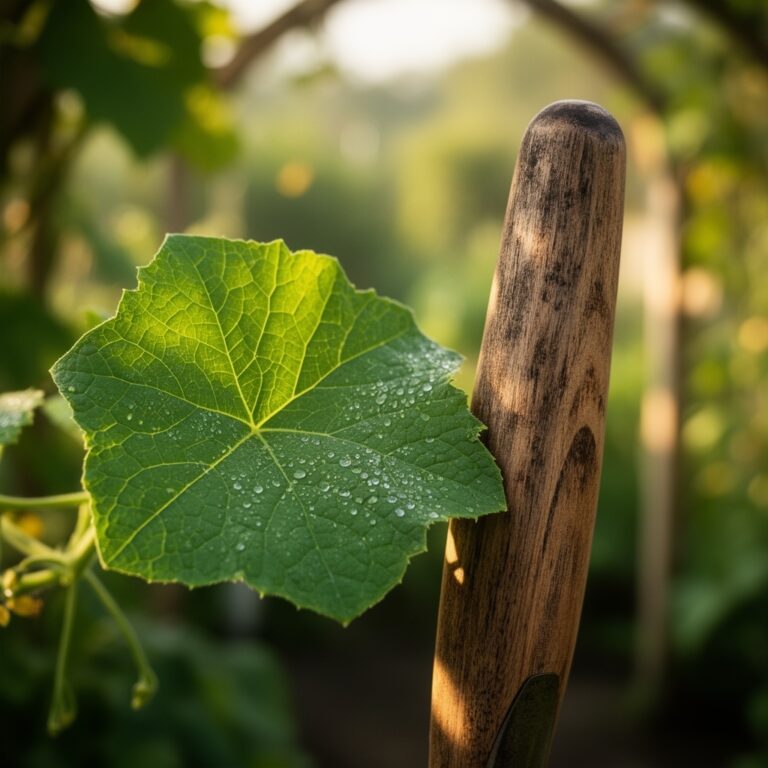
When seedlings reach two inches in height and possess at least two sets of true leaves, they are ready for the garden. Space plants 8 to 12 inches apart. Use a hori-hori knife to create a hole twice the width of the root ball to encourage lateral root expansion into the surrounding soil.
Pro-Tip: Minimize transplant shock by preserving the rhizosphere. Keeping the original soil around the roots protects the mycorrhizal symbiosis, the fungal network that assists the plant in phosphorus uptake.
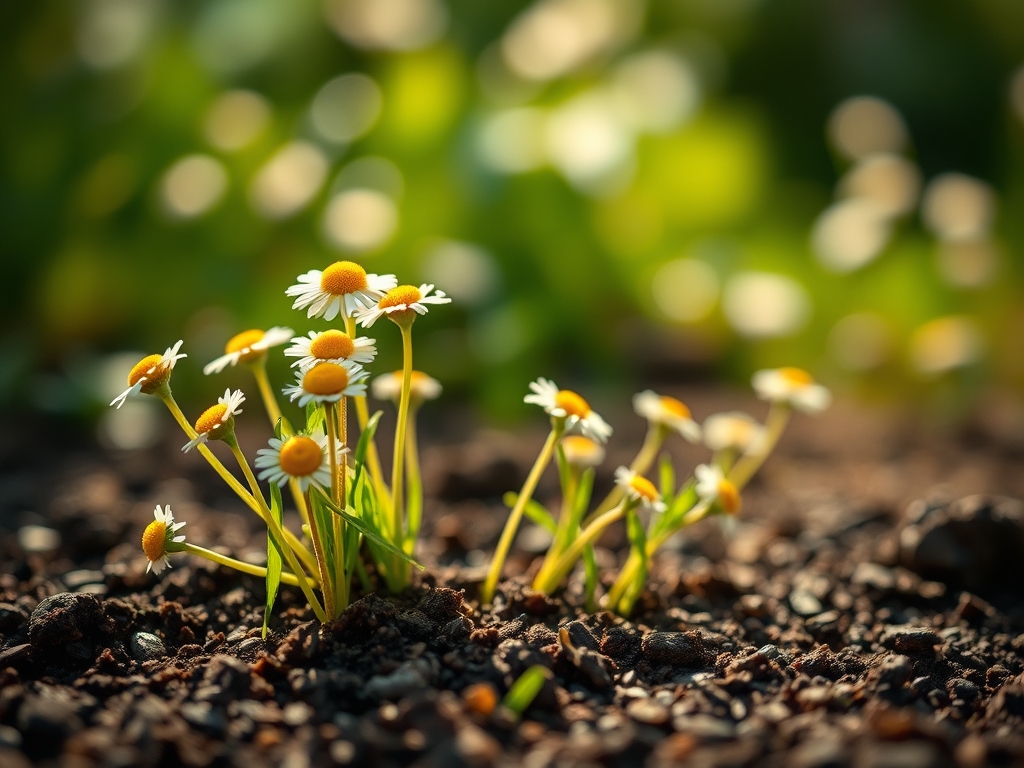
Establishing the Stand
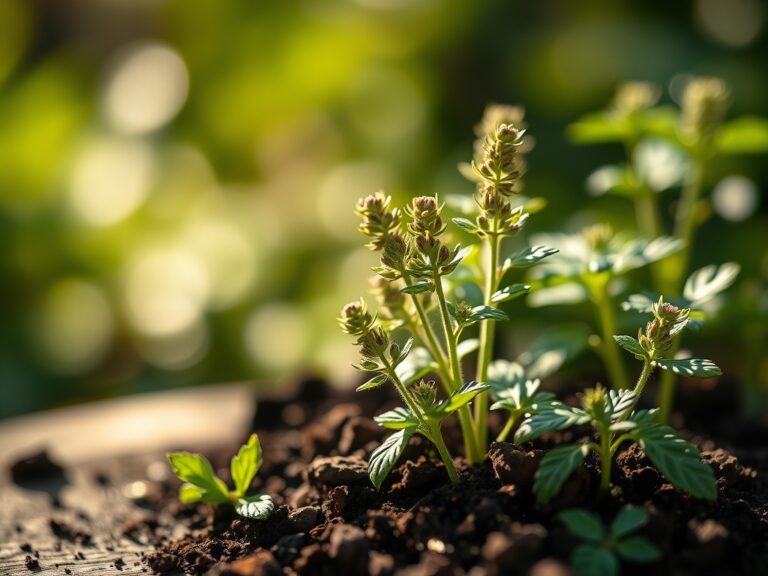
During the first three weeks post-transplant, the focus is on root development rather than upward growth. Ensure the soil remains moist but not saturated. If the plants appear leggy, they are likely receiving insufficient light, causing them to stretch toward the source.
Pro-Tip: Pinching the central leader of the plant can stimulate auxin suppression. This redirects growth hormones to lateral buds, resulting in a bushier plant with more flowering sites.
The Clinic:
Physiological disorders in chamomile often stem from environmental stressors or nutrient imbalances rather than pathogens.
- Symptom: Nitrogen Chlorosis. Older leaves turn pale yellow while veins remain slightly green.
- Solution: Apply a diluted liquid seaweed extract or a balanced organic fertilizer to restore nitrogen levels.
- Symptom: Tip Burn. The edges of young leaves turn brown and crispy.
- Solution: This often indicates a calcium deficiency or erratic watering. Maintain consistent moisture levels to ensure calcium mobility through the xylem.
- Symptom: Damping Off. Seedlings collapse at the soil line.
- Solution: Improve air circulation and reduce watering frequency. This is caused by fungal overgrowth in anaerobic soil conditions.
- Symptom: Stunted Growth. Plants remain small and fail to produce flowers.
- Solution: Check the soil pH. If the pH is below 5.5, nutrients become "locked" and unavailable to the plant. Add lime to raise the pH.
Maintenance:
Precision irrigation is the cornerstone of chamomile care. Provide 1.5 inches of water per week delivered at the drip line to avoid wetting the foliage, which can invite fungal issues. Use bypass pruners to remove spent blooms throughout the season. This prevents the plant from diverting energy into seed production, effectively extending the flowering window.
Monitor the soil regularly with a soil moisture meter. If the top two inches of soil are dry, it is time to irrigate. Mulching with a thin layer of straw can help regulate soil temperature and maintain the CEC by preventing the leaching of essential minerals during heavy rains.
The Yield:
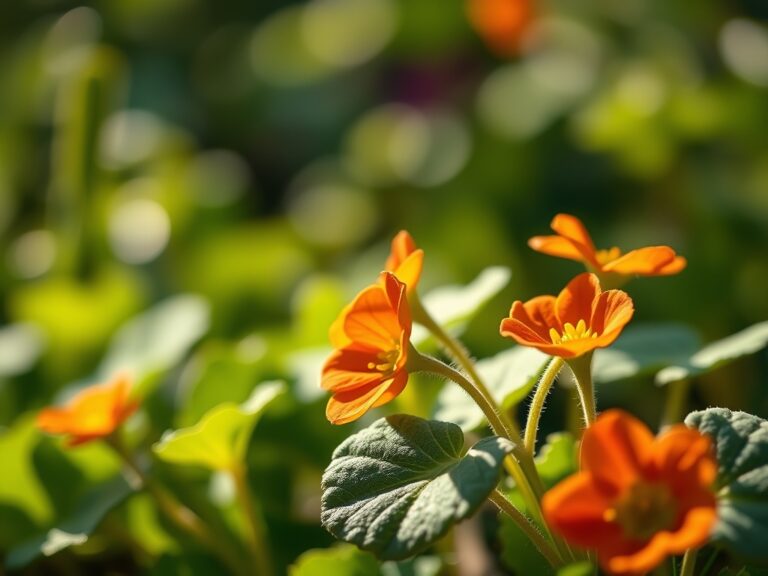
Harvesting occurs when the ray florets (the white petals) are horizontal or beginning to reflex downward. This is the point of peak essential oil concentration. Use your fingers to pop the flower heads off the stems or use a specialized chamomile rake for larger stands.
To maintain "day-one" freshness and potency, harvest in the early morning after the dew has evaporated but before the sun reaches its zenith. Spread the flowers in a single layer on a drying rack in a well-ventilated area away from direct sunlight. Once the receptacle (the yellow center) is hard and brittle to the touch, the drying process is complete. Store in airtight glass containers in a cool, dark location to prevent the degradation of volatile oils.
FAQ:
How long does it take for chamomile seeds to germinate?
Chamomile seeds typically germinate within 7 to 14 days when kept at a temperature of 70 degrees Fahrenheit. They require light to sprout; therefore, they should not be covered with soil during the planting process.
Can chamomile grow in partial shade?
While chamomile prefers full sun (at least six hours daily), it can tolerate partial shade. However, reduced light levels often lead to decreased flower production and a higher risk of leggy growth due to poor photomorphogenesis.
What is the best soil for chamomile?
The ideal soil is a well-draining, friable loam with a pH between 5.6 and 7.5. Chamomile is not a heavy feeder and can thrive in relatively poor soil, provided the drainage is sufficient to prevent root rot.
How often should I water chamomile seedlings?
Seedlings require consistently moist soil. Use a fine mist to water them daily or every other day, ensuring the surface does not dry out. Once established, transition to 1.5 inches of water per week at the base.
Why are my chamomile flowers turning brown?
Browning usually indicates the plant is reaching senescence or is suffering from heat stress. If the plant has finished its flowering cycle, harvest the remaining heads and prune the plant back to encourage a second flush of growth.