9 Clear Steps to Install a Glass Railing
Crushing a handful of friable silt loam reveals the structural integrity of your site; the damp earth smells of geosmin and active microbial respiration. This tactile feedback confirms the soil density required to support heavy structural footings. When you begin the steps to install a glass railing, you are managing load-bearing physics alongside the biological needs of the surrounding flora. High turgor pressure in nearby shrubs ensures they withstand the physical displacement of construction. A stable substrate prevents the lateral shifting that shatters tempered panels.
Success depends on the intersection of structural engineering and horticultural precision. You must calculate the Cation Exchange Capacity (CEC) of the soil surrounding your mounting points to ensure long term stability. High clay content offers superior anchoring but poor drainage; sandy soils provide drainage but require deeper concrete piers. Every measurement must be exact to the millimeter. A deviation of even two degrees in the mounting hardware will cause structural failure as the glass expands and contracts under thermal stress. This guide provides the technical protocols for integrating transparent barriers into a living landscape without compromising the rhizosphere or the aesthetic clarity of the view.
Materials:

The foundation of any structural installation begins with the soil chemistry and physical composition. For areas where railings meet the earth, the ideal substrate is a friable loam with a pH between 6.2 and 6.8. This acidity level prevents the rapid corrosion of galvanized steel anchors. You must analyze the NPK ratios of the surrounding soil to prevent nutrient runoff from affecting the glass clarity.
- Nitrogen (N): Maintain a 10-10-10 balanced ratio for surrounding turf to ensure root density without excessive succulent growth that could lean against the glass.
- Phosphorus (P): High levels (above 50 ppm) are necessary for root initiation near the base of the railing posts to prevent soil erosion.
- Potassium (K): Essential for cellular wall strength; keep levels at 150 to 200 ppm to help plants resist the wind tunnels often created by glass barriers.
The physical texture must be granular enough to allow a CEC of 15 to 25 milliequivalents per 100 grams. This ensures the soil holds enough moisture to stay compacted around the footings without becoming anaerobic. Use a soil moisture meter to verify that the installation zone maintains a consistent 25 percent volumetric water content before you begin digging.
Timing:
Installation must align with the local Hardiness Zones and the biological clock of your garden. In Zones 5 through 8, the primary window for installation is during the dormant season or early spring before the "bud break" stage. This timing prevents the disruption of the plant's transition from vegetative to reproductive stages.
Avoid installation during periods of active senescence in late autumn, as the lack of root activity makes the soil more prone to shifting. The ideal ambient temperature for setting glass anchors is between 50 and 75 degrees Fahrenheit. High heat causes metal spigots to expand, while extreme cold makes the glass brittle and difficult to seat in the gaskets. Monitor the photoperiod; shorter days in late autumn can slow the curing process of any concrete or epoxy used in the mounting phase.
Phases:

Sowing the Foundation
The first of the steps to install a glass railing is the excavation of the mounting points. Use a hori-hori knife to cleanly cut through any competing root systems rather than tearing them. Dig holes to a depth of 36 inches or below the local frost line to prevent heave.
Pro-Tip: Respect the rhizosphere. When digging near established trees, avoid cutting any roots larger than two inches in diameter. This prevents the suppression of auxins, which are growth hormones that regulate the tree's structural stability and canopy balance.
Transplanting Hardware
Once the holes are prepped, install the stainless steel spigots or base channels. These must be leveled using a laser level to a tolerance of 0.5 millimeters. Secure them with high-strength non-shrink grout.
Pro-Tip: Utilize mycorrhizal symbiosis by inoculating the disturbed soil around the posts with beneficial fungi. This biological intervention helps the soil re-aggregate quickly, providing a natural "bio-anchor" that supplements the mechanical hardware.
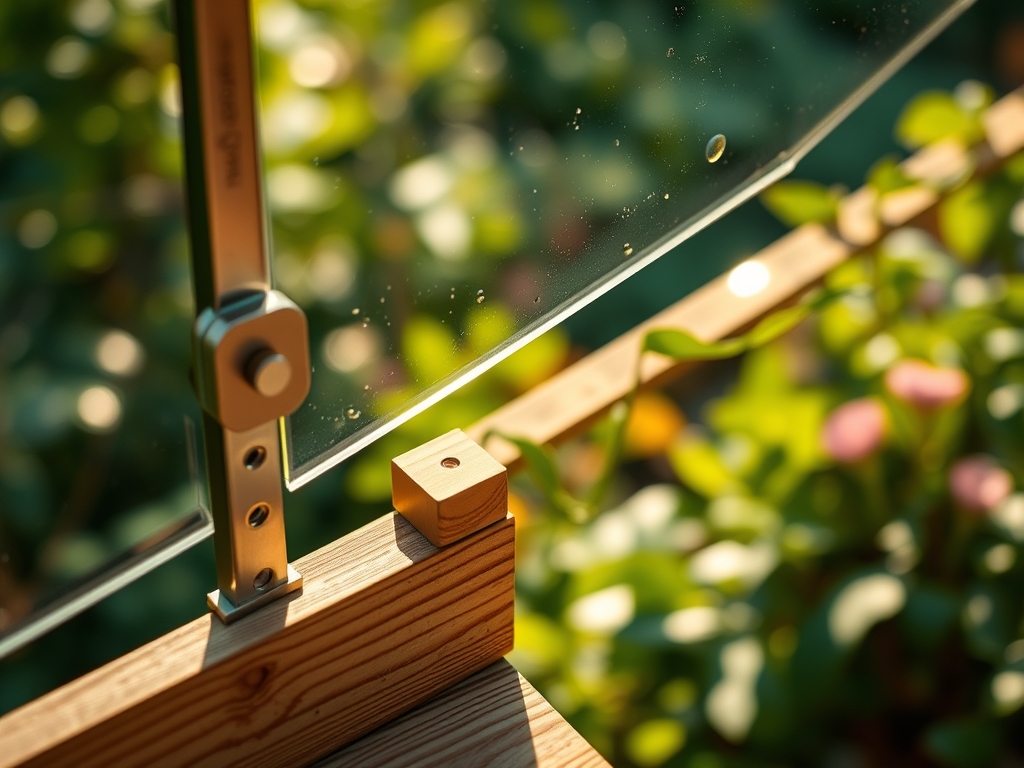
Establishing the Barrier
Carefully lower the 12mm tempered glass panels into the spigots. Use rubber gaskets to prevent direct glass-to-metal contact. Tighten the pressure plates to the manufacturer's specified foot-pounds of torque.
Pro-Tip: Consider phototropism. Glass railings can reflect sunlight onto nearby foliage, causing localized heat stress. Monitor the "light bounce" and adjust the planting plan to include heat-tolerant species in the reflection zone to prevent leaf scorch.
The Clinic:
Physiological disorders in the landscape often manifest after structural changes. Watch for these symptoms near your new railing:
- Nitrogen Chlorosis: If leaves near the railing turn yellow while veins stay green, the soil pH may have spiked due to concrete leaching. Fix-It: Apply elemental sulfur to lower the pH to 6.5.
- Etiolation: Plants becoming leggy and pale. This occurs if the glass is tinted, reducing the Photosynthetically Active Radiation (PAR). Fix-It: Prune overhanging branches to increase light penetration.
- Leaf Scorch: Brown, crispy edges on leaves. This is caused by the "magnifying glass effect" of the railing. Fix-It: Increase irrigation to 2.0 inches per week to maintain turgor.
- Root Rot: Stunted growth and wilting. Often caused by soil compaction during installation. Fix-It: Use a garden fork to aerate the soil to a depth of 8 inches around the railing base.
Maintenance:
Post-installation care requires technical discipline. Apply 1.5 inches of water per week at the drip line of any plants within three feet of the railing. Use a soil moisture meter every 48 hours for the first month to ensure the new drainage patterns are not drowning the root zones.
Clean the glass using a solution of distilled water and acetic acid (vinegar) at a 5 percent concentration. Avoid ammonia-based cleaners, as the runoff can alter the soil pH and damage delicate root hairs. Use bypass pruners to maintain a 6-inch clearance between any foliage and the glass surface. This prevents physical abrasion and reduces the risk of fungal spores transferring from the leaves to the hardware.
The Yield:
If your railing borders a kitchen garden or cutting bed, the "yield" is the increased thermal mass provided by the glass. The panels act as a cold frame, trapping heat and extending the growing season by up to four weeks. Harvest herbs and flowers during the early morning when turgor pressure is at its peak. Use a sharp blade to make clean vascular cuts, ensuring the plants can seal the wound before the midday heat. For flowers, plunge the stems immediately into 100-degree Fahrenheit water to maximize hydration and preserve "day-one" freshness.
FAQ:
How deep should the footings be for a glass railing?
Footings must reach below the local frost line, typically 36 to 42 inches. This prevents soil heave from displacing the glass. Ensure the diameter is at least three times the post width for maximum lateral stability.
Can I install glass railings near saltwater pools?
Yes, but you must use Grade 316 stainless steel to resist chloride-induced pitting. Rinse the hardware weekly with fresh water to prevent salt accumulation, which can leach into the soil and cause osmotic stress in plants.
Does glass railing affect plant growth?
Glass can increase the local temperature through reflection and the "greenhouse effect." Monitor for heat stress and etiolation. You may need to increase irrigation frequency to compensate for the higher evaporation rates near the panels.
What is the best glass thickness for outdoor railings?
Standard residential installations require 12mm (1/2 inch) tempered glass. This thickness provides the necessary structural rigidity to withstand wind loads and accidental impacts while maintaining the safety standards required by most local building codes.