7 Drainage Steps to Prepare a Rockery Herb Garden
Rock gardens challenge conventional drainage wisdom. Most herb roots rot in compacted clay or waterlogged soil, but when you learn how to prepare a garden for a rockery herb garden, you engineer a micro-ecosystem that mimics the scree slopes of Mediterranean mountains. The scent of crushed thyme underfoot, the silver fuzz of lavender catching morning dew, and the resinous bite of rosemary all depend on one invisible factor: water moving downward at the right speed.
Materials
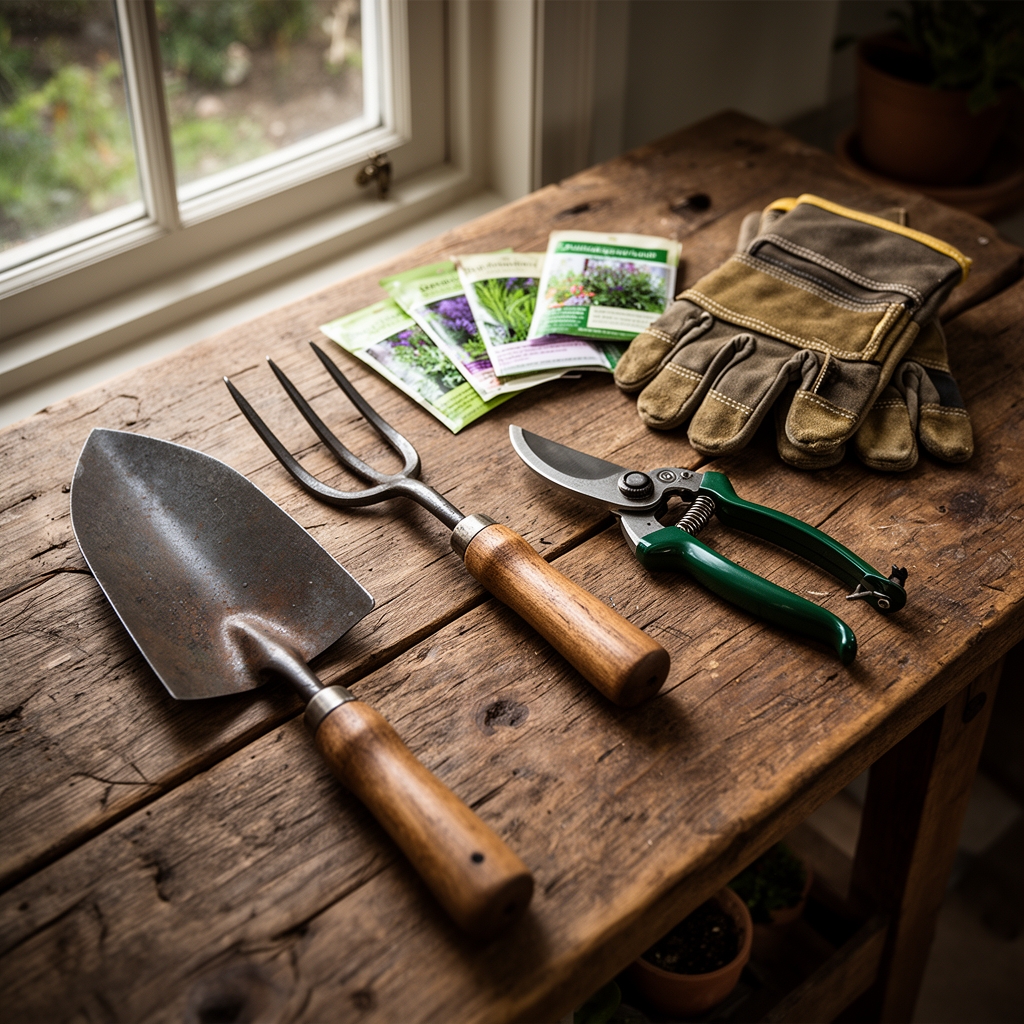
Gather angular crushed stone in 3/8-inch to 3/4-inch diameter. Avoid rounded river rock; angular edges lock together and prevent settling. Source coarse builder's sand with grain size between 0.5 mm and 2 mm. Fine sand compacts and creates drainage barriers.
For organic matter, use aged compost at a 1:4 ratio with native soil. Test your base soil pH. Most rockery herbs thrive between 6.5 and 7.5 pH. If your soil reads below 6.0, incorporate dolomitic limestone at 5 pounds per 100 square feet. Above 7.5, add elemental sulfur at 1 pound per 100 square feet.
Select a balanced organic fertilizer rated 4-4-4 or 5-5-5. Avoid high-nitrogen blends exceeding 10-5-5; excess nitrogen produces leggy growth and diminishes essential oil concentration in culinary herbs. Mycorrhizal fungi inoculant increases root surface area by 100 to 1,000 times. Purchase species-specific blends containing Glomus intraradices for Mediterranean herbs.
Acquire landscape fabric with a permeability rating above 100 gallons per square foot per minute. Geotextile fabric prevents weed intrusion without blocking water movement.
Timing
Plan installation during your hardiness zone's shoulder season. Zones 3-5 should complete rockery construction between late April and mid-May, after the final frost date but before summer heat stress. Zones 6-8 can work from mid-March through April or resume in September through October. Zones 9-11 should avoid June through August; instead, prepare beds from October through February when soil workability peaks.
Wait 14 days after construction before planting. This settling period allows soil particles to stabilize and eliminates air pockets that cause root desiccation.
Phases
Step One: Excavation to Bedrock or Hardpan
Remove existing sod and soil to a depth of 18 inches. If you encounter bedrock or clay hardpan at shallower depths, stop excavation. Mark the perimeter with stakes at 6-inch intervals. Slope the excavated floor at a 2 percent grade away from structures. This equals a 1-inch drop per 4 feet of horizontal distance.
Pro-Tip: Use a 4-foot level and wooden shims to verify grade. Place the level on the excavated floor, lift one end until the bubble centers, then measure the shim height.
Step Two: Coarse Drain Layer Installation
Spread 6 inches of crushed stone across the excavated floor. Compact with a hand tamper or plate compactor until the layer measures 4 inches. This 33 percent compression ratio indicates proper consolidation. Install perforated 4-inch drain pipe along the lowest grade line if your soil has a clay content above 40 percent. Connect the pipe to a daylight outlet or dry well located at least 10 feet from the rockery.
Pro-Tip: Wrap drain pipe in geotextile fabric before burial. This prevents silt intrusion that clogs perforations within three growing seasons.
Step Three: Sand and Soil Blend Creation
Combine 2 parts excavated native soil, 1 part coarse sand, and 1 part aged compost in a wheelbarrow. Mix until color appears uniform. This 50 percent mineral, 25 percent sand, 25 percent organic ratio provides the cation exchange capacity herbs need while maintaining drainage velocity above 2 inches per hour.
Spread the blend over the compacted stone layer to a depth of 10 inches. Rake level, then water with 1 inch of irrigation. Allow 48 hours for settlement.
Step Four: Rock Placement and Auxin Distribution
Select rocks weighing 20 to 100 pounds. Bury the bottom third of each stone. Tilt stones backward at a 10-degree angle to direct rainwater toward plant root zones rather than downslope. Space rocks to create planting pockets measuring 12 to 18 inches in diameter.
Pro-Tip: Dust each planting pocket with mycorrhizal inoculant at a rate of 1 teaspoon per pocket before transplanting. Physical contact between fungal spores and root hairs is essential for colonization.
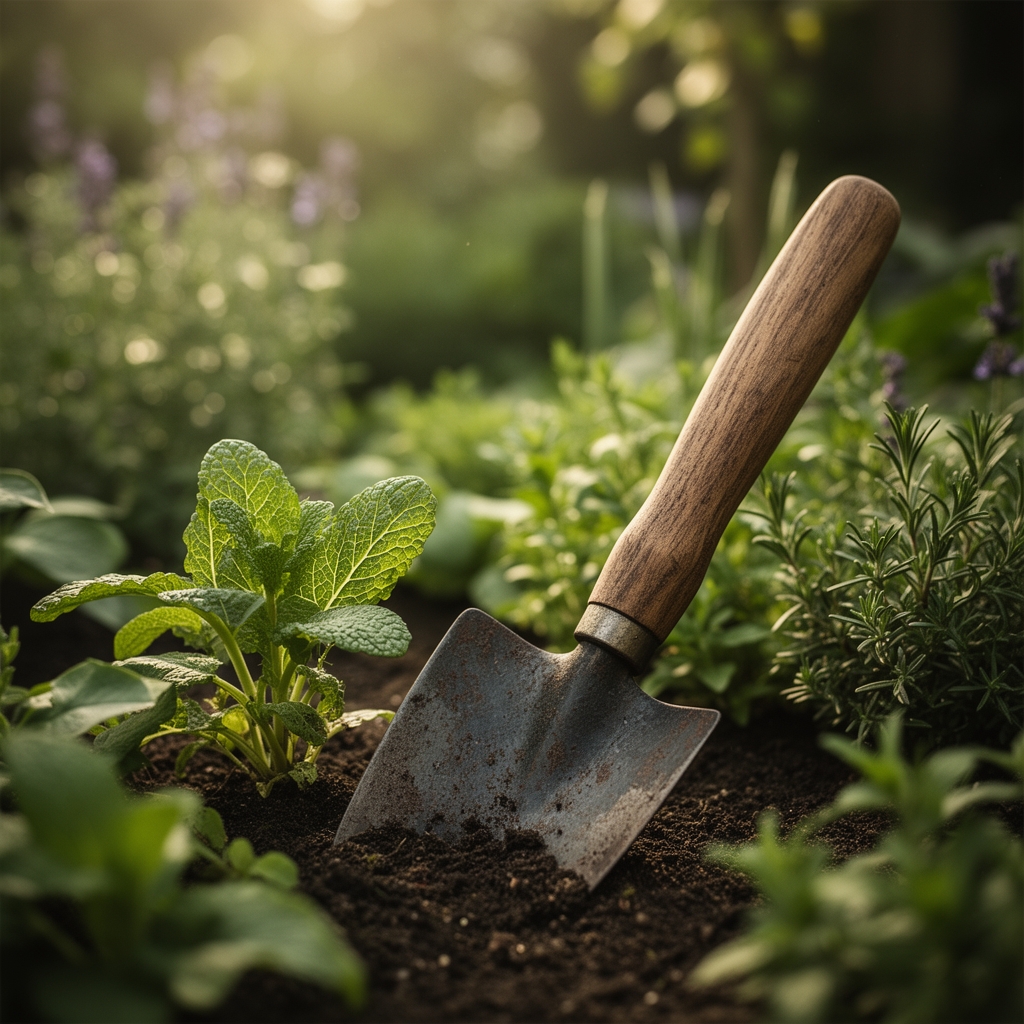
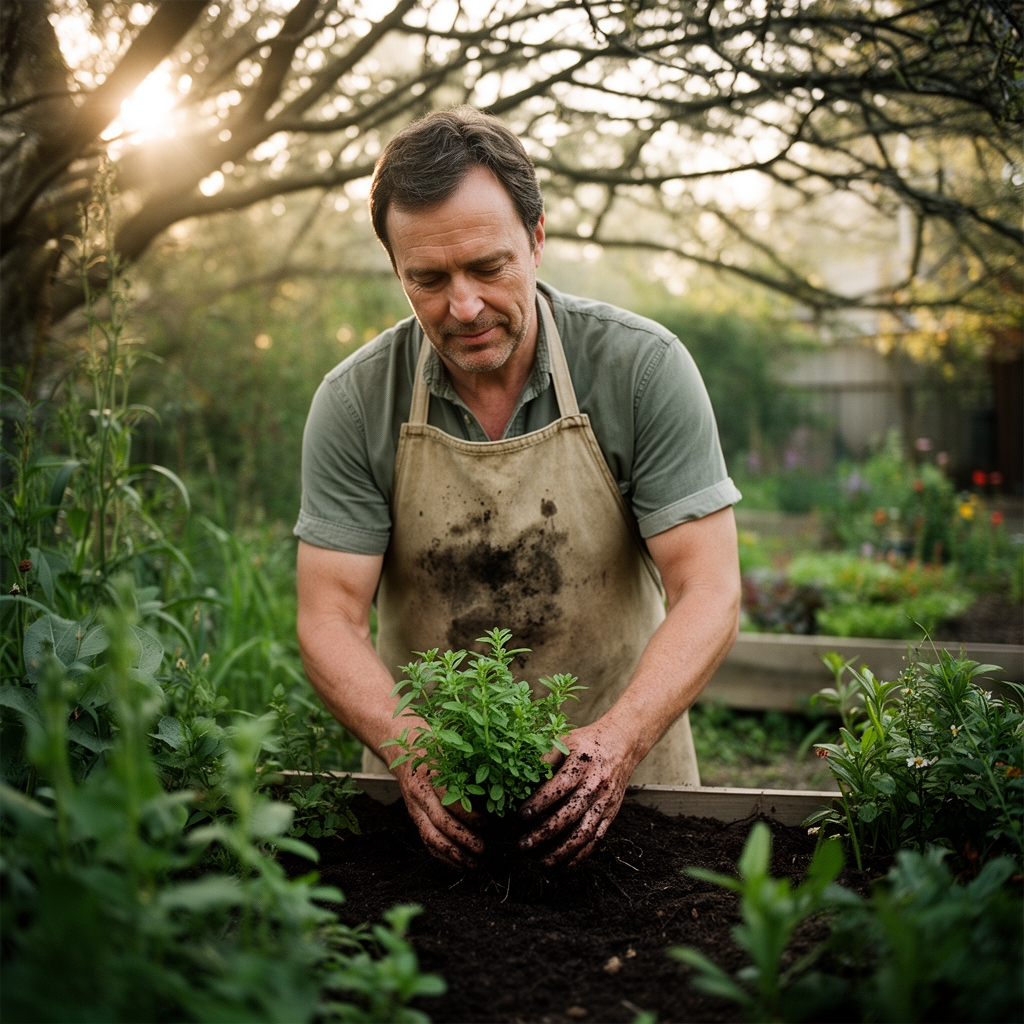
Step Five: Herb Transplanting Protocol
Water transplants 2 hours before removal from nursery pots. This hydrates cell walls and reduces transplant shock. Dig planting holes 1 inch shallower than root ball height. Position the crown above grade to prevent stem rot. Backfill with the soil blend, then water with 0.5 inches of irrigation.
Step Six: Mulch Layer Application
Apply 2 inches of crushed granite or pea gravel around each herb. Keep mulch 2 inches away from stems. Stone mulch reflects heat onto lower leaves, increases essential oil production by 15 to 30 percent, and suppresses annual weed germination by blocking light.
Step Seven: Initial Irrigation Cycle
Water daily for the first week, delivering 0.25 inches per session. Reduce frequency to every 3 days during week two. By week three, transition to the maintenance schedule.
Troubleshooting
Symptom: Yellow lower leaves with green veins on lavender or sage.
Solution: Iron chlorosis from alkaline soil. Apply chelated iron at 1 tablespoon per gallon of water as a soil drench.
Symptom: Wilting despite moist soil and blackened root tips.
Solution: Phytophthora root rot from poor drainage. Remove affected plants, excavate planting pocket to 6 inches deeper, add 3 inches of crushed stone, and replant with resistant species like prostrate rosemary.
Symptom: White cottony masses on stems of santolina or artemisia.
Solution: Mealybug infestation. Spray with insecticidal soap at 2 percent concentration every 5 days for 3 applications.
Symptom: Spindly growth and pale foliage despite adequate light.
Solution: Nitrogen deficiency. Side-dress with blood meal (12-0-0) at 1 tablespoon per plant or apply fish emulsion at half-strength weekly for one month.
Maintenance
Water established rockery herbs when the top 3 inches of soil feel dry to touch. This typically occurs every 7 to 10 days in Zones 5-7 and every 5 days in Zones 8-10. Deliver 1 inch of water per session, measured with a rain gauge.
Prune woody herbs like thyme and oregano after flowering, removing one-third of total stem length. Cut at a 45-degree angle 1/4 inch above a leaf node to promote auxin distribution and lateral branching.
Apply 4-4-4 organic fertilizer at 1/4 cup per plant in early spring and again after harvest. Broadcast evenly around the drip line, then water with 0.5 inches of irrigation.
FAQ
How deep should drainage layers be in clay soil?
Increase the crushed stone layer to 8 inches when clay content exceeds 40 percent. Compact to 6 inches final depth.
Can I use perlite instead of sand?
No. Perlite floats during watering and degrades into silt within two seasons. Coarse sand remains stable.
When do I divide rockery herbs?
Divide perennials like thyme and oregano every 3 to 4 years in early spring when new growth reaches 2 inches tall.
What NPK ratio suits Mediterranean herbs?
Use balanced 4-4-4 or 5-5-5 formulas. Avoid nitrogen levels above 10 percent, which reduce drought tolerance.
How do I prevent winter drainage problems?
Reduce irrigation by 50 percent after the first frost. Ice lenses form when soil moisture exceeds 30 percent during freeze-thaw cycles.