8 Steps to Prepare for a New Garden Fence
The scent of damp, disturbed earth signals the start of a structural overhaul. When the turgor pressure of your perennials is at its peak in the early morning, you must begin the physical labor of clearing the perimeter. Learning how to prepare a garden for a fence requires more than simple digging; it demands a surgical understanding of the rhizosphere and the structural integrity of the soil. You are not just installing a barrier. You are managing a living ecosystem that will be disrupted by post-hole augers and foot traffic. Proper preparation ensures that the soil compaction caused by construction does not lead to root asphyxiation or long term drainage failures. Every shovel turn must be calculated to preserve the cation exchange capacity of the topsoil while providing a stable foundation for the fence posts. Failure to prep the site correctly results in leaning panels and dying specimen plants within two seasons.
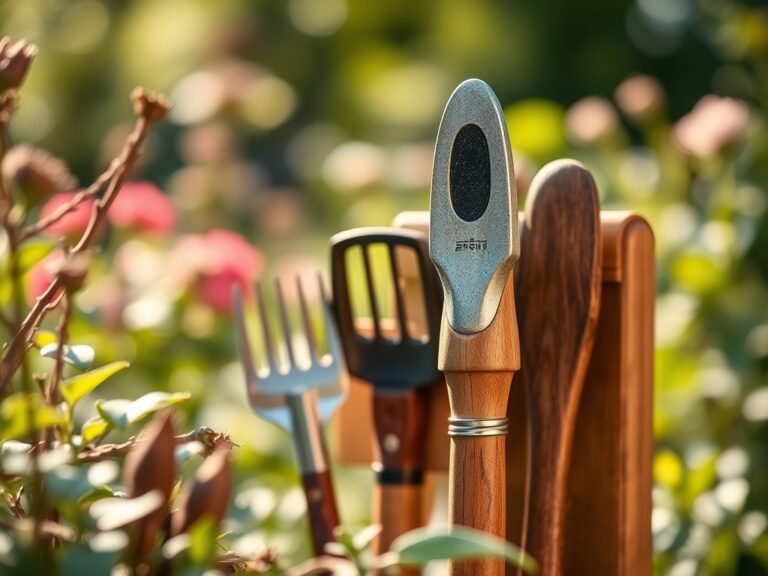
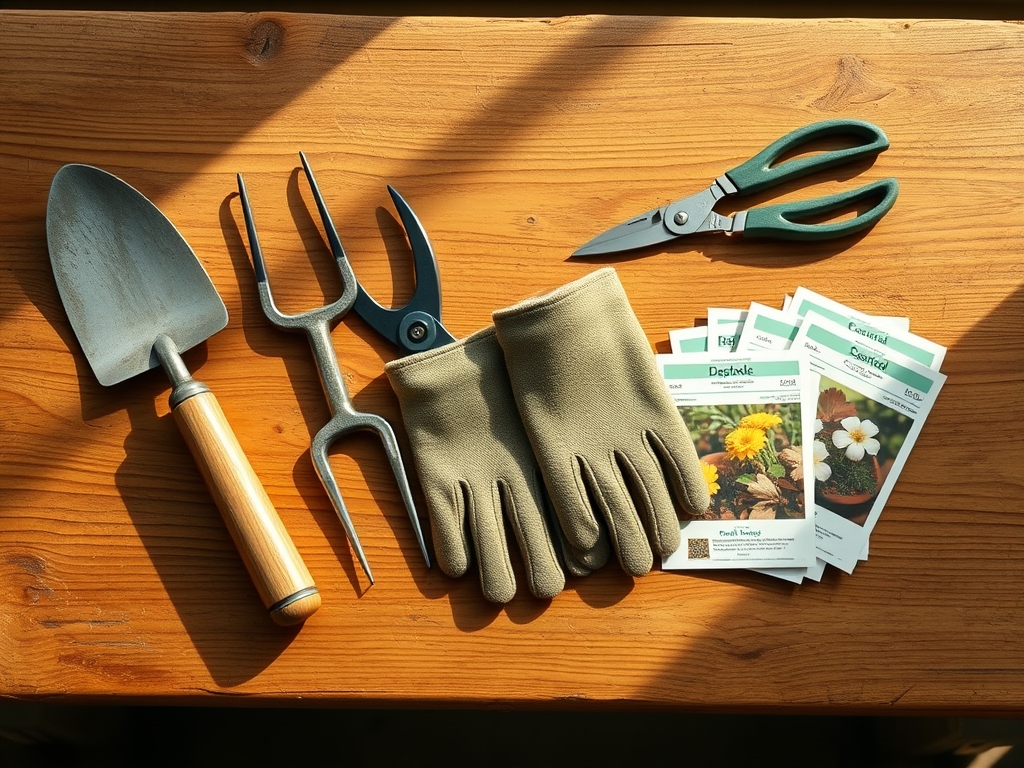
Materials:
Before the first post is set, you must analyze the substrate. The ideal soil for a garden border is a **friable loam** consisting of approximately 40 percent sand, 40 percent silt, and 20 percent clay. This balance allows for optimal pore space and oxygen diffusion.
To replenish the area after the disturbance of fence installation, stock the following amendments:
- Nitrogen (N): Use a 10-0-0 organic meal to support vegetative regrowth in disturbed root zones.
- Phosphorus (P): Apply a 0-20-0 triple superphosphate at the base of transplanted shrubs to stimulate rapid root elongation.
- Potassium (K): Maintain a 0-0-50 sulfate of potash to regulate osmotic pressure and cold hardiness.
- Soil pH: Target a range of 6.2 to 6.8 for most temperate ornamentals. If the pH is below 5.5, apply calcitic lime at a rate of 50 pounds per 1,000 square feet.
Timing:
The biological clock of your garden dictates the window for fence preparation. In USDA Hardiness Zones 5 through 7, the ideal time for site preparation is late winter or early spring, specifically 4 to 6 weeks before the average last frost date. This timing ensures that deciduous plants are in dormancy, reducing the risk of transplant shock.
For gardeners in Zones 8 through 10, autumn is the superior window. This allows the root systems of perimeter plants to establish during the winter months when transpiration rates are low. You must monitor the photoperiod; as days shorten, plants shift energy from foliage production to root carbohydrate storage. Avoid heavy excavation during the peak reproductive stage (flowering), as the plant's hormonal balance is focused on seed production rather than surviving root trauma.
Phases:

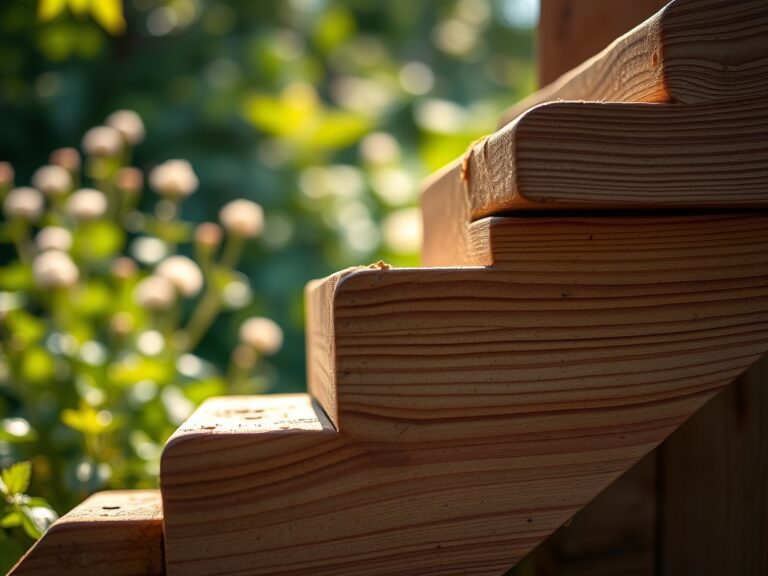
Sowing the Perimeter
If you are planting a "living fence" or a screen alongside a new wooden structure, sow seeds for climbing annuals or hedge-starters once the soil temperature reaches a consistent 55 degrees Fahrenheit. Use a soil moisture meter to ensure the top two inches remain at 70 percent field capacity.
Pro-Tip: Utilize the concept of Phototropism. When sowing near a solid fence, realize that the structure will create a "rain shadow" and a light deficit. Position seeds at least 12 inches away from the fence line to prevent the seedlings from leaning excessively toward the light source, which weakens the primary stem.
Transplanting Established Specimens
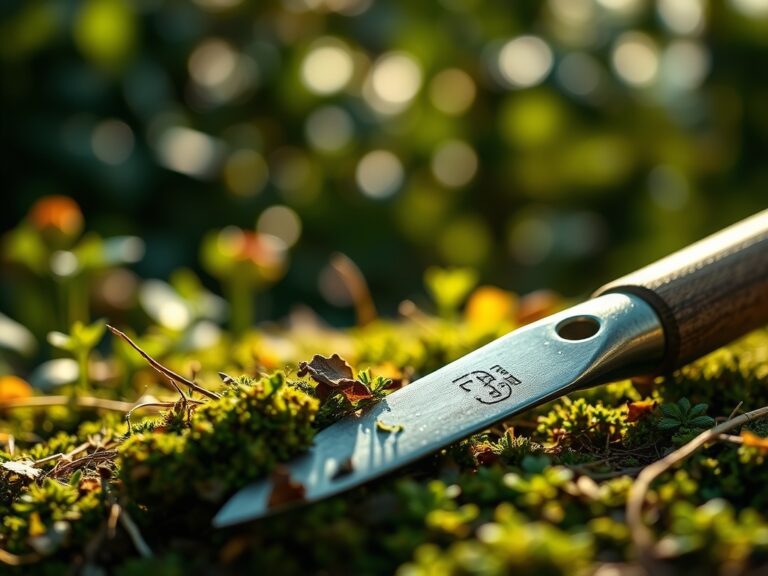
Existing perennials must be moved at least three feet back from the fence line to allow for the installer's "work zone." Dig a root ball that is two times the width of the plant's current canopy. Use a hori-hori knife to cleanly sever circling roots, which prevents girdling.
Pro-Tip: This phase relies on Auxin Suppression. When you prune the roots during a transplant, the plant temporarily stops producing auxins in the shoot tips. This shift signals the plant to divert energy to the root system to recover, a process vital for survival during the construction phase.
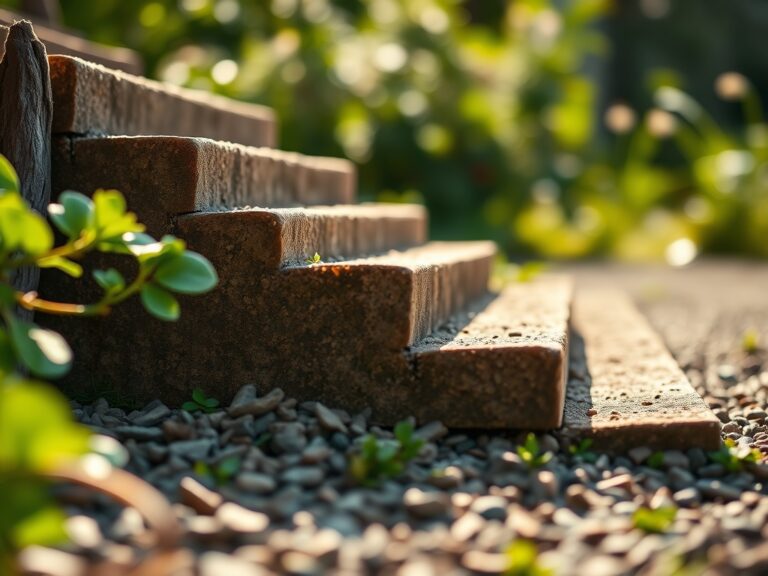
Establishing the Buffer Zone
Once the fence is in place, the soil will be compacted. Use a broadfork to aerate the ground without flipping the soil profile. This preserves the mycorrhizal symbiosis already present in the lower horizons. Reintroduce organic matter to restore the Cation Exchange Capacity (CEC), ensuring the soil can hold onto essential nutrients like Calcium and Magnesium.
Pro-Tip: Mycorrhizal Symbiosis is the "Biological Why" here. By minimizing soil inversion during fence prep, you keep fungal networks intact. these fungi extend the reach of plant roots by up to 100 times, allowing for better phosphorus uptake in the high-stress environment of a new construction site.
The Clinic:
Physiological disorders often arise during the stress of garden renovation. Monitor your plants for these specific symptoms:
- Symptom: Interveinal chlorosis (yellow leaves with green veins) on new growth.
- Solution: This indicates Iron deficiency, often caused by a pH above 7.0. Apply chelated iron to the rhizosphere.
- Symptom: Marginal leaf burn or "scorching" on older foliage.
- Solution: This is a sign of Potassium deficiency or high salinity from concrete runoff. Flush the soil with 2 inches of water to leach salts.
- Symptom: Stunted growth and purple tinting on the underside of leaves.
- Solution: Phosphorus deficiency caused by cold soil (below 50 degrees). Apply a high-P liquid starter fertilizer.
- Symptom: Wilting despite moist soil.
- Solution: Root Asphyxiation due to soil compaction from fence installers. Use a core aerator to restore oxygen flow to the roots.
Maintenance:
Post-fence installation maintenance requires precision. Provide exactly 1.5 inches of water per week delivered at the drip line via a soaker hose to avoid wetting the new fence boards, which can lead to fungal rot. Use bypass pruners to remove any branches that rub against the fence; these "mechanical wounds" are entry points for pathogens.
Check the soil every three days with a soil moisture meter. If the meter reads below 30 percent at a depth of 4 inches, an immediate deep-watering cycle is required. Apply a 3-inch layer of arborist wood chips to the fence line to suppress weeds and maintain soil thermoregulation, keeping the root zone at a stable 65 to 70 degrees Fahrenheit.
The Yield:
If your fence supports edible climbers like espaliered fruit trees or pole beans, timing the harvest is critical for "day-one" freshness. Harvest beans when they reach turgid maturity but before the seeds bulge in the pod. For fruit, monitor the Brix level (sugar content) using a refractometer.
Post-harvest, immediately submerge the produce in a 40-degree water bath to remove "field heat." This slows the rate of senescence (cellular aging) and preserves the crisp texture. For woody ornamentals along the fence, prune only after the first hard frost to ensure the plant has entered full dormancy.
FAQ:
How close can I plant to a new fence?
Maintain a minimum distance of 12 to 18 inches from the fence. This allows for airflow, prevents moisture-related rot on the fence boards, and provides the plant's root system enough space to expand without hitting the concrete footings.
Should I remove all plants before the fence is installed?
Only remove plants within a 3-foot radius of the fence line. This "construction corridor" prevents trampling and soil compaction by workers. Use a hori-hori knife to cleanly transplant smaller specimens into temporary pots or a nursery bed.
How do I fix soil compacted by fence installers?
Use a broadfork or core aerator to penetrate the soil to a depth of 6 inches. Do not turn the soil; simply create air channels. Top-dress with 1 inch of compost to reintroduce beneficial microbes and improve the CEC.
Will concrete fence footings affect my soil pH?
Yes. Concrete leaches lime, which can raise the pH of the surrounding soil above 7.5. Monitor the area for Iron chlorosis. If the pH rises too high, apply elemental sulfur to bring it back to the 6.5 range.