10 Strategic Steps to Plant a Windbreak Forest
The smell of damp earth and the cold weight of a saturated root ball are the primary indicators of a successful planting season. When the wind shears across open land, it strips away topsoil and reduces the turgor pressure within plant cells, leading to stunted growth or desiccation. Establishing a functional barrier requires more than just digging holes. You must execute precise steps to plant a windbreak forest to ensure long-term structural integrity. This process involves calculating aerodynamic porosity and selecting species that can withstand mechanical stress while maintaining high photosynthetic efficiency. A properly designed windbreak can reduce wind speeds for a distance up to thirty times the height of the tallest trees. Success depends on the biological synchronization of the rhizosphere with the local mineral profile. By following a rigorous scientific framework, you transform a vulnerable landscape into a resilient ecosystem capable of moderating microclimates and protecting sensitive crops or structures from thermal loss.
Materials:
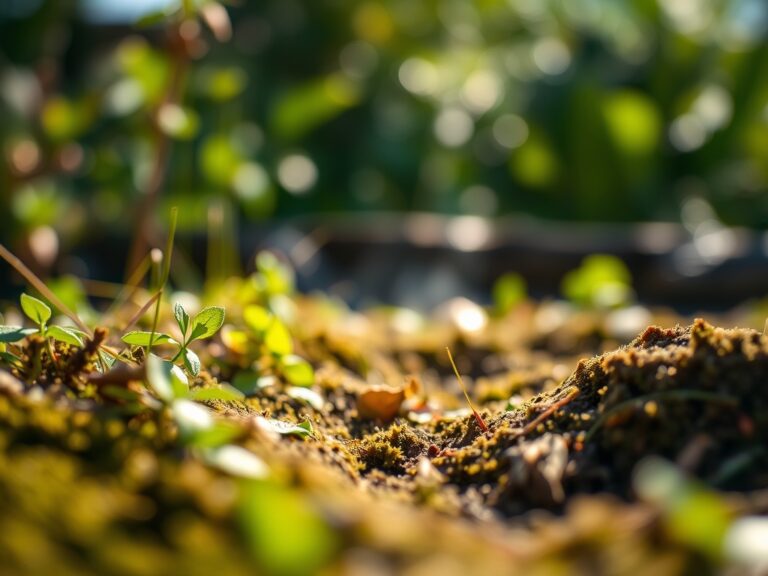
The foundation of a windbreak is the soil substrate. You require a **friable loam** with a balanced pore space to facilitate gas exchange. The ideal soil pH for a mixed coniferous and deciduous windbreak ranges from **5.5 to 7.0**. If your soil is highly alkaline (pH above 7.5), iron and manganese become chemically locked, leading to interveinal chlorosis.
For initial establishment, focus on a low-nitrogen, high-phosphorus starter fertilizer with an NPK ratio of 5-10-5. This ratio prioritizes root architecture over rapid apical extension. High nitrogen levels during the first year can lead to "leggy" growth that lacks the structural lignin necessary to survive high-velocity gusts. You must also account for the Cation Exchange Capacity (CEC) of your site. Soils with a CEC above 15 milliequivalents per 100 grams (meq/100g) retain nutrients more effectively, whereas sandy soils with a CEC below 5 require frequent, low-dose fertigation to prevent leaching.
Timing:
Timing is dictated by the Biological Clock of the specific species and your local USDA Hardiness Zone. For Zones 3 through 6, the window for planting opens as soon as the frost leaves the ground but before the buds reach the "green tip" phenological stage. This usually occurs between late March and early May. In warmer Zones 7 through 9, autumn planting is superior. This allows the root system to establish during the dormant season when transpiration rates are low.
The transition from the vegetative stage to the reproductive stage is irrelevant for a windbreak; the goal is maximizing biomass and structural density. You must plant when the soil temperature reaches a consistent 45 to 50 degrees Fahrenheit. At these temperatures, root respiration increases, and the plant can begin uptaking water to maintain turgor before the onset of summer heat stress.
Phases:

Sowing and Seedling Selection
Direct sowing is rarely effective for windbreaks due to high mortality rates. Instead, utilize 2-0 or 3-0 bareroot seedlings or container-grown stock. Ensure the root-to-shoot ratio is balanced. A seedling with an oversized canopy and a small root system will suffer from cavitation when the wind increases.
Pro-Tip: Dip roots in a mycorrhizal fungal inoculant before planting. This creates a symbiotic relationship where the fungi extend the reach of the root system, increasing phosphorus uptake and drought resistance through enhanced hyphal networks.
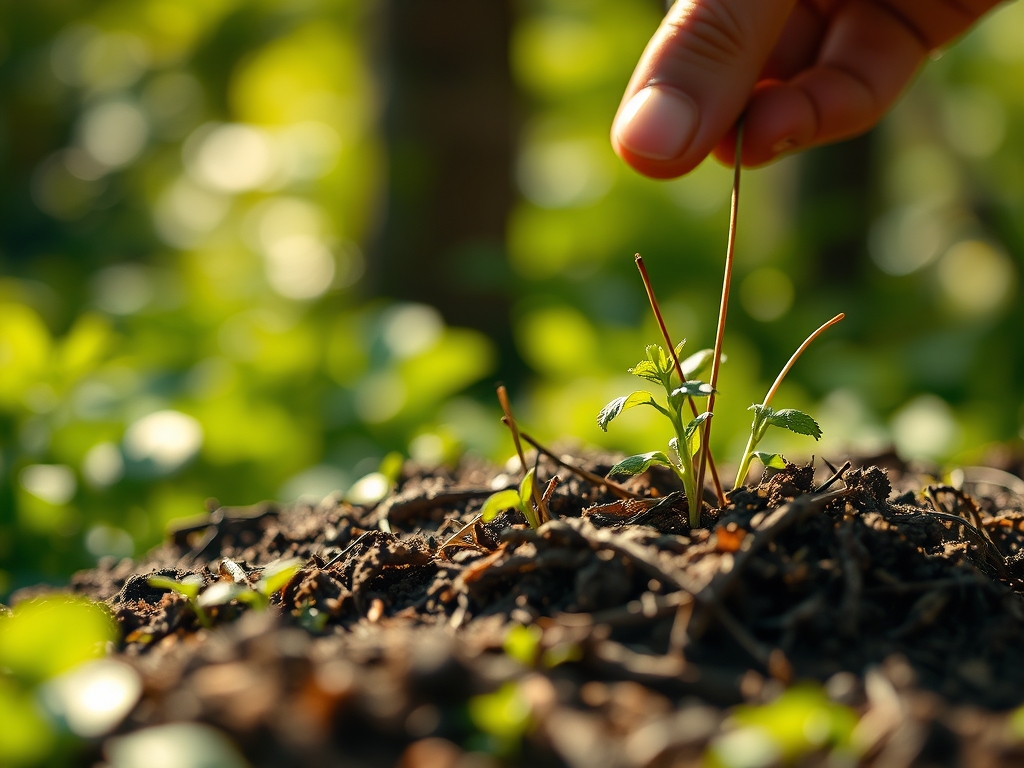
Transplanting
Dig holes twice as wide as the root system but no deeper. The "root flare," where the trunk meets the roots, must remain at the soil surface. Planting too deep causes stem girdling roots and hypoxia. Space the trees in a staggered, multi-row pattern. Conifers should be spaced 10 to 15 feet apart, while deciduous shrubs in the outer "trip" row can be spaced 5 to 8 feet apart.
Pro-Tip: Orient the tree so the heaviest branching faces the prevailing wind. This utilizes thigmomorphogenesis, a biological process where plants strengthen their tissues in response to mechanical sensation, resulting in shorter, thicker trunks.
Establishing
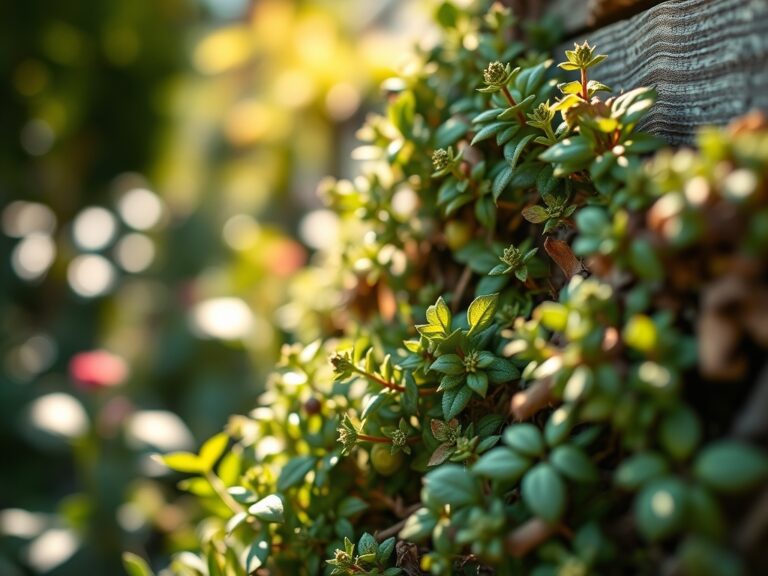
The first three years are the establishment phase. During this time, the plant allocates energy to the rhizosphere rather than vertical height. Suppress all weed competition within a three-foot radius of each trunk to prevent nutrient theft.
Pro-Tip: Avoid heavy staking unless the site is extremely exposed. Allowing the trunk to sway slightly inhibits auxin suppression and encourages the production of "reaction wood," which is essential for the tree's future mechanical stability.
The Clinic:
Physiological disorders often mimic infectious diseases. Accurate diagnosis requires looking at the pattern of the symptoms.
- Symptom: Needle browning from the inside out.
Solution: This is often "Seasonal Needle Drop," a natural senescence process. However, if it occurs on new growth, check for spider mites or extreme drought. - Symptom: Leaf scorch or marginal necrosis on deciduous trees.
Solution: This indicates a lack of water or high salt accumulation in the soil. Increase irrigation frequency and test the electrical conductivity (EC) of the soil. - Symptom: Yellowing of new leaves while veins remain green.
Solution: This is Iron Chlorosis. Lower the soil pH or apply chelated iron.
Fix-It for Nutrient Deficiencies:
If you observe Nitrogen chlorosis (general yellowing of older leaves), apply a slow-release organic fertilizer with a 10-5-5 NPK ratio. If the leaves appear purple or dark blue-green, it indicates a Phosphorus deficiency, which is common in cold, wet soils where nutrient mobility is restricted.
Maintenance:
Precision maintenance ensures the windbreak survives the critical five-year mark. Use a soil moisture meter to verify that the root zone remains hydrated. Trees require approximately 1.5 inches of water per week, delivered at the drip line rather than the trunk base.
Use a hori-hori knife to remove deep-rooted perennial weeds that compete for moisture. Annual pruning should be performed with sharp bypass pruners during the dormant season. Remove any "V-shaped" narrow crotch angles, as these are structural weak points. Always prune back to the branch collar to facilitate rapid compartmentalization of the wound. Mulch with 3 to 4 inches of wood chips, but keep the mulch six inches away from the trunk to prevent fungal rot and rodent damage.
The Yield:
While the primary yield of a windbreak is "ecosystem services" like soil retention and energy savings, many windbreaks include edible species like Elderberry or Hazelnut. Harvest these when the fruit reaches peak brix (sugar) levels. For timber or fuel-wood yields, thinning should begin in year 15. When harvesting boughs for floral use or winter mulch, never remove more than 15 percent of the total canopy in a single season to prevent metabolic shock. Handle all harvested material with gloves to avoid skin irritation from resins and keep cuttings in a shaded, high-humidity environment to maintain "day-one" freshness.
FAQ:
How many rows are needed for an effective windbreak?
A minimum of three rows is recommended. Use one row of dense shrubs, one row of tall conifers, and one row of deciduous trees to create a multi-tiered ramp that lifts the wind over the protected area.
Which trees are best for high-wind areas?
Select species with deep taproots or wide lateral root systems. Eastern Red Cedar, Austrian Pine, and Bur Oak are excellent choices due to their high lignin content and ability to withstand mechanical stress without snapping.
How do I prevent my windbreak from dying in a drought?
Install a drip irrigation system during the planting phase. Deep, infrequent watering encourages roots to grow downward into the subsoil, where moisture levels are more stable than the volatile topsoil layers.
When is the best time to prune a windbreak?
Prune during late winter while the trees are dormant. This minimizes sap loss and prevents the spread of pathogens that are active during the warmer months. Always use sterilized bypass pruners for clean cuts.
Can I plant a windbreak in sandy soil?
Yes, but you must incorporate organic matter to increase the Cation Exchange Capacity. Use drought-tolerant species and apply a thick layer of mulch to prevent rapid evaporation and nutrient leaching.