8 Secure Ways How to Install a Post anchor
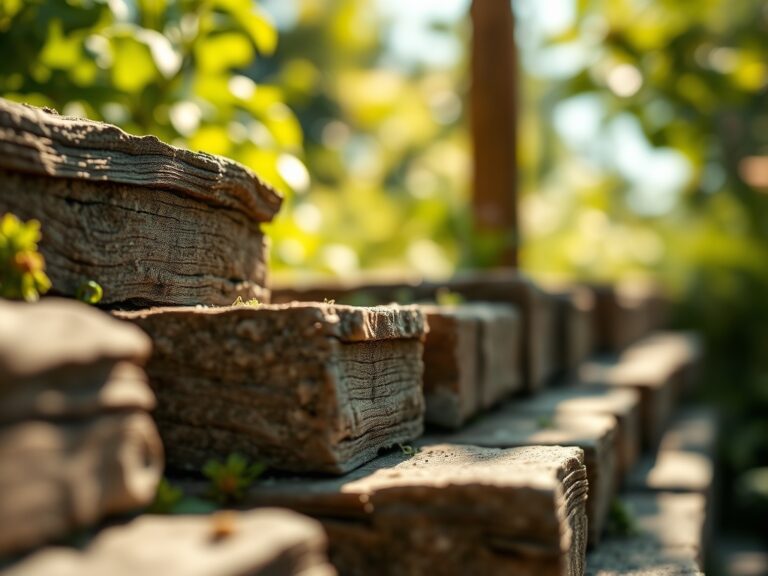
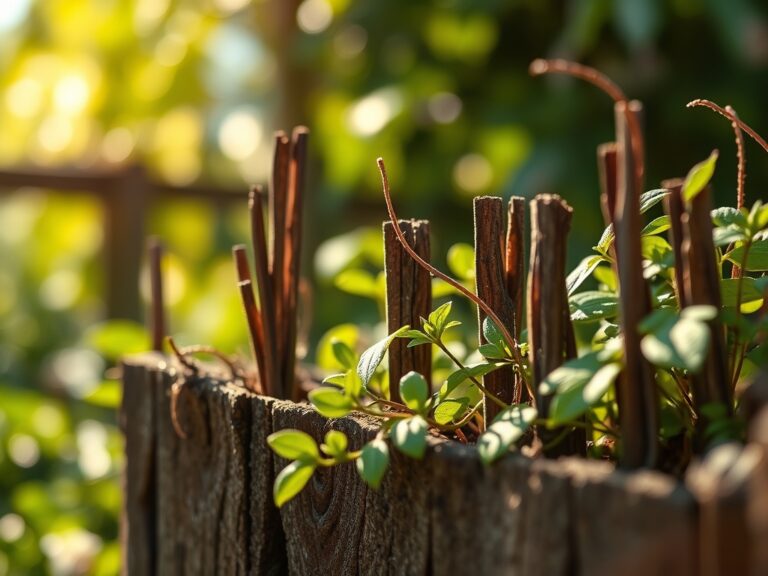
Damp earth releases a sharp, geosmin scent as the spade cuts through the rhizosphere. This mineral aroma signals a healthy soil structure where moisture and microbial activity intersect. When structural integrity is required for garden trellises or heavy fencing, the soil must support more than just root systems; it must provide mechanical resistance. Learning how to install a post anchor ensures that your garden structures remain plumb despite the seasonal expansion and contraction of the substrate. Proper installation prevents the wood from contacting the wet soil, stopping premature rot and ensuring the long-term turgor of the entire garden layout.
Materials:

The success of any structural installation begins with the substrate. Ideal conditions consist of a **friable loam** with a **pH between 6.0 and 7.0**. High clay content increases the Cation Exchange Capacity (CEC), which helps retain nutrients but can cause significant shifting during freeze-thaw cycles. For areas where you intend to grow nitrogen-hungry climbers near your posts, ensure the surrounding soil has an **NPK ratio of 10-10-10** to support initial vegetative growth. You will need galvanized steel anchors, a 3-pound sledgehammer, a spirit level, and a **soil moisture meter** to ensure the ground is not overly saturated, which leads to liquefaction during the driving process.
Timing:
Installation should occur when the soil is at field capacity, typically in early spring or late autumn. In Hardiness Zones 4 through 7, wait until the ground has fully thawed to avoid damaging the crystalline structure of frozen soil. The biological clock of the garden dictates that structural work be completed before the transition from the vegetative to the reproductive stage of local flora. Installing anchors during the dormant season prevents the accidental compaction of the soil around active root zones, which can lead to root senescence and reduced nutrient uptake.
Phases:

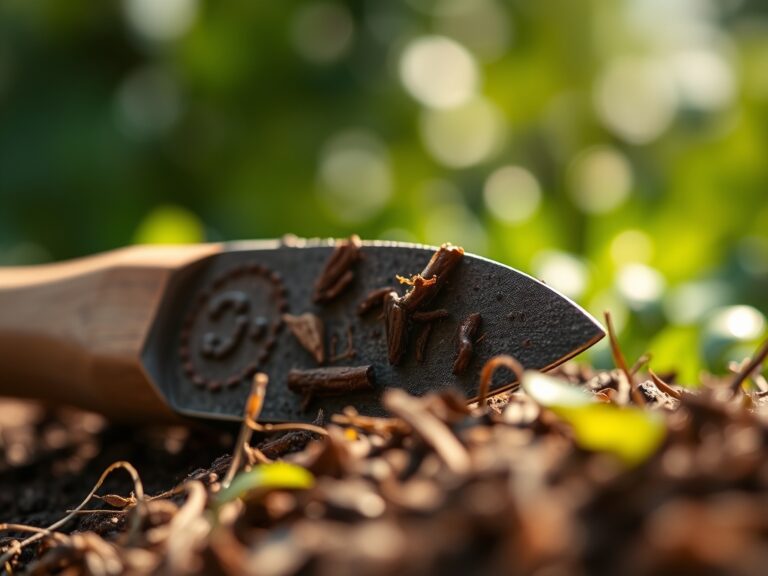
Sowing the Anchor
Position the tip of the anchor at your marked location. Use a sacrificial piece of timber inside the bracket to protect the metal from the sledgehammer blows. Drive the anchor vertically, checking the level every 4 inches of depth.
Pro-Tip: Maintaining a vertical orientation is essential because of phototropism. If a trellis is installed at an angle, the plants will expend excess metabolic energy correcting their growth toward the light, resulting in weakened stems and uneven auxin distribution.
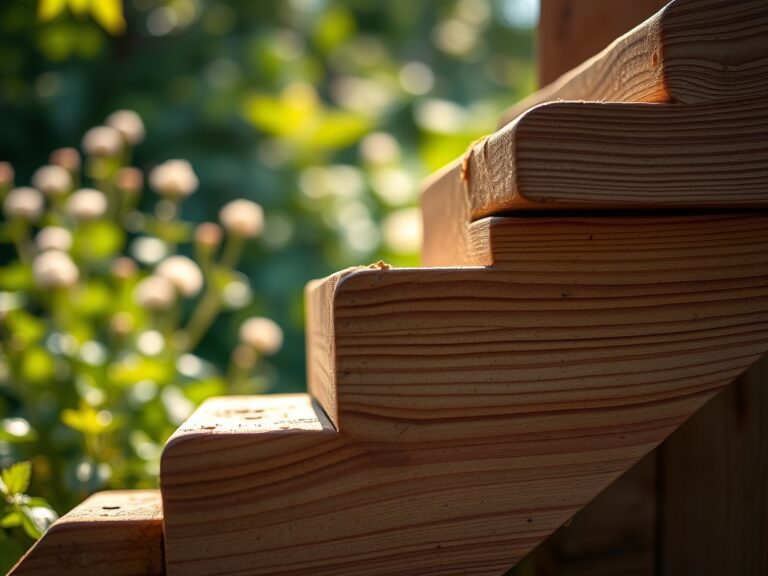
Transplanting the Post
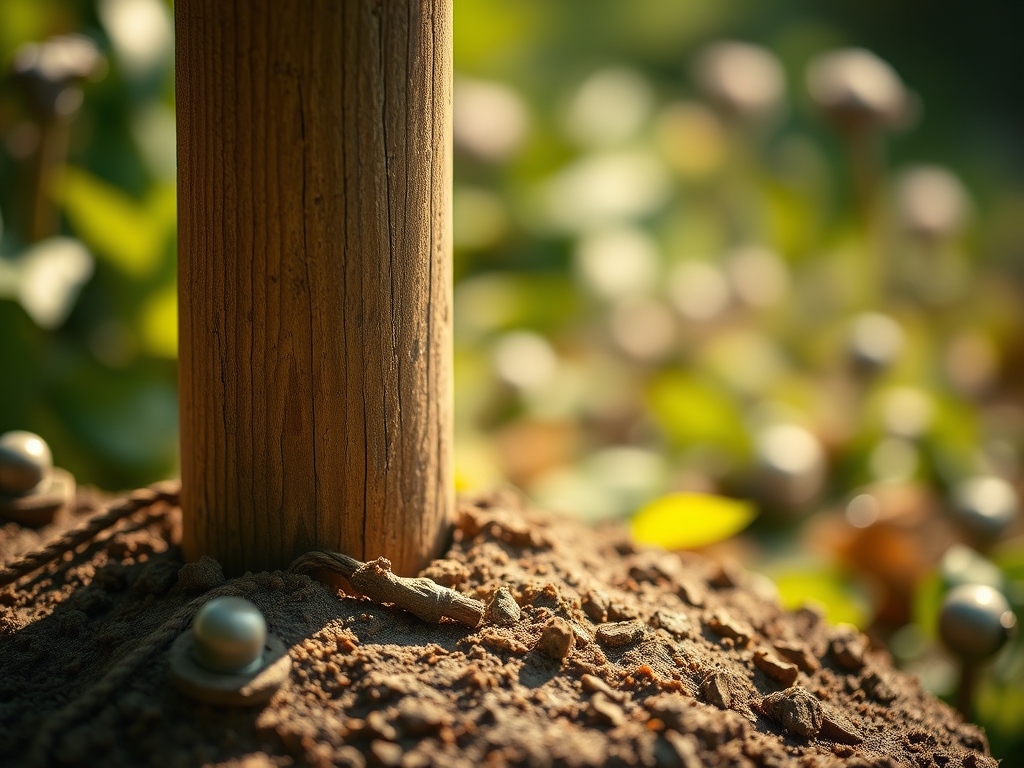
Once the anchor is flush with the soil surface, insert your pressure-treated post. Secure the post using hex-head bolts. Ensure there is a 0.5-inch gap between the bottom of the wood and the base of the metal cup.
Pro-Tip: This gap prevents capillary action from drawing moisture into the end grain of the wood. By isolating the timber from the soil, you preserve the mycorrhizal symbiosis in the surrounding dirt without introducing chemical preservatives from the wood into the fungal network.
Establishing Stability
Backfill any disturbed soil around the anchor base. Compact the earth in 2-inch layers to remove air pockets. This mechanical stabilization mimics the natural compaction required for high Cation Exchange Capacity in the root zone.
Pro-Tip: Firm soil contact encourages the establishment of lateral roots if you are planting nearby. Tight soil contact prevents "J-rooting," where roots turn upward due to physical obstructions, which can lead to auxin suppression and stunted growth.
The Clinic:
Structural and physiological issues often manifest simultaneously. Monitor the following symptoms to ensure both your posts and your plants remain healthy.
Symptom: Post leaning or "heaving" after a frost.
Solution: This indicates high clay content and poor drainage. Dig a 12-inch deep perimeter around the anchor and backfill with coarse aggregate to improve drainage and reduce the effects of ice lenses.
Symptom: Yellowing of leaves (Chlorosis) near the post.
Solution: This is often Nitrogen chlorosis. The leaching of certain wood treatments can temporarily alter soil pH. Apply a chelated iron supplement or a high-nitrogen fertilizer with a 20-10-10 ratio to restore chlorophyll production.
Symptom: Rapid wood decay at the soil line.
Solution: The anchor is set too deep. The bracket must sit 1 inch above the soil grade to allow for airflow. Use a hori-hori knife to clear away encroaching organic matter and mulch from the metal base.
Fix-It for Nutrient Deficiency: If plants near the anchor show purple leaf undersides, this indicates Phosphorus deficiency. Incorporate bone meal into the top 3 inches of soil to support ATP production and root development.
Maintenance:
A stable post anchor requires a stable environment. Maintain consistent soil moisture levels to prevent the earth from shrinking away from the metal fins. Use a soil moisture meter to ensure the area receives 1.5 inches of water per week at the drip line. During your seasonal pruning with bypass pruners, check the bolts on the anchors for tension. Soil is a living, moving matrix; the physical pressure of root expansion can occasionally shift anchors by several millimeters over a three-year cycle.
The Yield:
When using post anchors for fruiting vines like grapes or hops, the yield is directly tied to the stability of the support. Harvest these crops when the Brix level (sugar content) reaches its peak, typically indicated by a change in fruit color and a slight loss of turgor in the stem. Use sharp shears to make clean cuts, preventing jagged wounds that invite pathogens. For "day-one" freshness, harvest in the early morning when the plant's turgor pressure is at its highest point before the sun triggers transpiration.
FAQ:
How deep should I drive a post anchor?
Drive the anchor until the bracket base sits 1 inch above the soil. This depth, usually 24 to 30 inches, ensures the anchor reaches below the frost line in many zones to prevent shifting.
Can I install anchors in rocky soil?
In high-rock substrates, use a steel rock spike to create a pilot hole. If the Cation Exchange Capacity is low due to high stone content, the anchor may require a concrete collar for lateral stability.
Will galvanized anchors hurt my plants?
No. Galvanized steel is coated in zinc, which is a necessary micronutrient for plant enzyme function. It does not leach harmful chemicals into the rhizosphere at levels that would cause toxicity or senescence.
Do I need a permit for post anchors?
Most residential garden structures under 6 feet in height do not require permits. However, always check local building codes regarding "permanent footings" versus "temporary anchors" to ensure compliance with municipal structural standards.