9 Steps to Prepare a Garden Rain Barrel Site
Learning how to prepare a garden for a rain barrel transforms passive runoff into 50-80 gallons of stored irrigation per storm event. The site preparation determines whether your barrel foundation settles evenly or tilts within six months, whether mosquitoes breed in stagnant overflow, and whether your harvested water reaches beds through gravity alone or requires supplemental pumping. Proper drainage substrate, compacted base layers, and overflow routing prevent structural failure and maximize your system's functional lifespan.
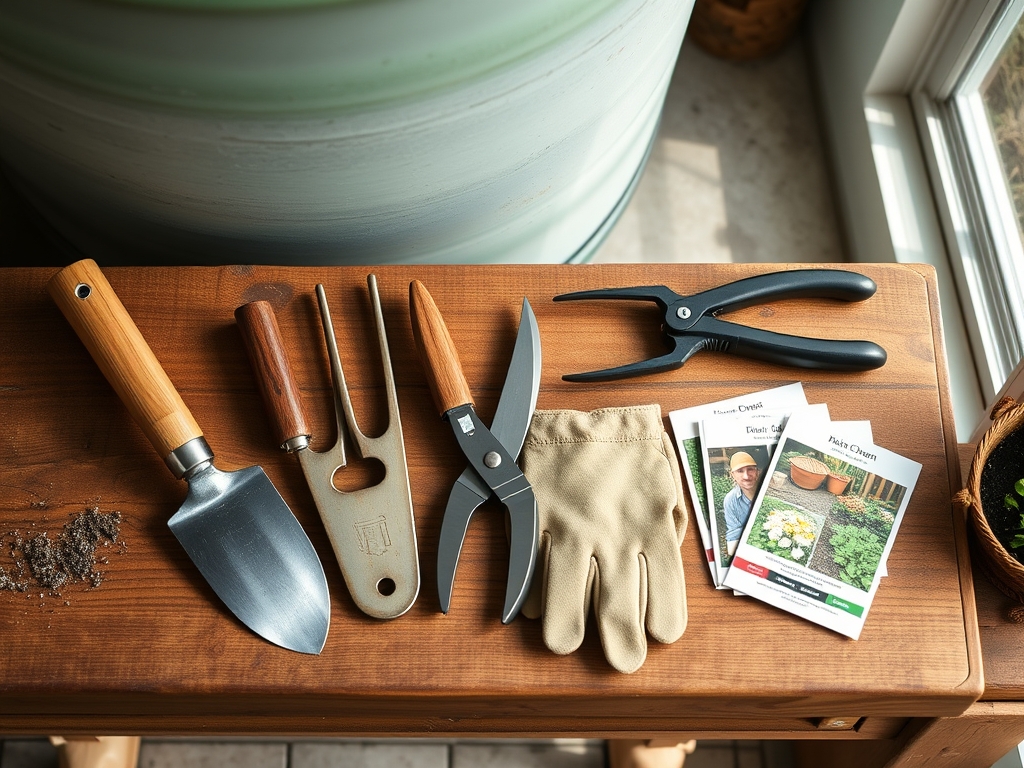
Materials
Begin with 4 concrete paver blocks measuring 16 inches square and 2 inches thick. These provide 1,024 square inches of load distribution for a full 55-gallon barrel weighing 460 pounds. Crushed limestone screenings in 3/4-inch grade supply excellent compaction for the base layer. You need 2 cubic feet to create a 4-inch pad beneath pavers.
A carpenter's level with 0.0005-inch sensitivity detects slope variations that cause uneven settling. Acquire 10 feet of flexible 1-inch PVC overflow tubing and two hose clamps with 1.25-inch diameter capacity. A rain barrel spigot kit with 3/4-inch brass threading resists corrosion better than galvanized steel alternatives.
For soil amendment near the catchment zone, apply composted leaf mold at a 2-1-1 NPK ratio to improve cation exchange capacity without excessive nitrogen that promotes soft vegetative growth. Dolomitic limestone raises pH to 6.5-7.0 if your existing soil tests below 6.0. Mycorrhizal fungi inoculant (Rhizophagus irregularis strain) at 150 propagules per gram enhances nutrient uptake in adjacent plantings that receive barrel water.
Timing
In USDA Hardiness Zones 3-5, prepare rain barrel sites between April 15 and May 10, after final frost dates when soil temperatures stabilize above 50°F. This window allows base material compaction without freeze-thaw disruption during spring installation.
Zones 6-7 permit installation from March 20 through April 30. Warmer soil in these regions compacts more reliably and prevents moisture retention that causes paver shifting.
Zones 8-10 offer year-round installation opportunities, though October through February provides cooler working conditions. Avoid July and August preparation in these zones when soil exceeds 85°F and compaction quality suffers from rapid moisture evaporation.
Phases

Site Selection
Locate the barrel within 10 feet of a downspout and on ground sloping less than 3 degrees. Measure slope by placing a 4-foot level on the proposed site and calculating rise over run. Each degree beyond 3 requires additional base excavation on the downhill side.
Clear vegetation in a 4-foot diameter circle. Remove topsoil to 6 inches depth, exposing subsoil with higher clay content and better compaction characteristics. Test subsoil drainage by filling the excavation with water. If it drains within 4 hours, proceed. Slower drainage requires adding 2 inches of coarse sand beneath limestone screenings.
Pro-Tip: Drive a 24-inch metal stake at the center point before excavation. Use it as a radius pivot to maintain perfect circular symmetry during digging.
Base Construction
Pour limestone screenings into the excavation. Compact in 1-inch lifts using a hand tamper with 8-inch square base. Apply 20 strikes per square foot, overlapping each strike by 50 percent. Proper compaction produces a surface that shows no footprints under 200 pounds of pressure.
Check level after every two lifts. Add or remove material to achieve 0-degree slope in all directions. The finished pad should sit 1 inch above surrounding grade to prevent runoff pooling around the base.
Position concrete pavers in a square configuration atop the compacted base. Leave 1/4-inch gaps between pavers. Sweep additional screenings into gaps and mist with water to lock pavers together.
Pro-Tip: Place a rubber stall mat cut to 24 inches square atop the pavers. This 3/4-inch thick buffer absorbs minor ground movement and prevents paver edge contact with barrel plastic that causes wear points.
Barrel Installation and Plumbing
Set the barrel on the prepared platform. Attach the downspout diverter 12 inches above barrel top to maintain gravity flow. Connect overflow tubing to the barrel's overflow port, routing it at least 6 feet from the foundation toward a perennial bed or rain garden.
Install the spigot 4 inches above platform level. This height allows watering can placement while leaving sediment undisturbed at barrel bottom. Apply thread sealant tape in a clockwise direction, using three complete wraps.
Pro-Tip: Add 1/4 cup of food-grade mineral oil to the barrel after first fill. It forms a monomolecular surface layer that prevents mosquito larvae from accessing air while remaining safe for ornamental irrigation.
Troubleshooting
Symptom: Barrel tilts 3-5 degrees after first seasonal fill.
Solution: Differential settling indicates incomplete compaction. Drain the barrel, remove it, and add 1/2 inch of screenings to the low corner. Re-compact with 30 strikes per square foot before replacing the barrel.
Symptom: Algae growth visible through translucent barrel walls within 3 weeks.
Solution: Photosynthetic activity requires light penetration. Wrap barrel exterior with opaque landscape fabric secured with UV-resistant zip ties. Maintain 2-inch air gap between fabric and barrel surface for ventilation.
Symptom: Overflow tube produces standing water within 3 feet of barrel.
Solution: Inadequate drainage slope. Extend overflow tubing an additional 10 feet or excavate a 12-inch-deep dry well filled with 3/4-inch drainage rock at the current terminus.
Symptom: First-flush water contains granular sediment and leaf fragments.
Solution: Install a leaf diverter in the downspout 6 inches above the barrel connection. This basket-style filter captures debris larger than 1/8 inch while permitting water flow.
Symptom: Spigot drips continuously despite closed position.
Solution: Sediment infiltration past the washer. Disassemble spigot quarterly and clean the valve seat with white vinegar. Replace rubber washers annually regardless of apparent condition.
Maintenance
Inspect base levelness every 60 days during the active collection season using a precision level. Acceptable deviation remains below 1 degree in any direction. Clean the overflow filter monthly by removing accumulated organic matter.
Drain barrels completely before the first hard freeze in Zones 3-7. Freezing water expands 9 percent by volume and cracks rigid containers. Store drained barrels inverted or indoors where temperatures remain above 28°F.
Apply 1/2 inch of water weekly to plants receiving rain barrel irrigation. This rate supplies 0.31 gallons per square foot. Monitor soil moisture at 4-inch depth using a tensiometer. Optimal readings range from -10 to -30 centibars for most vegetable crops.
Check spigot threads every 90 days and re-apply sealant tape if minor seepage appears. Tighten hose clamps on overflow tubing after initial installation when plastic compression causes slight loosening.
FAQ
How much weight does a full rain barrel exert on the platform?
A 55-gallon barrel holds 459 pounds of water plus 15-20 pounds for the container itself, totaling 475-480 pounds. Distribute this across 4 pavers providing 1,024 square inches for 0.46 pounds per square inch.
Can I install multiple barrels on a single platform?
No. Each barrel requires independent structural support. Linking barrels through connector hoses allows expanded capacity while maintaining individual stability.
What's the minimum platform height for gravity irrigation?
Position the spigot 18 inches above target beds to generate 0.78 PSI water pressure. This pressure fills a standard watering can in 35-40 seconds through a 3/4-inch valve.
How often should I replace limestone screening base material?
Properly compacted limestone requires no replacement. Annual inspection for settling addresses 95 percent of base degradation issues before they compromise structural integrity.
Does rain barrel water alter soil pH?
Collection from asphalt shingle roofs produces water with pH 6.0-6.8. Metal roofing yields pH 6.5-7.2. Both ranges suit most ornamental and vegetable plantings without pH adjustment requirements.