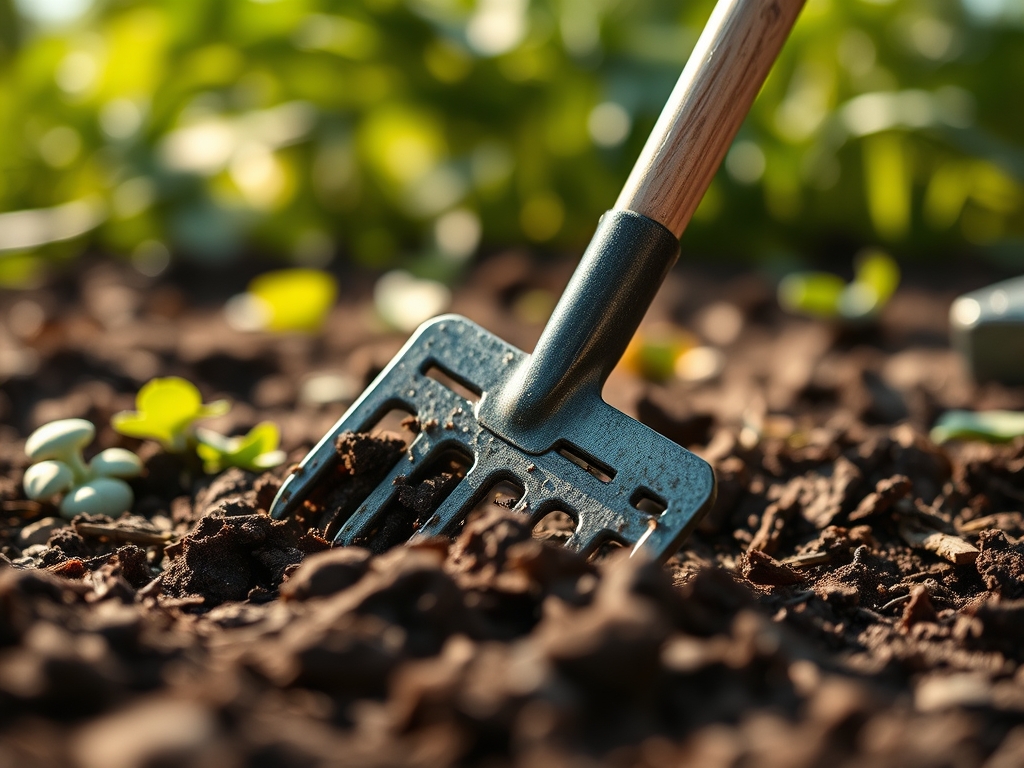
9 Tips to Use a Bow Rake for Smoothing New Beds
The smell of damp, disturbed earth signals the beginning of the planting cycle as the soil releases trapped gases like geosmin. Achieving a uniform seedbed requires more than a casual sweep; it demands an understanding of soil physics and surface tension. Using a rake for garden beds is the final mechanical step in preparing the rhizosphere for optimal seed-to-soil contact. A bow rake, with its rigid steel tines and heavy head, allows the gardener to grade the surface while breaking down clods that impede root penetration. When the soil reaches a friable state, usually at a moisture level where a squeezed handful crumbles under light pressure, the bed is ready for leveling. This process ensures that irrigation water distributes evenly rather than pooling in depressions or running off high spots. A level bed prevents anaerobic pockets and ensures that every seedling receives a consistent photoperiod and nutrient supply. Proper grading is the foundation of a high-yield garden; it dictates the efficiency of future cultivation and the health of the entire botanical system.
Materials:
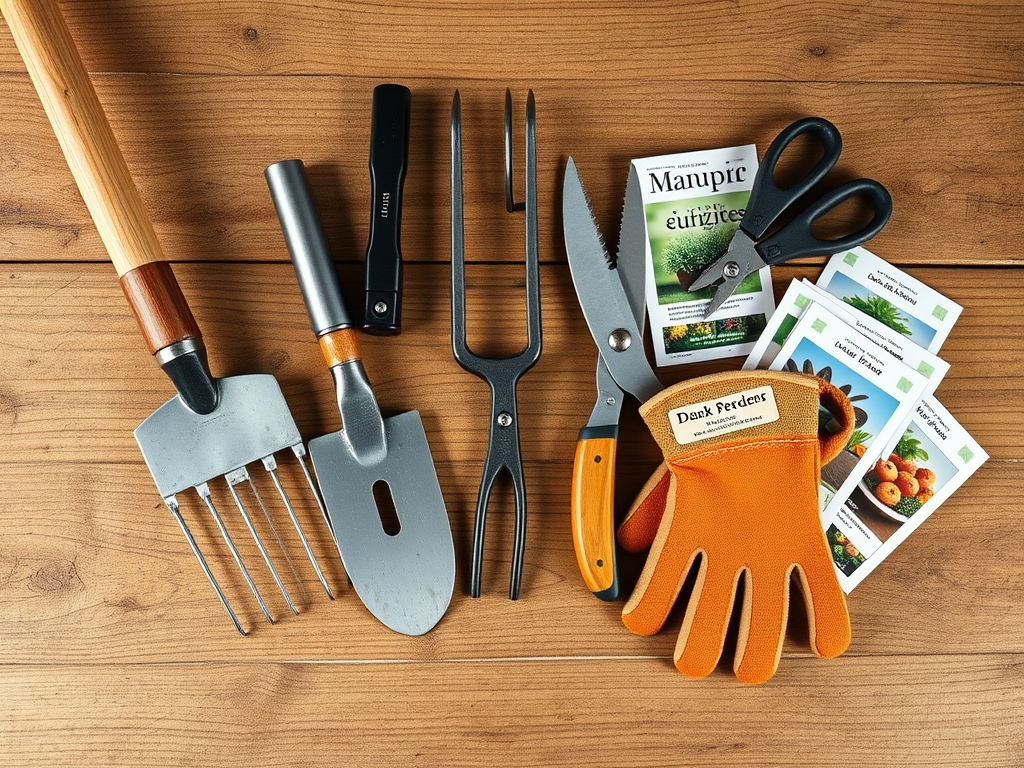
The ideal substrate for a new bed is a **friable loam** with a Cation Exchange Capacity (CEC) between **15 and 25 meq/100g**. This ensures the soil can hold and exchange essential cations like Calcium (Ca2+) and Magnesium (Mg2+). Soil pH should be stabilized between **6.2 and 6.8** to maximize nutrient bioavailability. For a baseline amendment, incorporate a balanced NPK ratio of **10-10-10** at a rate of **1 pound per 100 square feet**. If the soil is heavy clay, integrate coarse organic matter to increase macropore space. If it is sandy, focus on increasing the humic content to improve water retention. You will need a **forged steel bow rake** with a **60-inch handle** for maximum leverage and a **landscape rake** for fine finishing.
Timing:
Timing is dictated by the thermal mass of the soil and regional frost dates. In Hardiness Zones 5 through 7, the window for bed preparation typically opens when soil temperatures consistently reach 45 to 50 degrees Fahrenheit. Use a soil thermometer to verify these readings at a 4-inch depth. Working the soil when it is too wet leads to compaction and the destruction of soil aggregates; working it when too dry leads to dust mulch and wind erosion. The biological clock of the plant determines the urgency. For example, cool-season crops must be established before the transition from vegetative growth to reproductive senescence, which is triggered by increasing day length and temperatures exceeding 85 degrees Fahrenheit.
Phases:

Sowing
Using a rake for garden beds during the sowing phase involves creating a "shatter-free" surface. Drag the tines of the bow rake across the soil in a cross-hatch pattern to break down any aggregate larger than a half-inch. This ensures that small seeds, such as carrots or lettuce, are not buried too deep or blocked by debris.
Pro-Tip: Proper leveling prevents the "pooling effect" of water. This is vital because consistent moisture levels prevent osmotic stress, which can trigger premature bolting in leafy greens.
Transplanting
When preparing for transplants, use the flat side of the bow rake to create a perfectly level plane. This allows for precise depth control when using a hori-hori knife to set the root ball. The soil should be loose enough to allow for rapid lateral root expansion into the surrounding media.
Pro-Tip: Maintaining a level surface ensures even light distribution across the canopy. This prevents auxin suppression in shaded plants, which leads to leggy, weak stems and reduced photosynthetic efficiency.
Establishing
Once the bed is leveled and planted, use the rake to lightly pull mulch or a thin layer of compost over the surface. This protects the mycorrhizal symbiosis occurring beneath the surface by shielding the soil from UV radiation and extreme temperature fluctuations.
Pro-Tip: A smooth surface facilitates capillary action. This allows water to move upward through the soil profile via matric potential, keeping the root zone hydrated even as the surface dries.
The Clinic:
Physiological disorders often stem from poor bed preparation. Observe the following symptoms and apply the necessary horticultural corrections.
- Symptom: Interveinal Chlorosis. This appears as yellowing between the veins of young leaves.
Solution: This typically indicates a Manganese or Iron deficiency, often caused by a pH above 7.2. Apply elemental sulfur to lower the pH and improve nutrient solubility.
- Symptom: Damping Off. Seedlings collapse at the soil line shortly after emergence.
Solution: This fungal pathogen thrives in poorly drained, uneven beds. Use the bow rake to eliminate low spots where water collects and ensure the soil has a high percentage of perlite or coarse sand for drainage.
- Symptom: Blossom End Rot. Sunken, leathery spots on the base of fruits like tomatoes.
Solution: While often a Calcium deficiency, it is usually caused by inconsistent moisture. Ensure the bed is level to allow for deep, uniform irrigation that facilitates Calcium transport through the xylem.
- Symptom: Nitrogen Deficiency. General paling of the entire plant, starting with older leaves.
Fix-It: Apply a high-nitrogen organic amendment, such as blood meal (12-0-0), and lightly rake it into the top 2 inches of the soil to ensure it reaches the rhizosphere.
Maintenance:
Precision maintenance is required to sustain the bed after the initial raking. Provide 1.5 inches of water per week delivered at the drip line to avoid wetting the foliage and encouraging fungal spores. Use a soil moisture meter to verify that moisture has penetrated at least 6 inches deep. For weeding, use a hori-hori knife to extract taproots without disrupting the leveled surface. If the soil begins to crust, lightly break the surface with a hand cultivator to maintain gas exchange. Prune any necrotic tissue using bypass pruners to prevent the spread of pathogens and to direct the plant's energy toward new growth.
The Yield:
Harvesting is the culmination of proper bed preparation. For most vegetables, harvest during the "cool of the day," typically before 10:00 AM, to ensure maximum turgor pressure within the plant tissues. Use sharp, sterilized shears to make clean cuts, preventing jagged wounds that serve as entry points for bacteria. Post-harvest, immediately submerge leafy greens in a cold water bath to remove field heat and slow the rate of respiration. For root crops, gently brush off excess soil rather than washing if they are to be stored long-term; this preserves the protective cuticle.
FAQ:
How deep should I rake the soil?
Rake the top 2 to 4 inches of the soil. This depth is sufficient to break up surface crusting and incorporate amendments without destroying the deeper soil structure or disrupting established microbial colonies.
Can I use a bow rake on wet soil?
No. Raking wet soil causes compaction and creates "clods" that turn into hard bricks when dry. Wait until the soil is moist but crumbles easily when squeezed in your hand.
What is the difference between a bow rake and a leaf rake?
A bow rake has rigid, short tines designed for moving soil, gravel, and heavy debris. A leaf rake has flexible, long tines designed for gathering light surface materials without disturbing the underlying soil.
How do I fix a bed that is sloped?
Use the bow rake to pull soil from the high side to the low side. For significant slopes, you may need to install a retaining board to prevent the soil from migrating during heavy rain.
Why is leveling so important for seeds?
Leveling ensures uniform planting depth. If seeds are planted at varying depths due to an uneven surface, they will emerge at different times, leading to an uneven canopy and competition for light.