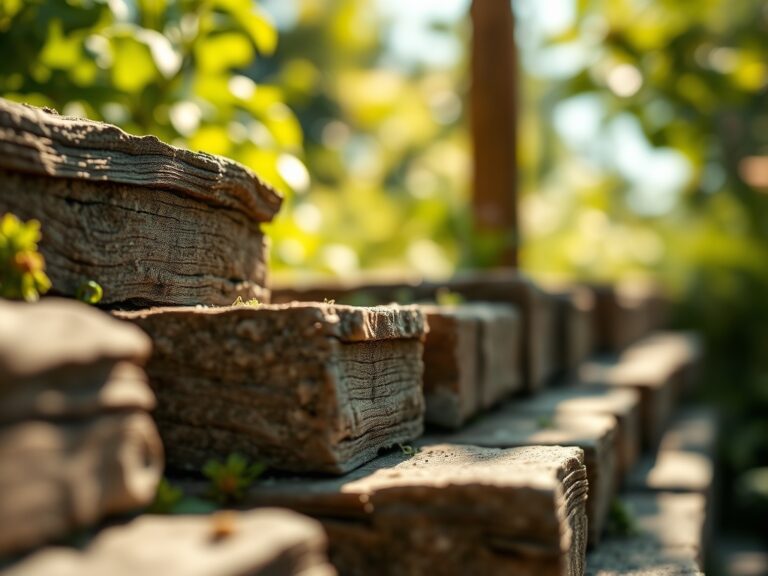
8 Best Flowering Plants for Defining Garden Borders
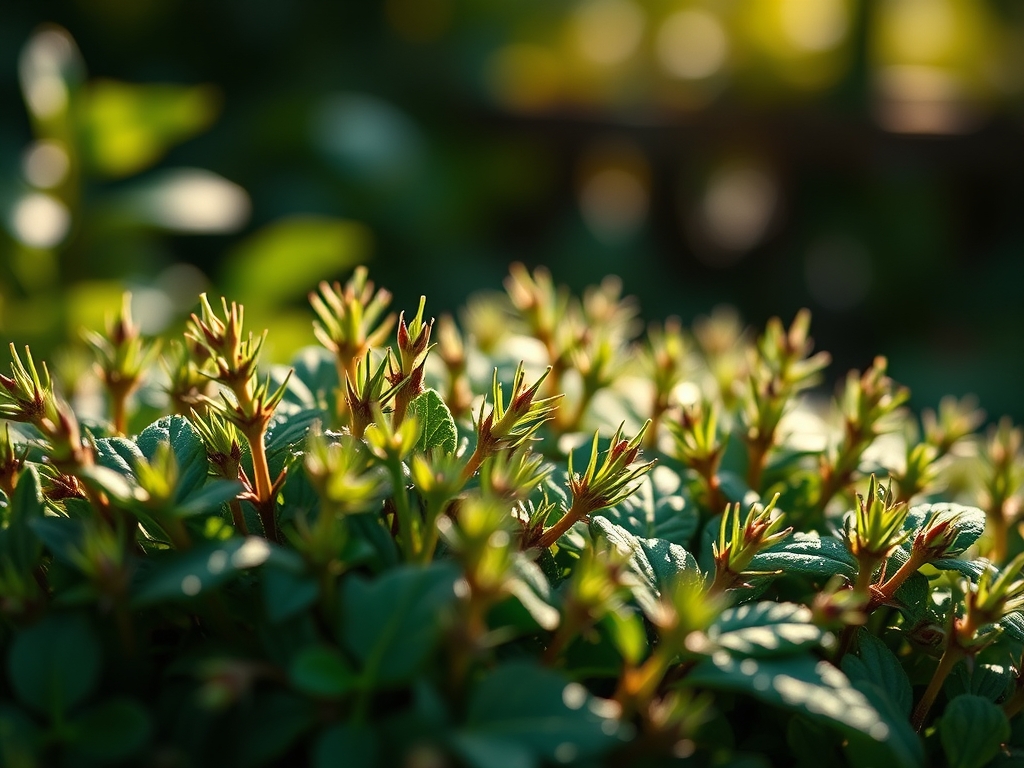
Crushing a handful of damp, friable loam reveals the structural integrity of your rhizosphere; it should crumble under light pressure while retaining enough moisture to stain the skin. This tactile feedback is the first step in selecting the best plants for garden borders. Successful border design requires more than aesthetic placement. It demands an understanding of turgor pressure, specific gravity of the soil, and the metabolic requirements of species that can withstand the edge effects of a garden bed. These boundary zones are often subject to higher evaporation rates and physical compaction. To define these spaces, a horticulturist must select taxa that exhibit high drought tolerance and structural rigidity. The following selection focuses on species that provide architectural definition through dense foliage and consistent floral displays. By prioritizing plants with high Cation Exchange Capacity (CEC) affinity, you ensure that your borders remain functional ecological barriers rather than just decorative fringes.
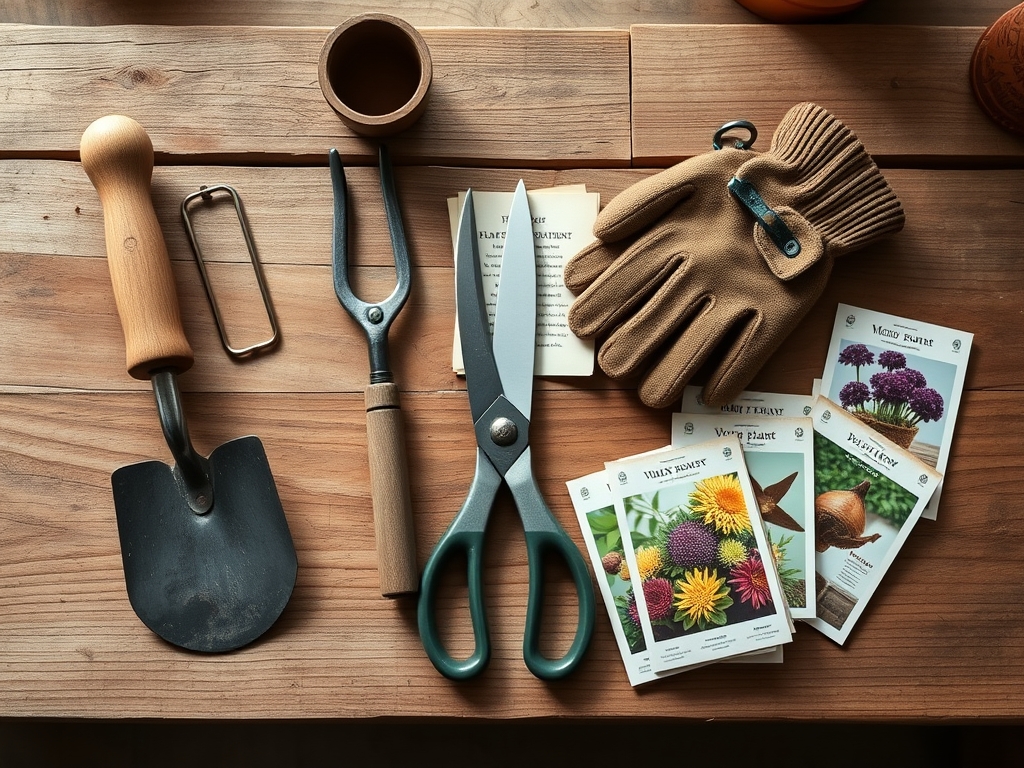
Materials:
The success of a garden border begins with the substrate chemistry. Most flowering perennials thrive in a **soil pH between 6.0 and 7.0**, which optimizes nutrient bioavailability. For the best plants for garden borders, use a baseline **NPK ratio of 10-10-10** during the initial bed preparation. However, as plants transition to the reproductive phase, shift to a **5-10-10 ratio** to prioritize phosphoric acid over nitrogenous growth.
The physical texture must be a friable sandy loam. This ensures a high macropore space for oxygen diffusion to the roots. If your soil is heavy clay, incorporate organic matter to increase the CEC, allowing the soil to hold onto essential cations like Calcium (Ca2+) and Magnesium (Mg2+). Avoid over-saturation; the soil should never exceed its field capacity for more than twelve hours, as this induces anaerobic conditions that lead to root senescence.
Timing:
Hardiness Zones 3 through 9 represent the primary range for these border species. The biological clock of a border plant is dictated by the photoperiod and the accumulation of Growing Degree Days (GDD). Most perennial borders should be installed 2 to 4 weeks after the last predicted frost date, when soil temperatures consistently reach 55 degrees Fahrenheit (12.8 Celsius).
The transition from the vegetative stage (leaf production) to the reproductive stage (flowering) is triggered by hormonal shifts. For short-day plants, this occurs as nights lengthen. For long-day plants, it happens as the sun crosses the celestial equator. Monitoring the local frost-free window is critical; a late spring frost can rupture cell walls through ice crystal formation, leading to systemic necrosis in young transplants.
Phases:
Sowing
Direct sowing is appropriate for species like Lobularia maritima (Sweet Alyssum). Broadcast seeds over a finely raked surface. Do not bury them deep; most border annuals require light to trigger phytochrome activity for germination. Maintain a consistent moisture level of 0.5 inches of water per week during the first 14 days.
Pro-Tip: Light-induced germination is a biological mechanism where phytochromes detect the Red to Far-Red light ratio. This ensures the seedling has enough light energy for photosynthesis immediately upon emergence.
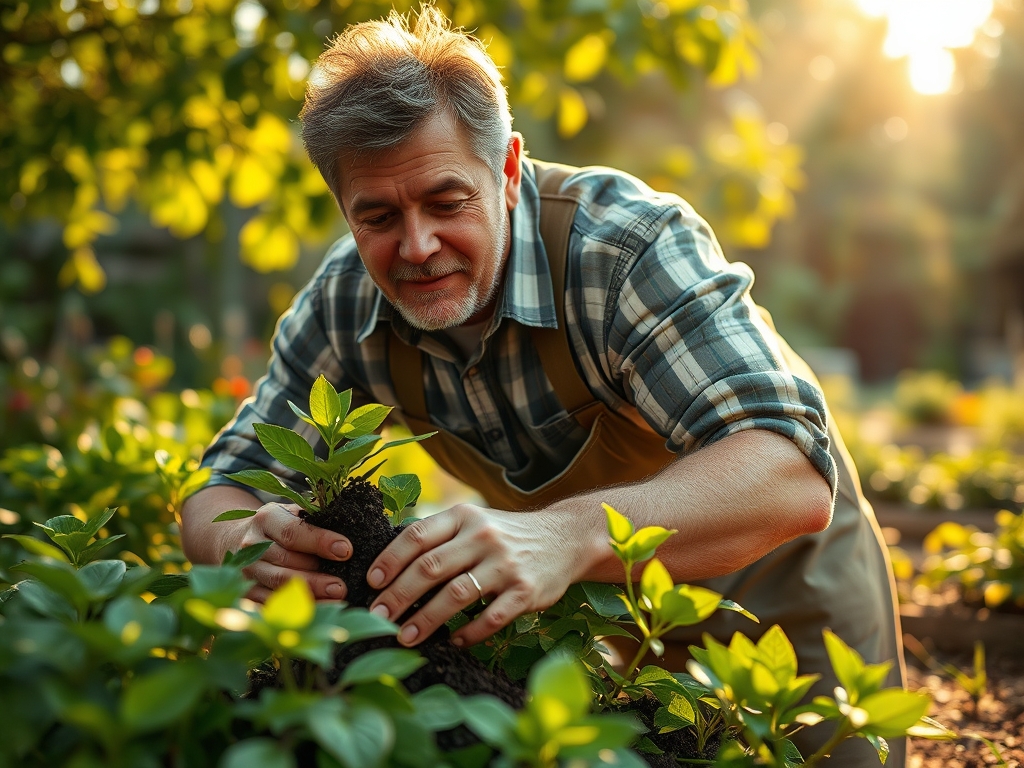
Transplanting
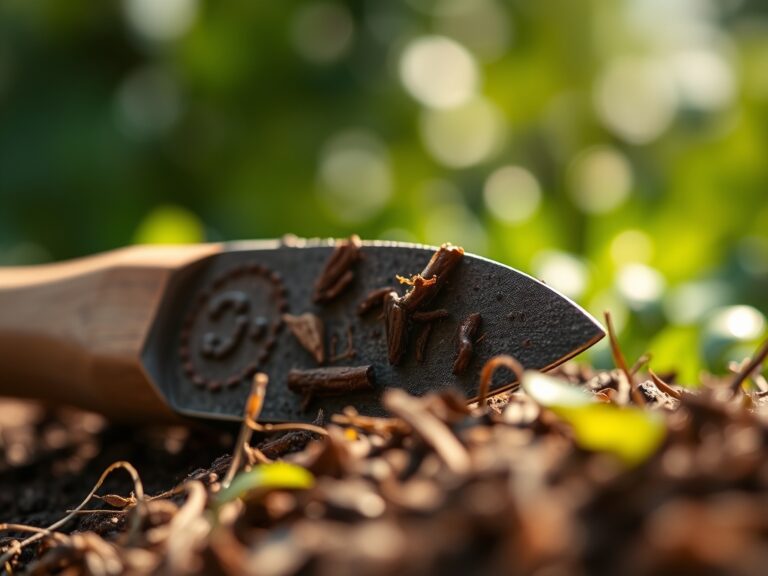
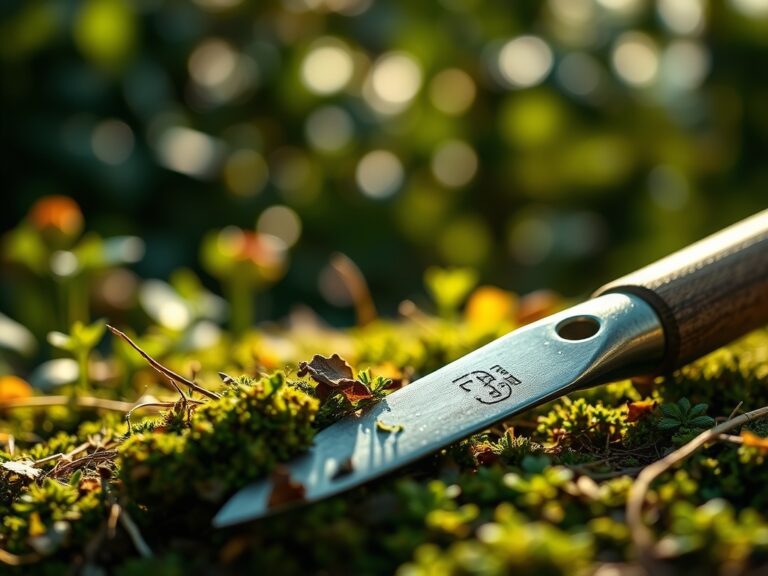
When moving nursery stock into the border, use a hori-hori knife to slice through any circling roots. This prevents "girdling," where roots eventually choke the vascular system. Dig a hole twice the width of the root ball but no deeper. The crown must remain level with the soil surface to prevent stem rot.
Pro-Tip: Mycorrhizal symbiosis can be enhanced by dusting the root ball with fungal spores. This mutualistic relationship extends the root surface area, allowing for better phosphorus uptake and drought resistance.
Establishing
During the first six weeks, the focus is on root architecture rather than floral yield. Pinch back the first set of flower buds on plants like Salvia or Nepeta. This redirects the plant's energy from reproduction to vegetative biomass and root expansion.
Pro-Tip: This process utilizes auxin suppression. By removing the apical meristem (the growing tip), you stop the flow of auxins that inhibit lateral bud growth, resulting in a bushier, more structurally sound border plant.
The Clinic:
Physiological disorders often mimic disease but are usually environmental or nutritional.
- Symptom: Interveinal chlorosis (yellowing between green veins) on new leaves.
Solution: This indicates an Iron (Fe) deficiency, often caused by high soil pH. Apply chelated iron to lower the pH locally and restore chlorophyll synthesis.
- Symptom: Marginal leaf burn (browning of leaf edges).
Solution: This is typically a sign of Potassium (K) deficiency or salt accumulation. Flush the soil with 2 inches of water and adjust the NPK ratio to include higher potash.
- Symptom: Stem lodging (falling over).
Solution: Often caused by excessive Nitrogen (N) which creates weak, succulent growth. Reduce nitrogen input and increase Calcium to strengthen cell walls.
- Symptom: Blossom end rot in ornamental fruiting borders.
Solution: This is a Calcium transport issue, usually linked to inconsistent soil moisture. Maintain a steady 1.5 inches of water per week at the drip line.
Maintenance:
Precision is the hallmark of a master horticulturist. Use a soil moisture meter daily to ensure the rhizosphere stays between 20% and 60% of its water-holding capacity. When irrigating, apply water directly to the soil using a soaker hose or drip system; overhead watering increases the risk of fungal pathogens by keeping the phyllosphere (leaf surface) wet.
Pruning should be performed with bypass pruners for clean, surgical cuts. For "deadheading" (removing spent blooms), cut back to the first set of true leaves. This prevents the plant from entering senescence prematurely and encourages a second flush of growth. In autumn, leave the structural stalks of perennials like Echinacea to provide winter interest and habitat, but remove any diseased foliage to prevent pathogen overwintering.
The Yield:
When harvesting flowers for indoor use, timing is essential for post-harvest longevity. Cut stems in the early morning when turgor pressure is at its peak. Use a sharp knife to make a diagonal cut, increasing the surface area for water uptake.
Immediately plunge the stems into 100-degree Fahrenheit (38 Celsius) water. This heat helps dissipate air bubbles in the xylem (the plant's water-conducting tissue), a process known as "conditioning." Store the stems in a cool, dark location for two hours before arranging. This ensures "day-one" freshness by slowing the respiration rate and preventing wilting.
FAQ:
What is the best NPK ratio for border plants?
A 10-10-10 ratio is ideal for establishment. Once plants begin budding, switch to a 5-10-10 or 10-20-20 formula. High phosphorus levels support ATP production, which is necessary for the energy-intensive process of flowering and seed development.
How do I fix yellow leaves on my border plants?
Identify the pattern. If the entire leaf is yellow, it is likely Nitrogen deficiency. If only the space between veins is yellow, it is Iron or Magnesium deficiency. Adjust soil pH to 6.5 to ensure these micronutrients remain soluble.
How much water do garden borders need?
Most established borders require 1 to 1.5 inches of water per week. Use a rain gauge to track precipitation. In high-heat periods, increase frequency but maintain deep watering sessions to encourage roots to grow downward into cooler, moister soil layers.
When is the best time to prune flowering borders?
Prune spring-flowering species immediately after their blooms fade. For summer and fall bloomers, prune in late winter or early spring before new growth begins. This timing avoids cutting off the current season's flower buds and maintains the plant's natural cycle.