8 Best Exterior Wall Garden Kits
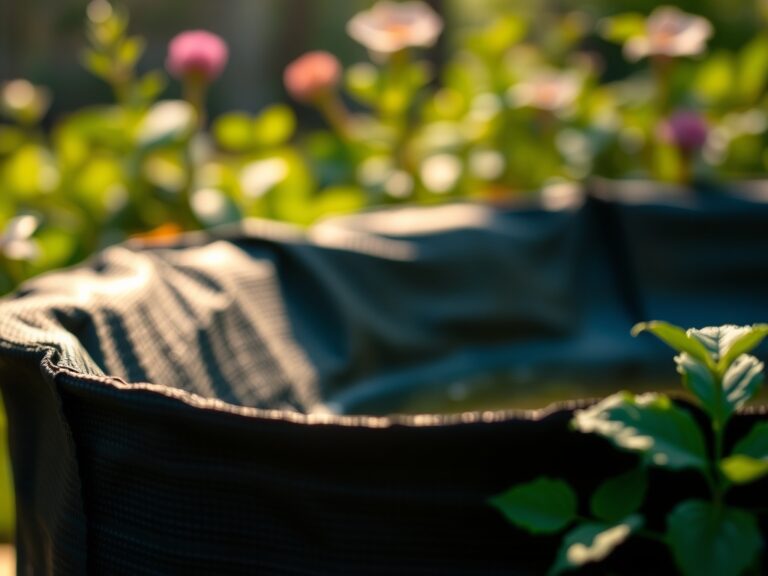
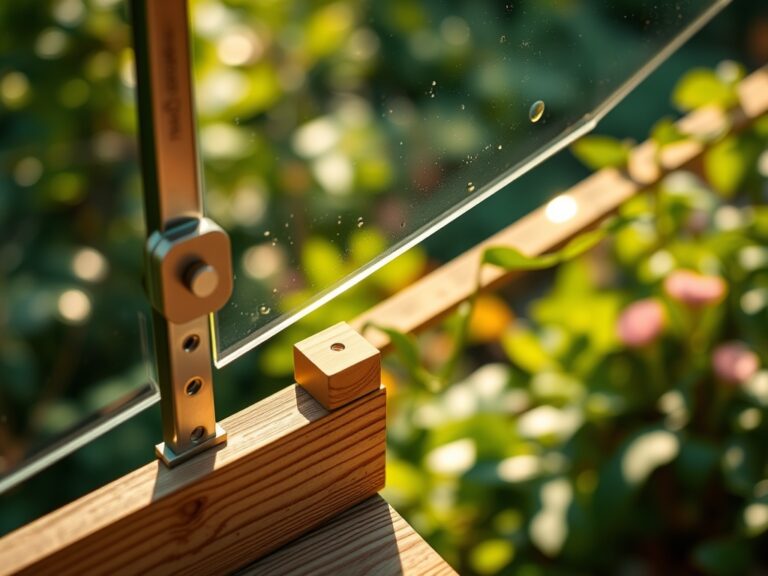
Turgor pressure dictates the structural integrity of every vertical planting; a leaf lacking water loses its rigidity as the vacuoles shrink, causing the foliage to wilt against the mounting hardware. The smell of damp, oxygenated earth signifies a healthy rhizosphere where aerobic bacteria thrive. Achieving this in a vertical plane requires the best exterior wall garden kits to manage gravity and moisture retention simultaneously. These systems are not merely aesthetic additions. They are engineered environments that must facilitate gas exchange and nutrient uptake while suspended against a structural facade. Selecting a kit requires an understanding of drainage physics and the specific thermal mass of the wall material. A brick wall retains heat differently than wood siding, affecting the transpiration rate of the plants. Successful vertical horticulture demands a rigorous adherence to irrigation schedules and substrate composition. You are building a life-support system. Every component, from the bracket to the irrigation emitter, must function to prevent cellular senescence. Precision in the initial setup determines whether the system thrives or suffers from chronic physiological stress.
Materials:
The substrate used in exterior wall kits must be a **friable loam** with high porosity to prevent anaerobic conditions. Standard garden soil is too heavy and compacts quickly in vertical pockets. A professional mix should consist of **60 percent coconut coir or peat moss, 20 percent perlite, and 20 percent vermiculite**. This combination ensures a high **Cation Exchange Capacity (CEC)**, allowing the medium to hold and release essential nutrients like potassium and magnesium.
For most vertical ornamentals and leafy greens, maintain a soil pH between 6.0 and 6.8. If you are cultivating acid-loving species, aim for 5.5 pH. Nutrient requirements change based on the growth stage. During the initial establishment, use a 10-10-10 NPK ratio to support balanced root and shoot development. Once established, transition to a 5-10-15 NPK ratio if the kit houses flowering or fruiting species to prioritize phosphorus and potassium over nitrogen. Nitrogen levels must be monitored; excessive nitrogen leads to rapid, weak cellular growth that is highly susceptible to mechanical damage and environmental stress.
Timing:
Installation and planting must align with your local USDA Hardiness Zone. In Zones 7 through 9, vertical kits can be commissioned in early spring, provided the ambient temperature remains consistently above 50 degrees Fahrenheit. In colder Zones 3 through 6, wait until two weeks after the last predicted frost date to avoid ice crystal formation within the plant cells, which causes irreversible tissue necrosis.
The Biological Clock of your wall garden is governed by the photoperiod. Most exterior kits require at least six hours of direct solar radiation. As the season progresses from the spring equinox to the summer solstice, plants transition from the vegetative stage (leaf production) to the reproductive stage (flowering). Monitor the light intensity on your specific wall. A south-facing concrete wall can reach surface temperatures exceeding 110 degrees Fahrenheit, necessitating a shift in the planting window or the installation of a shade cloth to prevent heat-induced dormancy.
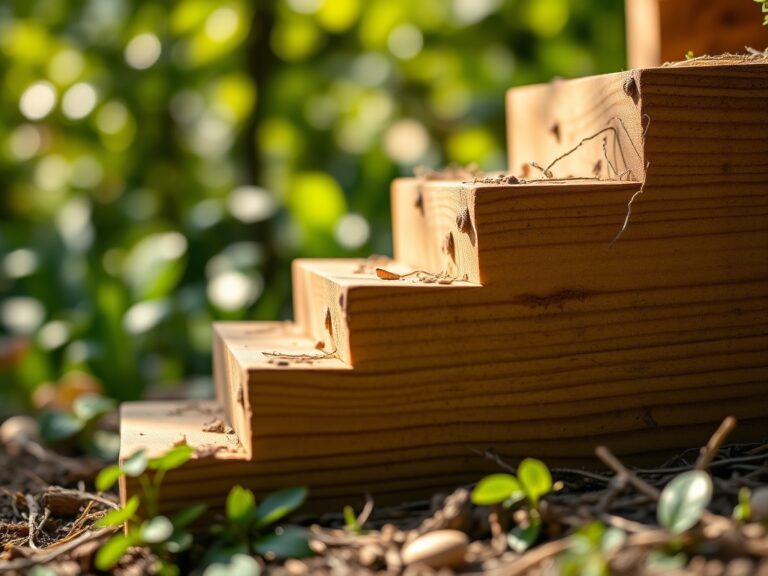
Phases:

Sowing
When starting from seed within a wall kit, use a sterile seed-starting medium to prevent "damping off" caused by soil-borne pathogens. Sow seeds at a depth of two to three times their diameter. Maintain a constant moisture level without saturation.
Pro-Tip: Utilize a humidity dome during germination to maintain 80 percent relative humidity. This prevents the seed coat from hardening, which allows the radicle to emerge without using excessive metabolic energy.
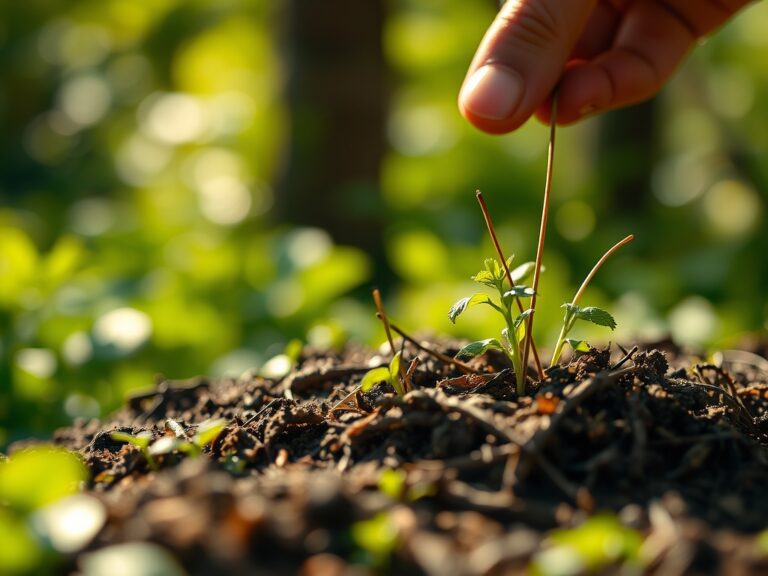
Transplanting
When moving nursery stock into the best exterior wall garden kits, ensure the root ball is thoroughly hydrated. Gently tease the roots if they have become pot-bound to encourage lateral exploration into the new substrate. Position the crown of the plant exactly at the soil line; burying the stem leads to crown rot.
Pro-Tip: Apply a mycorrhizal inoculant to the root zone during transplanting. This establishes a symbiotic fungal network that increases the surface area for nutrient absorption by up to 1,000 percent, significantly improving drought resistance.
Establishing
The first 21 days are critical for root anchorage. During this phase, avoid heavy fertilization which can burn tender new root hairs. Focus on consistent hydration to maintain turgor.
Pro-Tip: Prune the apical meristem (the tip of the main stem) on leggy plants to trigger auxin suppression. This redirects growth hormones to lateral buds, resulting in a bushier, more compact plant that is better suited for the spatial constraints of a wall kit.
The Clinic:
Physiological disorders in vertical gardens often stem from the unique microclimates created by the wall.
- Symptom: Interveinal chlorosis (yellowing between leaf veins) on new growth.
- Solution: This indicates an Iron deficiency, often caused by a pH above 7.0. Lower the pH using sulfur or apply chelated iron.
- Symptom: Leaf tip burn or marginal necrosis.
- Solution: This is typically Salt Accumulation from synthetic fertilizers. Flush the system with a volume of water equal to three times the container volume.
- Symptom: Purpling of older leaves.
- Solution: Phosphorus deficiency. Increase the P in your NPK ratio, especially if temperatures are below 55 degrees Fahrenheit, which inhibits phosphorus uptake.
- Fix-It for Nitrogen Chlorosis: If the entire plant turns pale green or yellow, apply a liquid seaweed or fish emulsion with a 5-1-1 NPK ratio for rapid nitrogen bioavailability.
Maintenance:
Precision maintenance is the difference between a failing system and a thriving one. Use a soil moisture meter daily to check the substrate; do not rely on visual cues. Most vertical kits require 1.5 inches of water per week, but this should be split into daily or twice-daily micro-irrigation cycles to prevent runoff.
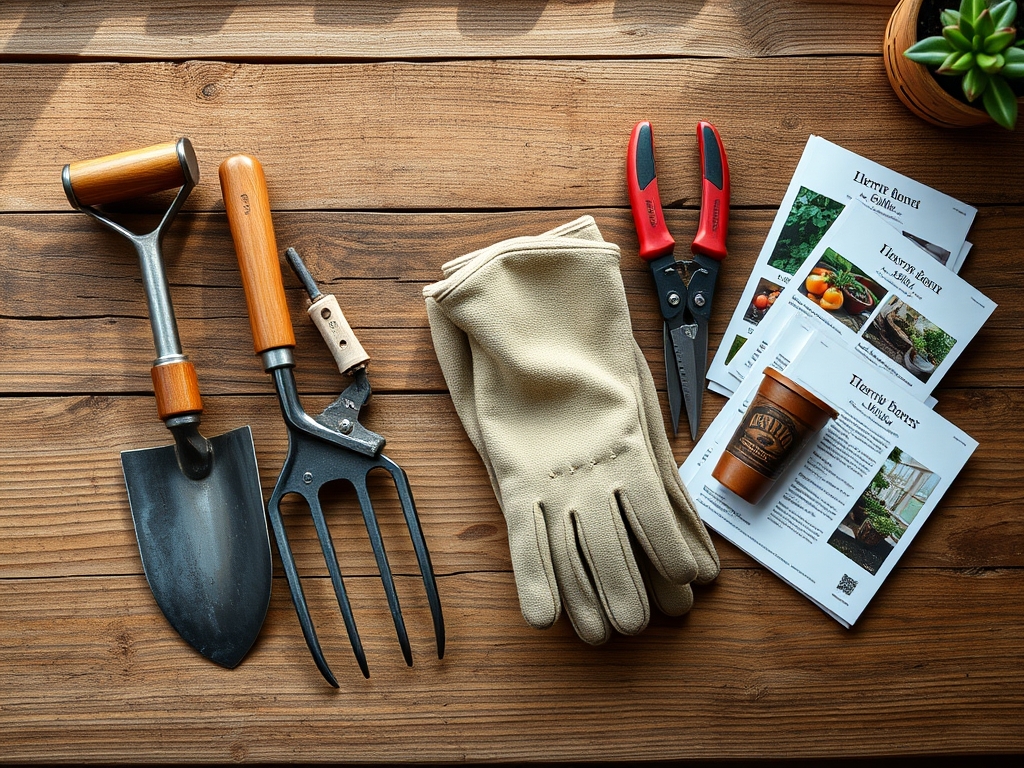
Use a hori-hori knife for weeding and precise planting within the small pockets. For pruning, utilize bypass pruners to ensure clean cuts that heal quickly; anvil pruners crush the vascular tissue (xylem and phloem). Every 14 days, inspect the irrigation emitters for mineral clogs. If the kit uses a felt-based system, check for algae buildup which can impede water distribution and oxygen flow to the roots.
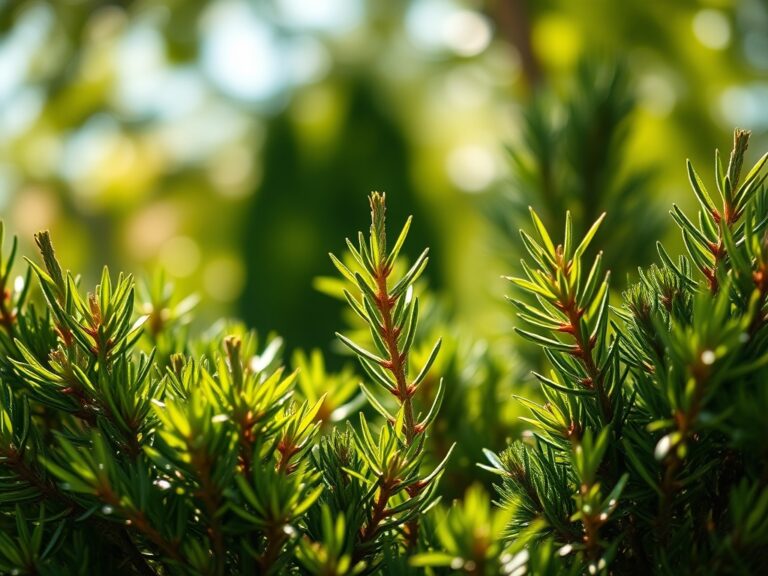
The Yield:
For edible wall gardens, harvest in the early morning when the plant is at maximum turgidity. Use sharp snips to remove no more than 30 percent of the foliage at one time to avoid putting the plant into a state of shock. For herbs like basil or cilantro, harvest just above a node to encourage branching.
Post-harvest handling is vital for "day-one" freshness. Immediately submerge leafy greens in 40-degree Fahrenheit water to remove field heat and slow the respiration rate. This process, known as hydro-cooling, preserves the cellular structure and prevents the rapid breakdown of sugars and vitamins.
FAQ:
How often should I water my exterior wall garden?
Watering frequency depends on evaporation rates. In peak summer, most vertical kits require daily irrigation. Use a moisture meter to ensure the substrate remains at 40 to 60 percent capacity. Avoid saturation to prevent root rot.
What is the best NPK ratio for vertical greens?
For leafy greens, use a 3-1-2 or 10-5-5 NPK ratio. High nitrogen levels support the vegetative growth required for dense foliage. Switch to a higher phosphorus mix only if you are transitioning to a flowering phase.
Can I grow perennials in a wall garden?
Yes, but you must account for root zone insulation. In colder climates, the lack of ground mass means roots are susceptible to freezing. Select plants rated two zones hardier than your current location for successful overwintering.
How do I prevent soil compaction in wall pockets?
Incorporate 20 percent perlite or pumice into your mix. These inorganic materials do not break down, ensuring permanent macropores for oxygen exchange. Avoid using standard topsoil, which lacks the structural integrity for vertical applications.